Worms, Compost, and Kitchen Scraps: A Beginner's Guide to Vermicomposting
Hey there, neighbor! Have you ever thought about turning your kitchen scraps into garden gold? It sounds like magic, but it’s actually vermicomposting – composting with worms! It’s an incredibly rewarding way to reduce your household waste, create a fantastic, all-natural fertilizer for your plants, and connect with nature right in your own home. Plus, it's surprisingly easy and affordable to get started. Let’s dive in and see how you can create your own worm-powered composting system.

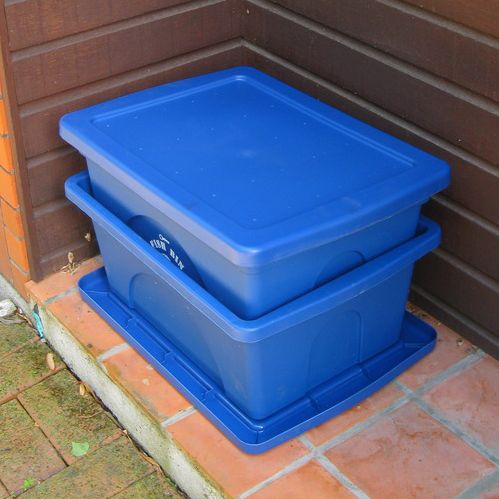
Building Your DIY Stackable Worm Bin
One of the best things about vermicomposting is that you don’t need fancy equipment to get started. A simple, stackable worm bin can be made with just a few basic materials. Here's how to build one using storage totes:
Supplies:
- 2-3 dark colored plastic storage totes (approx. 18-gallon size)
- Drill with various sized drill bits
- Newspaper or coco coir bedding
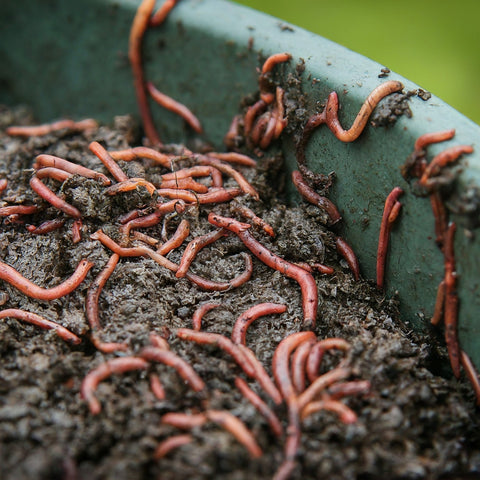
- Red Wiggler Worms (Eisenia fetida) – 1 lb
- Spray bottle with water
- Brick or blocks (to elevate the bin)
Instructions:
- Prepare the Bottom Tote (Drainage): This tote will act as a reservoir for excess liquid, often called "worm tea." Using a drill bit (around 1/4 inch), drill several drainage holes in the bottom of one tote. These holes are essential for preventing the bin from becoming waterlogged.
Prepare the Top Tote(s) (Living Space): The top tote (or totes, if you're using a three-bin system) will be where your worms live and work. Drill several smaller holes (around 1/8 inch) in the bottom of this tote for drainage and worm migration. Also, drill plenty of ventilation holes in the lid to ensure proper airflow.
Assemble the Bin: Place the tote with drainage holes inside the bottom tote (the reservoir). If using a three-bin system, the second "working" bin will stack on top of the first working bin.
Create the Bedding: Worms need a comfortable environment to thrive. Shred newspaper or moisten coco coir (available at most garden centers). The bedding should be damp, like a wrung-out sponge. This provides moisture and carbon for the worms to consume.
Introduce Your Worms: Gently place your Red Wiggler worms into the prepared bedding. They might seem a little disoriented at first, but they'll quickly settle in.
Elevate Your Bin: Place bricks or blocks under the bottom tote to allow for better airflow and easier access to the worm tea.
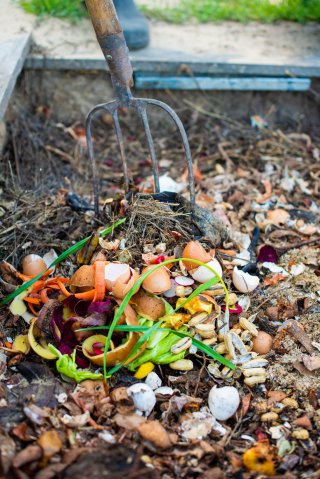
Feeding Your Worms: A Kitchen Scrap Buffet
Red Wigglers are voracious eaters, but they can't handle everything. Here's a guide to what your worms will love and what to avoid:
Worm-Friendly Foods:
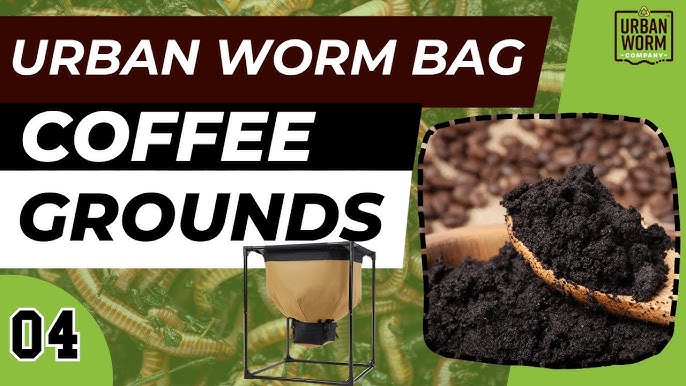
- Coffee Grounds: A worm favorite! They add nitrogen and improve the texture of the compost.
- Vegetable Peelings: Carrot tops, potato peels, cucumber ends – all great options.
- Fruit Scraps: Apple cores, banana peels (in moderation), melon rinds.
- Crushed Eggshells: Provide calcium and grit, aiding in digestion.
- Tea Bags: Just remove the staple and any synthetic materials.
Foods to Avoid:
- Meat and Dairy: These attract pests and can create unpleasant odors.
- Oily Foods: Fats and oils break down slowly and can suffocate the worms.
- Citrus (in large quantities): Too much citrus can make the bin acidic. Small amounts are generally fine.
- Onions and Garlic (in large quantities): Can be harmful to worms.
Tips for Feeding:
- Bury the Scraps: Always bury food scraps under the bedding to prevent fruit flies and odors.
- Chop it Up: Smaller pieces break down faster.
- Start Small: Begin with small amounts of food and gradually increase as the worms multiply and consume more.
Maintaining Your Worm Bin: Happy Worms, Happy Compost
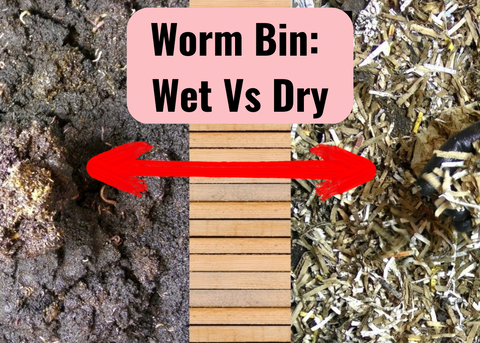
Creating the right environment is key to successful vermicomposting. Think moist, dark, and temperate:
- Moisture: The bedding should be consistently moist, like a wrung-out sponge. Use a spray bottle to add water as needed. Avoid overwatering, which can lead to anaerobic conditions and foul odors.
- Temperature: Red Wigglers thrive in temperatures between 55-80°F (13-27°C). Keep your bin in a cool, dark place, away from direct sunlight and extreme temperatures.
- Feeding Frequency: Monitor how quickly your worms are consuming the food. Start by feeding them every few days, and adjust the frequency and amount based on their appetite.
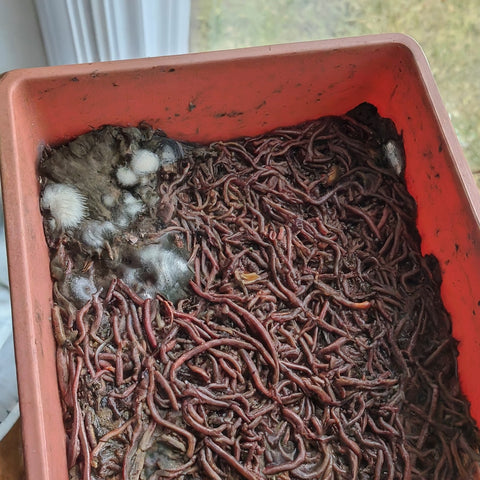
- Observation: Regularly check on your worms. If they seem sluggish or are trying to escape, something might be wrong. Adjust the moisture level, temperature, or food supply accordingly.
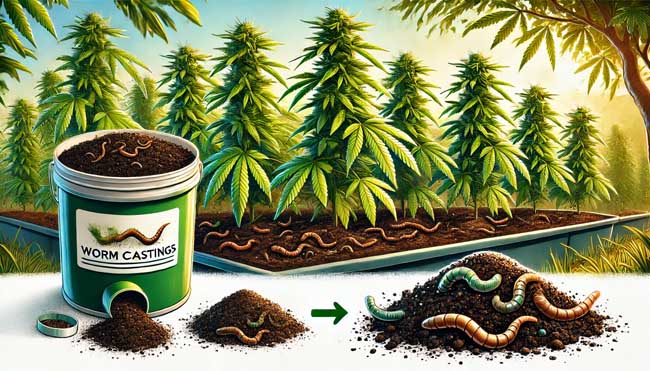
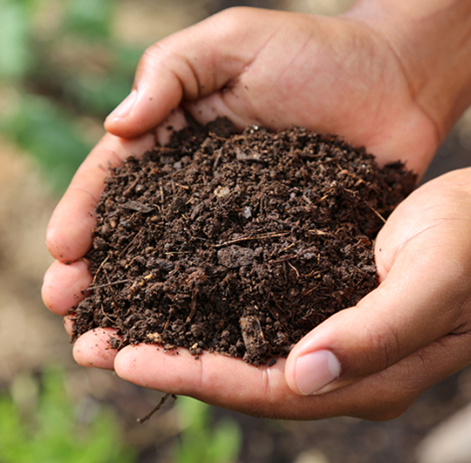
Harvesting Worm Castings: Black Gold for Your Garden
After a few months, your worm bin will be full of nutrient-rich worm castings – the "black gold" of the gardening world! These castings are an excellent fertilizer for all types of plants. Here are two methods for harvesting:
1. Dump and Sort Method:
- Dump the entire contents of the bin onto a tarp.
- Create small piles and shine a bright light on them. The worms will burrow to the bottom of the piles to escape the light.
- Carefully remove the top layer of castings from each pile, repeating the process until you're left with mostly worms.
- Return the worms and some of the old bedding to the bin and add fresh bedding.
2. Migration Method:
- Stop feeding the worms on one side of the bin for a week or two.
- Begin feeding them only on the opposite side.
- The worms will gradually migrate to the side with the food.
- Once most of the worms have moved, you can harvest the castings from the empty side.
Good quality worm castings should be dark brown or black, crumbly, and have an earthy smell.
Troubleshooting: Taming the Tiny Invaders
Even with the best intentions, you might encounter a few challenges along the way. Fruit flies are a common problem:
Fruit Flies:
- Problem: Fruit flies are attracted to exposed food scraps.
- Solution: Ensure all food scraps are completely buried under the bedding. You can also use a thin layer of diatomaceous earth on top of the bedding, but be careful not to inhale it. Make sure your bin isn’t too wet, as excess moisture can promote fruit fly breeding.
It’s important to maintain proper drainage in your worm bin to prevent anaerobic conditions, which can attract pests and create unpleasant odors.
Vermicomposting: A Rewarding Journey
Vermicomposting is more than just composting; it’s a way to connect with nature, reduce waste, and enrich your garden. It is truly a sustainable circle of life! Once you start using your own worm castings, you'll be amazed at how much healthier and more vibrant your plants become. Don’t be afraid to experiment and find what works best for you and your wiggly friends. Happy composting! Now that you've learned all about vermicomposting, why not complement this knowledge by discovering other soil enriching options? Check out our article on creating "Compost Tea" to brew up liquid fertilizer:
Ready to expand your gardening horizons? Discover companion planting! Check out our "Companion Planting Chart" to maximize your garden's potential and create a thriving ecosystem.
Want to learn about other ways to boost your harvest? Read our guide about growing vertically with stacked planters:
Also, be sure to check out our article on "Building a Raised Garden Bed".
Now, I’d love to hear from you! Have you tried vermicomposting? What are your experiences? Share your tips, tricks, and questions in the comments below!