Worm Power: How to Build a Simple Worm Composting Bin for Black Gold Fertilizer
[ ]
]
Are you staring at a mountain of coffee grounds, vegetable scraps, and fruit peels after each meal, feeling a pang of guilt as you toss it all into the trash? You're not alone! We all want to live more sustainably, reduce our environmental footprint, and nourish our gardens with the best possible ingredients. But sometimes, the path to a greener lifestyle feels overwhelming. That's where worm composting, or vermicomposting, comes in! It's a surprisingly simple and effective way to transform your kitchen waste into nutrient-rich "black gold" for your plants.
This guide will walk you through building your very own worm composting system, even if you have limited space, time, or prior experience. Get ready to unlock the power of worms, create healthier gardens, reduce waste, and connect more deeply with the natural cycles happening right in your own home.
Section 1: Understanding Vermicomposting: The Magic of Worm Poop
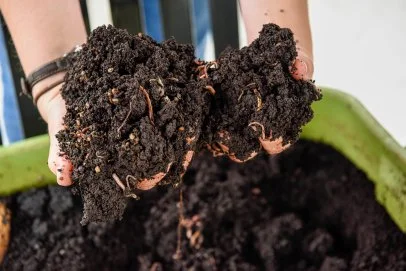
Vermicomposting, simply put, is using worms to decompose organic matter. While traditional composting relies on heat to break down materials, vermicomposting is a cooler process where worms do the heavy lifting. These amazing creatures munch on your food scraps, coffee grounds, and shredded paper, and then excrete a substance called "castings" – essentially, worm poop. And this "poop" is garden gold!
Vermicompost is incredibly rich in nutrients, including nitrogen, phosphorus, potassium, and micronutrients, all in a form readily available to plants. It also improves soil structure, helping it retain moisture and air, and introduces beneficial microbes that further enhance soil health. It's like a superfood for your garden!
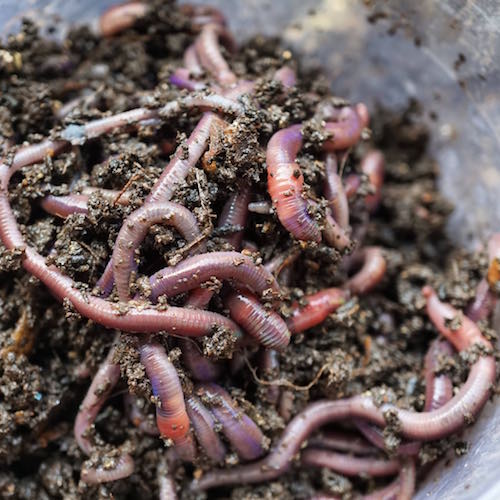
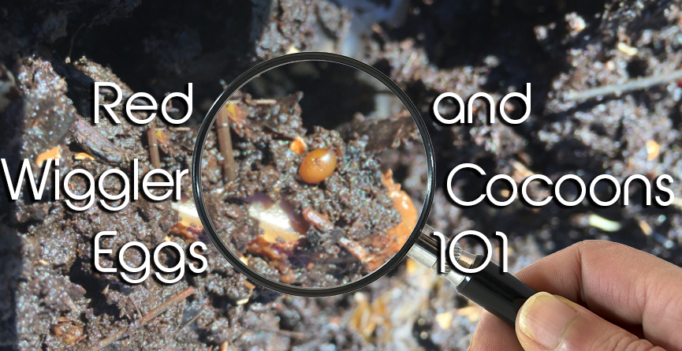
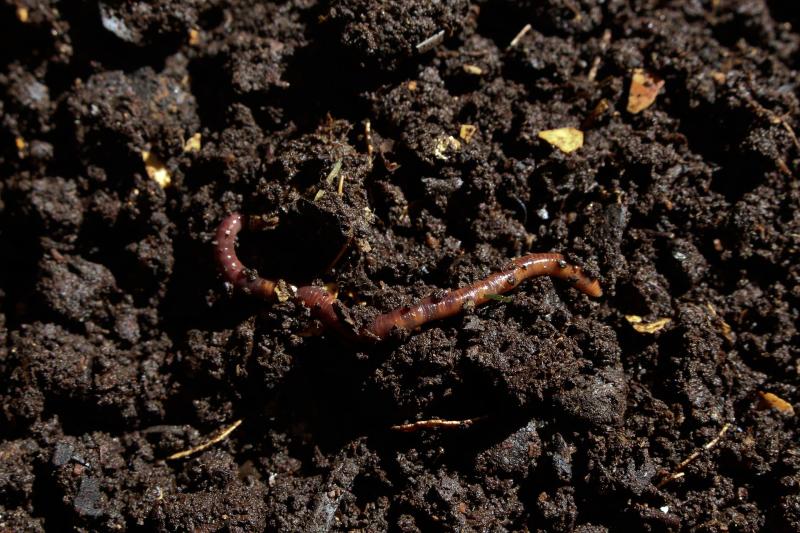
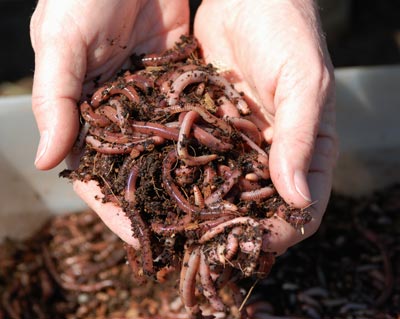
The best worms for vermicomposting are Red Wigglers (Eisenia fetida). These surface dwellers thrive in decaying organic matter and are incredibly efficient eaters. You can purchase Red Wigglers online, from local garden centers, or even from other worm composters.
Let's address a couple of common concerns: No, worm composting doesn't have to be smelly or messy! When done correctly, it's a clean and odorless process. And while it might seem complicated, it's actually quite easy to get started. Whether you have a sprawling farmhouse garden or a tiny apartment balcony, vermicomposting can be adapted to your space.
[ ]
]
Key Takeaway: Vermicomposting is a powerful and eco-friendly way to create a valuable soil amendment while drastically reducing your environmental footprint. And who doesn't love the idea of turning trash into treasure?
Section 2: Designing Your Worm Composting System: Indoor or Outdoor?
The beauty of vermicomposting is its versatility. You can set up a worm bin indoors, outdoors, or even both!
Indoor Worm Bins:
- Pros: Temperature control, protection from pests and harsh weather, convenient access.
- Cons: Potential for odors if not managed properly, limited space, can attract fruit flies.
Outdoor Worm Bins:
- Pros: Larger capacity, less concern about odors, natural temperature fluctuations.
- Cons: Susceptible to extreme temperatures, potential for pests, may require more maintenance.
For beginners, an indoor system is often the easiest to manage. You can tuck a small bin under the kitchen sink or in a spare closet. As you gain experience, you might want to expand to an outdoor system for larger-scale composting.
There are many bin designs to choose from:
- Stackable Bins: These systems consist of multiple trays stacked on top of each other. Worms migrate upwards to fresh food, leaving behind castings in the lower trays. This makes harvesting the compost relatively easy.
- Single Bins: A simple plastic bin with drainage holes is the most basic and affordable option. Harvesting the compost requires a bit more effort, but it's a great way to start.
- DIY vs. Purchased: You can easily build your own worm bin from repurposed materials or purchase a ready-made system. Both options have their advantages.
The ideal size for a beginner bin is about 1-2 square feet. You can always expand as your worm population grows and your composting needs increase.
Essential materials include:
- Two plastic bins (one for the worms, one for drainage).
- A lid.
- Bedding material (shredded newspaper, cardboard, coconut coir).
- A drill for creating drainage and ventilation holes (if you're building your own).
- And, of course, Red Wiggler worms!
Check your local garden center or hardware store for supplies. Online retailers also offer a wide selection of worm composting bins and materials.
[ ]
]
Key Takeaway: Choosing the right type of worm bin depends on your available space, climate, and personal preferences. Start simple and adapt as you learn what works best for you.
Section 3: Building Your DIY Worm Compost Bin (Step-by-Step Guide)
Here's how to build a simple and effective worm composting bin using two plastic bins:
Materials:
- Two plastic bins (approximately 10-20 gallon capacity).
- Drill with various sized drill bits
- Newspaper, cardboard, or coconut coir
- Water spray bottle
Instructions:
Prepare the Bottom Bin: This bin will catch any excess moisture. Drill several small holes (1/4 inch) in the bottom of this bin for drainage.
Prepare the Top Bin: This is where your worms will live and work. Drill drainage holes on the bottom of the bin to allow excess moisture to drain into the bottom bin. Drill multiple rows of ventilation holes at the top of the bin. The size and number of holes depends on your climate zone.
Prepare the Bedding: Worms eat bedding along with the food scraps. Start with shredded newspaper, shredded cardboard, or coconut coir. Wet the bedding so it’s as wet as a wrung out sponge.
Assemble the Bin: Place the top bin inside the bottom bin. The bottom bin will catch any excess moisture from the worm bin.
Add Worms: Gently add your worms to the bedding. They will burrow into the bedding.
Add Food: Begin feeding the worms small amount of food scraps. Make sure it is buried below the top of the bedding.
[ ]
]
Key Takeaway: Building your own worm bin is a rewarding DIY project that saves money and provides a sense of accomplishment.
Section 4: Feeding and Caring for Your Worms: Happy Worms, Happy Garden
Just like any pet, your worms need proper feeding and care to thrive.
What to Feed Your Worms:
- Vegetable scraps: Carrot peels, lettuce leaves, potato skins, etc.
- Fruit peels: Apple cores, banana peels, melon rinds (in moderation).
- Coffee grounds and tea bags: A great source of nitrogen.
- Shredded paper and cardboard: Provides carbon and helps maintain moisture.
What Not to Feed Your Worms:
- Meat and dairy: Attracts pests and causes odors.
- Oily foods: Difficult for worms to digest.
- Citrus fruits: Too acidic for worms.
- Onions and garlic: Can be toxic to worms.
Feeding Frequency and Amount:
Start with small amounts of food scraps and gradually increase as your worm population grows. A good rule of thumb is to feed your worms about half their weight in food per day.
Moisture Levels:
The bedding should be damp like a wrung-out sponge. If it's too dry, the worms will struggle to breathe. If it's too wet, it can lead to anaerobic conditions and foul odors. Mist the bedding with water as needed to maintain proper moisture levels.
Troubleshooting Common Problems:
- Fruit flies: Cover the food scraps with a layer of bedding.
- Foul odors: Make sure the bin has adequate ventilation and avoid overfeeding.
- Slow decomposition: Ensure proper moisture levels and add a source of carbon (shredded paper).
Harvesting the Vermicompost:
After a few months, your bin will be full of rich, dark vermicompost. There are several ways to separate the worms from the compost. One method is the "light method," where you move the compost to one side of the bin and place fresh bedding on the other side. The worms will migrate to the fresh bedding, leaving the compost behind.
Another method is to simply dump the contents of the bin onto a tarp and sort through it, separating the worms from the compost.
[ ]
]
Key Takeaway: With proper feeding and care, your worms will thrive and produce a steady supply of valuable vermicompost.
Section 5: Using Vermicompost in Your Garden: Unlock the Nutrients
Vermicompost is a versatile soil amendment that can be used in a variety of ways:
- Mix it into potting soil: Add vermicompost to your potting mix for seedlings and transplants to give them a nutrient boost.
- Top-dress garden beds: Sprinkle vermicompost around the base of your plants to provide them with a steady supply of nutrients.
- Create vermicompost tea: Steep vermicompost in water to create a nutrient-rich tea that can be used as a foliar spray or soil drench.
Vermicompost improves plant growth, increases disease resistance, and enhances water retention. It's a natural and powerful way to boost the health and productivity of your garden. I recently used vermicompost tea to revive a struggling tomato plant, and within a week, it was thriving!
[ ]
]
Key Takeaway: Vermicompost is a natural and effective fertilizer that can be used in various ways in the garden.
Conclusion: Embrace the Worm Revolution!
Worm composting is more than just a way to reduce waste and create fertilizer – it's a connection to the natural world, a commitment to sustainability, and a path to a healthier, more vibrant garden. By embracing the power of worms, you can transform your kitchen scraps into garden gold and contribute to a more sustainable future.
With spring just around the corner, now is the perfect time to start your own worm composting system and prepare your garden for a bountiful harvest!
What are you waiting for? Start building your worm composting system today and experience the magic of vermicompost! Share your experiences and questions in the comments below. We'd love to see photos of your worm bins! Tag us @BetterHomesandHarvests and use #WormPower #SustainableLiving