Worm Power: Build a Vermicomposting System for a Thriving Garden and Zero Food Waste
Are you tired of tossing valuable food scraps into the trash? Imagine turning those peels and cores into the richest, most life-giving compost your garden has ever seen! With vermicomposting, you can transform your kitchen waste into "black gold" and create a more sustainable lifestyle.
Vermicomposting, or worm composting, is a simple and effective way to reduce food waste and create nutrient-rich compost using the power of worms. It's a fantastic addition to any organic gardening strategy, offering benefits for your garden, the planet, and even your wallet. By the end of this post, you'll have all the knowledge you need to build and maintain a thriving vermicomposting system, turning your kitchen's leftovers into a gardener's treasure.

Section 1: Understanding Vermicomposting – The Basics
Vermicomposting might sound complicated, but the process is beautifully simple: worms break down organic matter, like food scraps, into a nutrient-rich substance called vermicompost, also known as worm castings. This "black gold" is an exceptional soil amendment, packed with beneficial microbes and nutrients that can significantly enhance your garden's health and productivity.
Why Vermicomposting?
The benefits of vermicomposting extend far beyond simply reducing waste. Here's why it's a fantastic addition to your sustainable home practices:
- Nutrient-Rich Compost: Worm castings are a powerhouse of nutrients, including nitrogen, phosphorus, potassium, and essential trace minerals, all readily available for your plants.
- Liquid Fertilizer (Worm Tea): As the worms break down food scraps, they produce a liquid byproduct often referred to as "worm tea." Diluted worm tea is a gentle yet potent liquid fertilizer that can boost plant growth and vigor.
- Improved Soil Structure: Vermicompost improves soil structure by increasing water retention, aeration, and drainage. This leads to healthier root systems and more resilient plants.
- Reduced Reliance on Synthetic Fertilizers: By using vermicompost, you can significantly reduce or eliminate the need for synthetic fertilizers, which can harm the environment and disrupt soil ecosystems.
- Reduces Landfill Waste: Vermicomposting diverts food scraps from landfills, where they decompose anaerobically (without oxygen) and release methane, a potent greenhouse gas.
Suitable Worms: Red Wigglers Are Your Best Friend
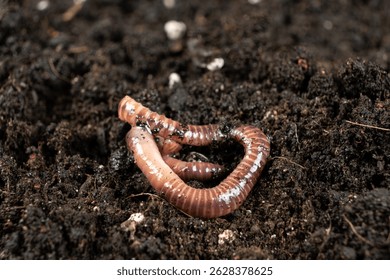
Not just any worm can handle the demands of vermicomposting. The star players in this process are red wigglers ( Eisenia fetida ). These worms are voracious eaters, thrive in confined spaces, and reproduce quickly.
- Where to Source Them: You can purchase red wigglers from online retailers, local nurseries, or composting supply stores.
- Why They Are the Best Choice: Red wigglers are surface dwellers, meaning they prefer to live near the top of the compost bin where the food scraps are located. They are also tolerant of a wide range of temperatures and moisture levels, making them relatively easy to care for.
- Unsuitable Worms: Avoid using earthworms (like nightcrawlers) in your vermicomposting bin. These worms require different living conditions and are not well-suited for the confined environment of a compost bin.
Ideal Conditions for Happy Worms
To keep your red wigglers happy and productive, you need to provide them with the right living conditions:
- Temperature: The ideal temperature range for red wigglers is between 55°F and 80°F (13°C and 27°C). Avoid extreme temperatures, as they can stress or even kill the worms.
- Moisture: The bedding should be moist but not soggy. Aim for a consistency similar to a wrung-out sponge.
- Aeration: Worms need oxygen to survive. Ensure adequate aeration by turning the bedding occasionally and avoiding overpacking the bin.

Section 2: Building Your Vermicomposting System – A DIY Guide
Setting up your vermicomposting system doesn't have to be expensive or complicated. You can create a functional and efficient bin using readily available materials.
Types of Bins:
- DIY Bins:
- Plastic Tubs: A simple plastic tub with a lid is an excellent option for beginners. Choose a dark-colored tub to help maintain a stable temperature and moisture level.
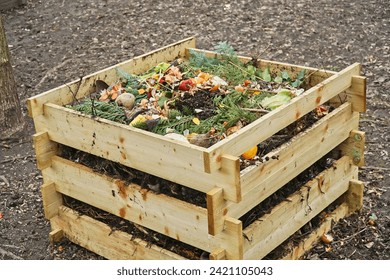
- Wooden Boxes: Wooden boxes can also be used for vermicomposting, but they may require a liner to prevent the wood from rotting.
- Instructions for Building a Simple Bin:
- Drill drainage holes in the bottom of the tub or box (about ¼ inch diameter, spaced 2-3 inches apart).
- Drill ventilation holes in the lid and along the sides of the bin near the top.
- Line the bottom of the wooden box with plastic sheeting, if desired.
- Your bin is ready to be filled with bedding!
![hands making wooden worm bin DIY] ()
Dimensions for a Beginner Size: A tub or box that is approximately 2 feet long, 1.5 feet wide, and 1 foot deep is a good starting size for a small household.
Commercial Bins: Stackable worm bins are a convenient option for those who prefer a ready-made solution. These bins typically consist of several trays that stack on top of each other. As the worms consume the food scraps in the top tray, they migrate upwards to the next tray, leaving behind finished compost.
- Pros and Cons: Commercial bins are easy to use and can be aesthetically pleasing, but they can be more expensive than DIY options.
- Mention Popular Brands: Examples include the Worm Factory 360 and the Can-O-Worms.
Essential Features:
- Drainage Holes: Drainage holes are crucial for preventing the bin from becoming waterlogged.
- Ventilation: Ventilation holes ensure adequate airflow, preventing anaerobic conditions and unpleasant odors.
- A Lid: A lid helps to retain moisture and keep out pests like fruit flies.
Bedding Materials:
The bedding provides a habitat for the worms and helps to absorb excess moisture. Good bedding materials include:
- Coconut Coir: Coconut coir is an excellent choice for bedding, as it is absorbent, pH-neutral, and readily available.
- Shredded Newspaper: Shredded newspaper is another good option, but avoid using glossy paper or colored inks.
- Peat Moss: Peat moss can be used as bedding, but it is acidic and may need to be neutralized with lime.
- Preparing the Bedding: Moisten the bedding material before adding it to the bin. It should be damp but not dripping wet.
Setting Up the Bin:
- Layer the bottom of the bin with 4-6 inches of moist bedding material.
- Add a handful of garden soil or compost to introduce beneficial microbes.
- Gently introduce the worms to the bin.
- Cover the bedding with a damp sheet of newspaper or burlap to help retain moisture.
Section 3: Feeding Your Worms – What to Feed and What to Avoid
What you feed your worms directly impacts the quality of your vermicompost and the health of your worm population.
Worm-Friendly Foods:
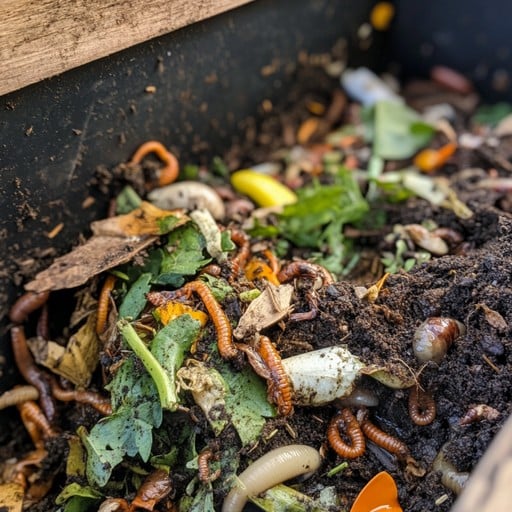
- Fruit and Vegetable Scraps: Most fruit and vegetable scraps are suitable for worms, including apple cores, banana peels, melon rinds, carrot tops, and lettuce leaves. Avoid citrus in large quantities, as the acidity can be harmful.
- Coffee Grounds: Coffee grounds are a great source of nitrogen and can help to balance the pH of the bin.
- Tea Bags: Tea bags (remove staples) can also be added to the bin.
- Crushed Eggshells: Crushed eggshells provide calcium and grit, which aids in the worms' digestion.
Foods to Avoid:
- Meat: Meat scraps can attract pests and create unpleasant odors.
- Dairy: Dairy products can also cause odor problems.
- Oily Foods: Oily foods can clog the bin and interfere with decomposition.
- Processed Foods: Processed foods often contain preservatives and other additives that can be harmful to worms.
- Salty Foods: Salty foods can dehydrate and kill worms.

Preparation Tips:
- Chop Food into Smaller Pieces: Smaller pieces of food break down more quickly and are easier for the worms to consume.
- Bury the Food Scraps: Burying the food scraps in the bedding helps to prevent fruit flies and odors.
- Alternate Feeding Locations: Alternate feeding locations in the bin to prevent the build-up of food in one area.
Feeding Schedule:
- Start Small: Begin by feeding your worms a small amount of food and observe how quickly they consume it.
- Adjust Accordingly: Adjust the feeding schedule based on the worms' appetite. If the food scraps are gone within a few days, you can increase the amount you feed them. If the food scraps are still present after a week, you are overfeeding them.
Section 4: Harvesting Vermicompost – The Black Gold
Harvesting vermicompost is a rewarding process that yields a valuable soil amendment for your garden.
Signs of Readiness:
- The compost should be dark and crumbly with a pleasant earthy smell.
- There should be few visible food scraps.
Harvesting Methods:
Dump and Sort:
- Dump the contents of the bin onto a tarp or sheet of plastic.
- Separate the worms from the compost by hand. This method is labor-intensive but effective.
Light Migration:
- Place a bright light over one side of the bin.
- The worms will migrate to the darker side of the bin, leaving the compost behind.
- Remove the compost from the light side of the bin.
- Repeat the process until all of the compost has been harvested.
The Divide and Conquer:
* Push the composting material over to one side of the bin
* Place fresh bedding and food scraps on the empty side
* Wait a couple weeks and most of the worms will move over to the fresh side, leaving the finished compost behind
Using Vermicompost:
- Mixing it into Garden Beds: Mix vermicompost into garden beds to improve soil structure and nutrient content.
- Potting Soil: Add vermicompost to potting soil to boost plant growth.
- Compost Tea: Use vermicompost to make compost tea, a liquid fertilizer that can be applied to plants.

Section 5: Troubleshooting Vermicomposting Problems
While vermicomposting is generally low-maintenance, you may encounter some common problems. Here's how to troubleshoot them:
Common Issues:
Fruit Flies:
- Prevention: Bury food scraps, use a lid, add vinegar traps.
- Control: Introduce beneficial nematodes to the bin.
Unpleasant Odors:
- Causes: Overfeeding, anaerobic conditions.
- Solutions: Add more bedding, improve aeration by turning the compost.
Worms Dying:
- Causes: Extreme temperatures, lack of moisture, toxic substances.
- Solutions: Maintain optimal conditions, avoid harmful foods.
Slow Decomposition:
- Causes: Lack of moisture, improper food preparation.
- Solutions: Add moisture, chop food scraps smaller.
Preventative Measures:
- Regularly monitor the bin.
- Maintain proper moisture levels.
- Avoid overfeeding.

Conclusion: Embrace the Vermicomposting Journey
Vermicomposting isn't just about reducing waste; it's about creating a more sustainable and thriving ecosystem, starting right in your own backyard. By building a vermicomposting system, you're not only reducing your environmental impact but also creating a valuable resource for your garden, ensuring healthier plants, richer soil, and a more bountiful harvest. So, get started today and unlock the power of worm composting for a greener, more sustainable future.
As summer fades and autumn approaches, now is a perfect time to start vermicomposting so that your garden can thrive!
Are you ready to start your vermicomposting journey? Share your questions and experiences in the comments below! We'd love to hear about your successes, challenges, and favorite tips for creating black gold at home.