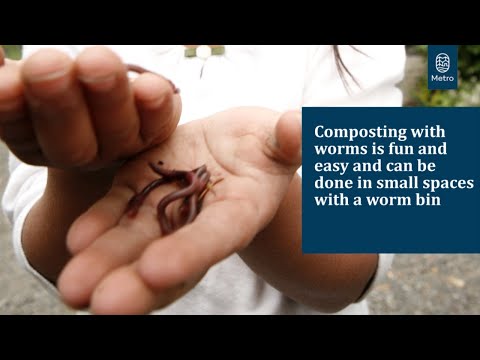
Worm Power! Create Nutrient-Rich Compost from Kitchen Scraps
Are you tired of tossing food scraps into the trash, knowing they're destined for a landfill? Do you dream of lush gardens bursting with vibrant blooms and bountiful harvests, but without relying on harsh chemical fertilizers? There's a simple, sustainable solution that tackles both problems at once: vermicomposting! This fascinating process uses the power of worms to transform your kitchen waste into "black gold" – a nutrient-rich compost that will supercharge your garden. In this guide, we'll walk you through everything you need to know to set up and maintain your own vermicomposting system, turning trash into treasure and unlocking the secrets to a truly thriving organic garden.

What is Vermicomposting & Why It Matters
Vermicomposting, or worm composting, is nature's way of recycling organic waste. It’s a bio-oxidation and stabilization process during which earthworms and microorganisms break down organic waste. The end result is vermicompost, also known as worm castings – a dark, earthy material packed with beneficial nutrients and microorganisms. Worm tea is the liquid that drains from the vermicomposting system, diluted it makes an excellent liquid fertilizer.
The benefits of vermicomposting are far-reaching. First and foremost, it significantly reduces the amount of organic waste heading to landfills. Instead of contributing to methane emissions, your food scraps become a valuable resource. Second, vermicompost is a potent natural fertilizer, far superior to many commercially available options. It's packed with nutrients in a form that plants can readily absorb, promoting healthy growth and abundant yields. Thirdly, vermicompost improves soil structure, increasing water retention and aeration. This creates a more favorable environment for plant roots to thrive. Finally, by using vermicompost, you can reduce or eliminate the need for synthetic fertilizers, protecting the environment and creating a truly organic garden. Don’t worry about smells and pests, that is only a problem if the system is not maintained properly.
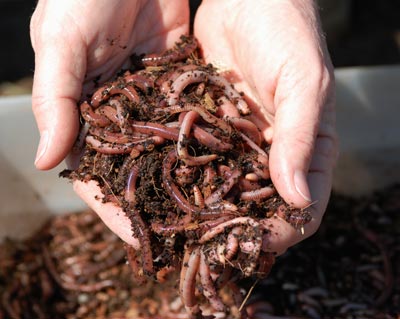
These dark, rich worm castings are the "black gold" your garden craves. They're packed with nutrients and beneficial microorganisms that will supercharge plant growth.
Vermicomposting is an eco-friendly and effective way to turn waste into valuable resources for a healthier garden and planet, enabling you to achieve organic gardening for pollinators.
Choosing the Right Worms and Bin
Not all worms are created equal when it comes to vermicomposting. The champions of the worm composting world are red wigglers (Eisenia fetida). These surface-dwelling worms are voracious eaters and thrive in the moist, nutrient-rich environment of a compost bin.
You can source red wigglers from several places. Many online retailers specialize in selling composting worms. Local nurseries or garden centers may also carry them, especially if they focus on organic gardening supplies. Another great option is to connect with local composting groups or community gardens. Often, experienced vermicomposters are willing to share some of their worms.
When choosing a vermicomposting bin, you have several options. A DIY bin can be as simple as a plastic tote with ventilation holes. Commercial bins, often designed as stacked tray systems, offer convenience and ease of harvesting. Consider space constraints, budget, and the amount of food scraps you generate when making your decision. For a small household with limited space, a single tote might suffice. If you have a larger family and produce more waste, a multi-tray system could be a better choice.
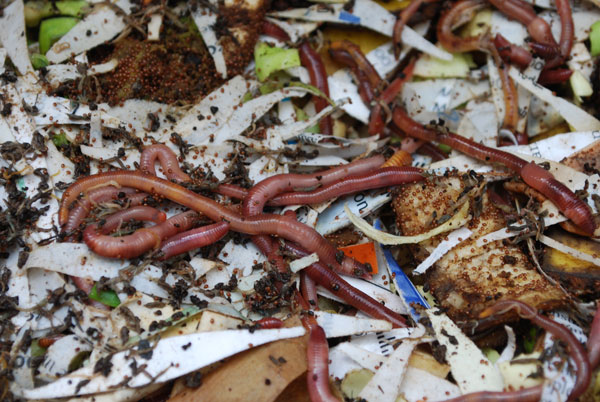
A happy pile of red wigglers, ready to turn your kitchen scraps into valuable compost.
Selecting the right worms and bin is crucial for setting up a successful and sustainable vermicomposting system, helping you with backyard projects.
Setting Up Your Vermicomposting System: A Step-by-Step Guide
Once you have your worms and bin, it's time to set up your vermicomposting system.
Create a Comfortable Bedding: Worms need a moist, comfortable bedding to live in. Shredded newspaper, cardboard, coconut coir, and peat moss all make excellent bedding materials. Avoid glossy paper or materials with colored inks.
Moisten the Bedding: The bedding should be damp like a wrung-out sponge. Too dry, and the worms will dehydrate. Too wet, and the bin will become anaerobic and smelly. Gradually add water to the bedding, mixing it thoroughly until it reaches the desired moisture level.
Add the Worms: Gently introduce your red wigglers to their new home. Spread them evenly over the surface of the bedding. They will naturally burrow down into the material.
Introduce Food Scraps Gradually: Don't overwhelm your worms with too much food at once. Start with small amounts of easily digestible scraps, such as vegetable peelings, fruit cores, and coffee grounds. Bury the food scraps under the bedding to prevent odors and attract fewer fruit flies.
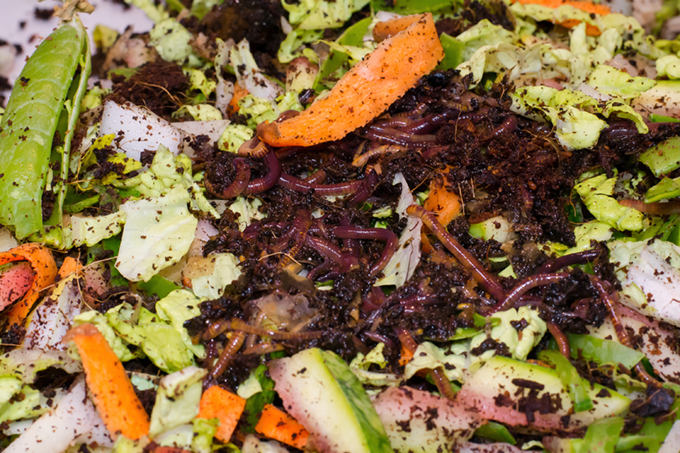
Creating the perfect worm bedding is key to a healthy and happy vermicomposting system.
Following these setup steps will ensure a healthy and thriving environment for your worms.
Feeding Your Worms: Dos and Don'ts
Worms aren't picky eaters, but they do have preferences. And, just like us, there are certain things they shouldn't eat.
Foods Worms Love:
- Vegetable scraps (peelings, ends, wilted greens)
- Fruit scraps (cores, peels, overripe fruit)
- Coffee grounds (and paper filters)
- Tea bags (remove the staples)
- Crushed eggshells
- Shredded newspaper and cardboard (in small amounts)
Foods to Avoid:
- Meat and dairy products: These attract pests and create foul odors.
- Oily foods: They can suffocate the worms.
- Citrus fruits: In large quantities, they can make the bin too acidic.
- Onions and garlic: They can be harmful to worms in large amounts.
Chop food scraps into small pieces to help the worms break them down faster. Bury the food scraps under the bedding each time you feed them to minimize odors and deter pests. A good starting point is to feed your worms about a handful of food scraps per week for every pound of worms you have. Observe how quickly they consume the food and adjust the amount accordingly.
Providing the right food and avoiding harmful items will keep your worms happy and productive, and assist you in creating a sustainable home.
Harvesting Your Black Gold: Worm Castings and Worm Tea
After several months, your worms will have transformed a significant portion of the bedding and food scraps into rich, dark worm castings. It's time to harvest your "black gold"!
There are a few different methods for harvesting worm castings. One popular method is the "dump and sort" method. Simply dump the contents of the bin onto a large tarp and carefully sort through the material, separating the worms from the castings. Another method is the "migration method." Stop feeding the worms on one side of the bin for a week or two. The worms will naturally migrate to the other side in search of food. Then, you can harvest the castings from the empty side.
Worm tea is another valuable byproduct of vermicomposting. It's the liquid that drains from the bottom of the bin and is an excellent liquid fertilizer. To collect worm tea, elevate your vermicomposting bin and place a container underneath to catch the drainage. Dilute the worm tea with water (usually a 1:10 ratio) before using it to water your plants.
Store worm castings in a cool, dry place. They can be used immediately or stored for later use. Add them to your garden beds, use them as a potting mix amendment, or top-dress your houseplants with a sprinkle of this nutrient-rich compost.
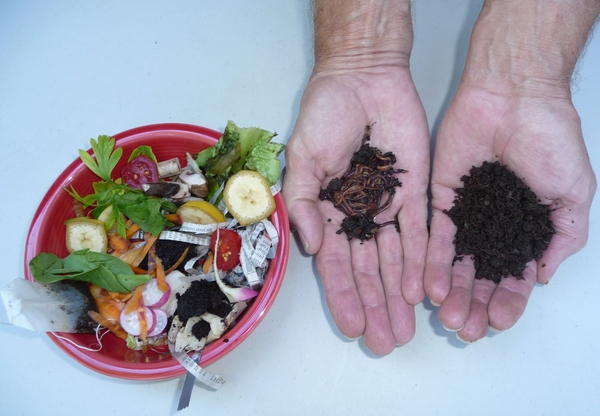
Harvesting worm castings is like striking gold! This nutrient-rich compost will transform your garden.
Harvesting your worm castings and worm tea unlocks the full potential of vermicomposting for a thriving garden and seasonal harvest.
Troubleshooting Common Vermicomposting Problems
Even with the best intentions, you might encounter a few hiccups along the way. Here are some common vermicomposting problems and how to solve them:
- Odor: A properly maintained vermicomposting bin should not smell bad. If you notice an unpleasant odor, it's usually a sign that the bin is too wet or that you're adding too much food at once. Add dry bedding material, such as shredded newspaper, to absorb excess moisture. Make sure to bury food scraps and avoid overfeeding.
- Fruit Flies: Fruit flies are a common nuisance, especially during the warmer months. To control fruit flies, bury food scraps deep under the bedding, cover the bin with a lid, and consider using a fruit fly trap. You can make a simple trap by placing a small dish of apple cider vinegar with a drop of dish soap near the bin.
- Slow Decomposition: If your worms aren't breaking down food scraps quickly enough, it could be due to several factors. The bin might be too dry, too wet, or too acidic. Make sure the bedding is properly moistened, avoid adding too much citrus, and add crushed eggshells to help balance the pH.
- Worms Dying: Worms can die if the conditions in the bin are not optimal. Check the moisture level, temperature, and acidity of the bin. Avoid adding harmful foods, such as meat and dairy products. If you suspect that the water is the issue, use rain or distilled water.
Understanding common problems and their solutions can help you maintain a healthy and productive vermicomposting system that you can add to your homesteading tips.
Embrace the Wormy World
Vermicomposting is a rewarding and sustainable way to reduce waste, create valuable resources for your garden, and connect with nature. Don't be afraid to experiment and adjust your approach to find what works best for you and your worms. Even small actions, like vermicomposting, can make a big difference in creating a healthier planet. As we move into fall, remember to insulate your worm bins for the colder months!
What questions do you have about vermicomposting? Let us know, and we'll do our best to answer them!