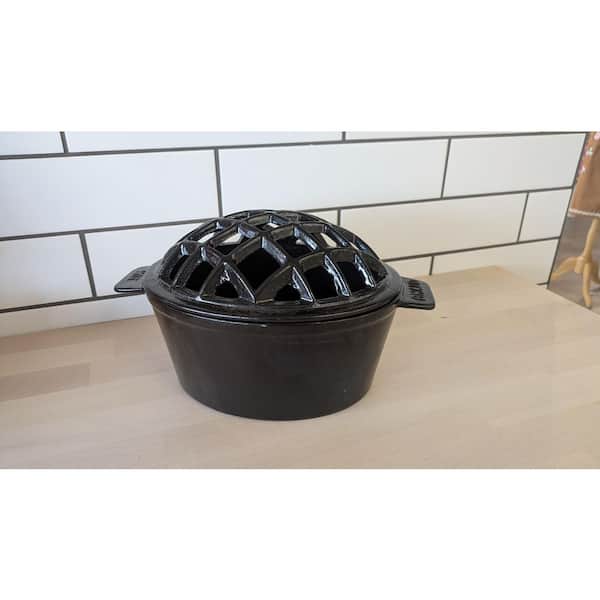
Winter's Warmth: Mastering Cast Iron Care on the Homestead
Winter on the homestead brings its own unique set of challenges, from frozen pipes to dwindling daylight. But amidst the cold and snow, one thing remains a constant source of warmth and reliability: your cast iron cookware. These trusty companions have been with us through countless meals, from hearty stews to crusty loaves of bread. However, the winter months can be particularly tough on cast iron, with increased humidity and limited opportunities for outdoor re-seasoning. Ignoring these challenges can lead to rust and a decline in performance. This blog post will guide you through the essential winter cast iron care techniques, ensuring your cookware remains a cherished part of your sustainable homestead for generations to come.

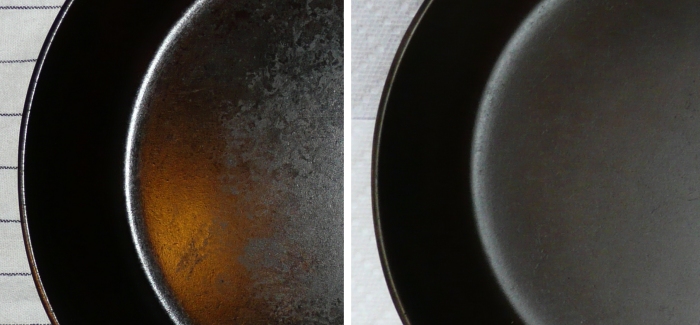
The Winter Humidity Hurdle
One of the biggest threats to cast iron during the winter months is humidity. As temperatures drop, condensation can form, especially in unheated storage areas. This moisture can quickly lead to rust, undoing all your hard work in building up a beautiful seasoning. Here's how to combat winter humidity:
- Strategic Storage: The ideal storage location is a warm, dry place. If you have a wood stove, storing your cast iron nearby can help keep it dry. Another option is a kitchen cupboard away from the sink and dishwasher.
- Desiccant Power: For added protection, consider using desiccant packets in your storage containers. These packets absorb moisture, keeping your cast iron dry and rust-free. Replace them regularly as needed.
- Bone Dry is Key: Before storing any cast iron, ensure it's completely dry. After washing and drying with a towel, you can place it in a warm oven (around 200°F/93°C) for a few minutes to ensure all moisture is evaporated.
Indoor Re-Seasoning: A Winter Essential
While summer offers the convenience of outdoor re-seasoning with a grill or smoker, winter demands an indoor approach. Regular re-seasoning is crucial for maintaining a non-stick surface and preventing rust. Here's a detailed guide to indoor re-seasoning:
- Preheat Oven: Preheat your oven to 200°F (93°C). This low temperature helps the oil polymerize without burning.
- Apply Oil: Apply a thin, even coat of oil to the entire surface of the cast iron, both inside and out. Flaxseed oil and grapeseed oil are excellent choices due to their high smoke points.
- Wipe Off Excess: This is the most important step! Use a lint-free cloth to wipe off all excess oil. The goal is to leave the surface looking almost dry. If there's too much oil, it will create a sticky, gummy residue.
- Bake Upside Down: Place the cast iron upside down on the middle rack of the oven with a baking sheet underneath to catch any drips. This prevents oil from pooling.
- Bake and Cool: Bake for 1 hour, then turn off the oven and let the cast iron cool completely inside. This slow cooling process allows the oil to fully polymerize and bond to the iron.
- Repeat: Repeat steps 2-5 two or three times for optimal seasoning. Patience is key!
Winter Recipes That Season
Cooking certain dishes in your cast iron can naturally contribute to its seasoning. Embrace these winter staples to enhance your cookware's non-stick properties:
- Slow-Cooked Stews and Braises: Fatty meats like beef and pork release oils that help season the cast iron as they cook. The long cooking time allows the oils to penetrate the pores of the iron, creating a durable seasoning layer.
- Deep-Dish Cornbread with Bacon Grease: Cornbread cooked in a cast iron skillet seasoned with bacon grease is a classic for a reason. The combination of cornmeal and fat creates a beautiful, non-stick crust.
- Roasting: Roasting vegetables with olive oil or other fats in cast iron also helps to enhance seasoning.
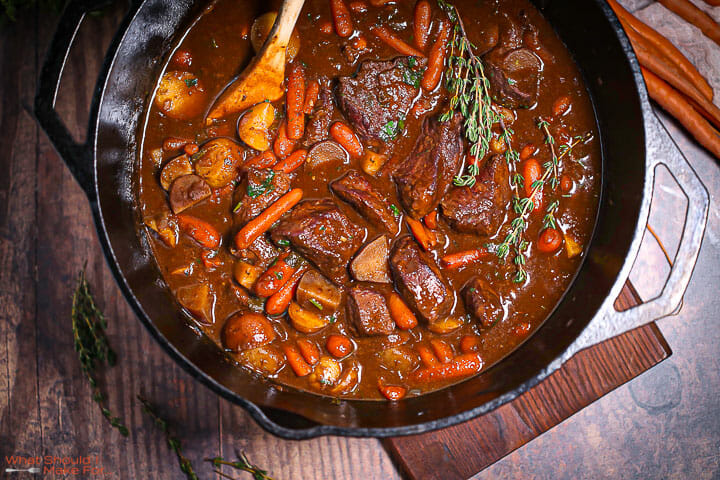
Beef Stew: A Cast Iron Seasoning Masterpiece
Here’s a hearty beef stew recipe perfect for a cold winter day, and fantastic for building up that cast iron seasoning.
Ingredients:
- 2 lbs beef chuck, cut into 1-inch cubes
- 2 tablespoons olive oil
- 1 large onion, chopped
- 2 carrots, chopped
- 2 celery stalks, chopped
- 4 cloves garlic, minced
- 8 cups beef broth
- 1 lb potatoes, peeled and cubed
- 1 lb parsnips, peeled and cubed
- 2 bay leaves
- 1 teaspoon dried thyme
- Salt and pepper to taste
- 2 tablespoons flour (optional, for thickening)
Instructions:
- Brown the Beef: Heat the olive oil in your cast iron Dutch oven over medium-high heat. Pat the beef cubes dry with paper towels (this helps them brown). Working in batches, brown the beef on all sides. Browning is KEY here, as that fond that develops on the bottom of the pan is packed with flavor and is contributing to your seasoning! Don't overcrowd the pan, or the beef will steam instead of brown. Remove the browned beef and set aside.
- Sauté Vegetables: Add the onion, carrots, and celery to the Dutch oven and sauté until softened, about 5-7 minutes. Add the garlic and cook for another minute until fragrant.
- Deglaze the Pan: Pour a small amount of beef broth into the Dutch oven and scrape up any browned bits from the bottom of the pan (this is called deglazing). Those browned bits are loaded with flavor!
- Combine Ingredients: Return the browned beef to the Dutch oven. Add the remaining beef broth, potatoes, parsnips, bay leaves, and thyme. Season with salt and pepper to taste.
- Simmer: Bring the stew to a simmer, then reduce heat to low, cover, and simmer for at least 2-3 hours, or until the beef is very tender.
- Thicken (Optional): If you prefer a thicker stew, mix the flour with a little cold water to form a slurry. Stir the slurry into the stew during the last 30 minutes of cooking.
- Serve: Remove the bay leaves before serving. Enjoy your delicious and cast-iron-seasoning beef stew!
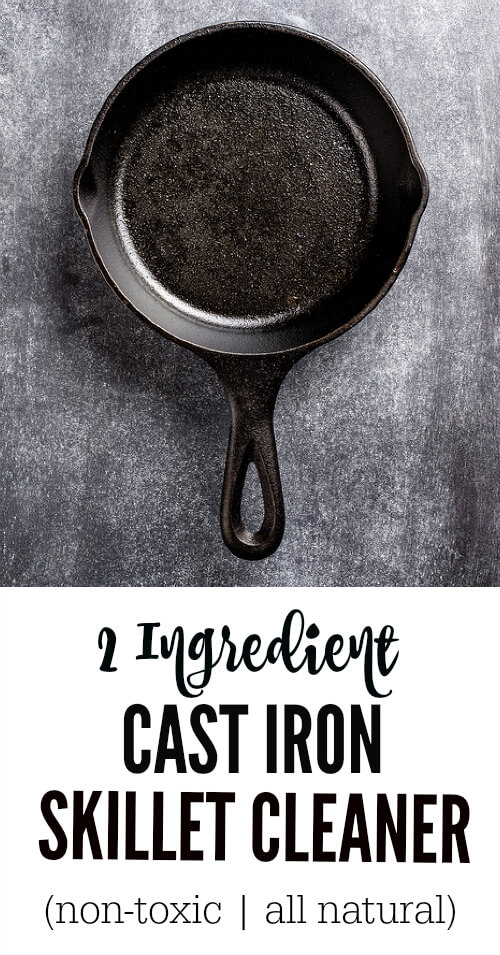
DIY Natural Cast Iron Cleaner
Avoid harsh detergents that can strip away your hard-earned seasoning. Instead, opt for this simple, natural cast iron cleaner:
Ingredients:
- 2 tablespoons baking soda
- 2 tablespoons coarse salt
- 1 tablespoon vegetable oil
Instructions:
- Mix the ingredients into a paste.
- Use a stiff brush (or a non-scratch scrub pad) to scrub the cast iron, focusing on any stubborn food residue.
- Rinse thoroughly with hot water.
- Dry the cast iron completely.
- Re-season lightly with a thin coat of oil after cleaning.
Cast Iron: A Sustainable Choice
In a world of disposable cookware, cast iron stands as a testament to durability and sustainability. With proper care, a cast iron skillet can last for generations, becoming a treasured heirloom. By investing in cast iron, you're choosing a non-toxic and eco-friendly alternative to non-stick pans that often contain harmful chemicals. Plus, a well-seasoned cast iron pan is naturally non-stick, making it a joy to cook with. You are also minimizing waste associated with purchasing and disposing of new cookware every few years. Cast iron's longevity reduces the demand for new resources and lowers your carbon footprint.
By diligently following these winter cast iron care tips, you'll ensure that your trusty cookware remains a steadfast companion throughout the coldest months and beyond, contributing to a more sustainable and delicious homesteading experience. Embrace the warmth of your cast iron and the knowledge that you're preserving a piece of culinary history!