Winter White Wash: Naturally Cleaning Woolens with Snow
As the landscape transforms into a breathtaking panorama of white, winter offers more than just picturesque views. It presents a unique opportunity to embrace traditional homesteading practices, like snow washing, to naturally clean your cherished woolens. Imagine harnessing the power of nature to gently cleanse your blankets, sweaters, and other wool items, leaving them refreshed and revitalized. Snow washing is an eco-friendly, sustainable method that not only utilizes a natural resource but also preserves the precious lanolin in wool, all while imparting a clean, crisp scent that embodies the essence of winter. The dry, below-freezing temperatures are ideal for this method, preventing excessive moisture and ensuring a thorough cleaning. But what makes snow so effective? Its crystalline structure acts like millions of tiny brushes, lifting dirt and impurities without the need for harsh chemicals. Let's explore this time-honored tradition and learn how to bring the winter white wash to your own home.

Materials You'll Need
Before you begin, gather these essential materials to ensure a successful snow washing experience:
- Clean, fresh, powdery snow: The most crucial ingredient! Ensure it's free from dirt, debris, road salt, and animal droppings. Collect enough to completely cover the largest item you plan to wash.
- Soft-bristled brush: A dedicated brush with natural fibers is essential to gently work the snow into the wool. A boar bristle brush is ideal. This prevents cross-contamination from brushes used for other purposes.
- Drying rack: Construct a simple drying rack from sticks or repurposed materials. It should be large enough to accommodate your largest woolen item without folding. (Instructions below)
- Clean, flat surface: Protect your woolens from direct contact with the ground by using a clean, heavy-duty cotton sheet or a durable, chemical-free tarp (such as waxed canvas). A wooden porch or patio works well.
- Natural wool wash (optional): For heavily soiled items, a pH-neutral, lanolin-enriched wool wash can be used for pre-treatment.
- Garden Gloves: Protect your hands from the cold while working with the snow.
Preparing Your Woolens
Proper preparation is key to effective snow washing:
- Brush thoroughly: Begin by brushing the woolen item outdoors to remove loose dirt, dust, pet hair, and debris. Use short, firm strokes in the direction of the fibers.
- Pre-treat stains (if necessary): If the item is heavily soiled, pre-treat stains with a small amount of natural wool wash. Dilute the wash according to the product instructions and spot-treat with a clean, damp cloth.

- Ensure dryness and coolness: Make sure the woolen is completely dry and cool to the touch before snow washing. If recently used, allow it to air out for several hours.
Snow Washing Instructions: A Step-by-Step Guide
Now for the heart of the process! Follow these steps for naturally cleaning your woolens with snow:
- Choose the right day: Select a day with fresh, powdery snow, a clear blue sky, and temperatures consistently below freezing (ideally between 20-30°F). The air should feel crisp and dry.
- Prepare the surface: Lay the prepared surface (sheet or tarp) flat on the snow-covered ground. This will prevent direct contact with the ground and ensure a cleaner wash.
- Lay the woolen item flat: Lay the prepared woolen item flat on the prepared surface, ensuring it is fully extended and wrinkle-free.
- Apply the snow: Evenly distribute a thick layer (approximately 2-3 inches) of fresh snow over the woolen item, covering it completely.
- Work the snow into the fibers: Gently but firmly press the snow into the fibers using your hands (wearing gloves) or a soft-bristled brush. Work in small sections, ensuring the snow makes good contact with the wool.

- Let it sit: Allow the snow to sit on the woolen for 3-4 hours, depending on the level of soiling. Monitor the snow; as it draws out dirt and impurities, it will darken or become discolored.
- Remove the soiled snow: Carefully remove the soiled snow using a wide shovel or your hands. Take care not to re-deposit dirt back onto the woolen. Dispose of the soiled snow away from your water sources and garden.
- Repeat on the other side: Turn the woolen item over and repeat steps 3-7 on the other side.
- Shake off excess snow: Gently shake the woolen to remove any remaining snow. A light dusting of snow clinging to the fibers is acceptable.
Building a Stick Drying Rack: A Homesteading Project
Here's how to create your own rustic drying rack:
- Gather your materials: Gather sturdy, dry, seasoned sticks of similar length (approximately 3-4 feet long and 1-2 inches in diameter). Look for fallen branches of hardwood trees like oak or maple. Approximately 8-10 sticks will be needed for the horizontal drying surface, and 2 Y-shaped sticks for the base.
- Create the base supports: Find two larger, naturally Y-shaped sticks (approx. 2-3 feet tall) to serve as the base supports. The "Y" should provide a stable cradle for the horizontal sticks.
- Assemble the drying surface: Lean the long sticks against the Y-shaped supports, spacing them evenly apart (approx. 4-6 inches) to create a horizontal drying surface. Ensure the rack is level and stable.
- Secure the structure: Secure the sticks with natural twine or biodegradable fiber rope (such as hemp or jute) at each point where they intersect the Y-shaped supports. Tie tight knots to prevent shifting. Ensure the rack is stable before use.
- Optional reinforcement: If desired, drill small holes near the ends of each stick and thread twine through the holes for added security.
Drying Your Woolens: A Patient Process
Patience is key when drying your snow-washed woolens:
- Transfer to the drying rack: Carefully lift the snow-washed woolen item and lay it flat on the drying rack, ensuring it's evenly distributed and not overlapping. Avoid stretching or distorting the fabric.

- Choose a sheltered location: Position the drying rack in a sheltered outdoor location – a covered porch or under the eaves of a building – away from direct sunlight, strong winds, and falling snow. Aim for a location with good air circulation.
- Allow ample drying time: Allow the woolen item to air dry completely. This may take several days (2-5 days), depending on the weather conditions and the thickness of the wool. Turn the item periodically (every 12 hours) to ensure even drying and prevent mildew.
- Check for dryness: Check for complete dryness by pressing your hand firmly against the fabric in several places. If it feels damp or cool, continue drying.
Storing Your Clean Woolens: Protecting Your Investment
Proper storage is essential to maintain the freshness and longevity of your clean woolens:
- Store in a cool, dry, dark place: Once completely dry, store your woolens in a cool, dry, dark place, such as a cedar chest, a linen closet, or a breathable cotton storage bag.
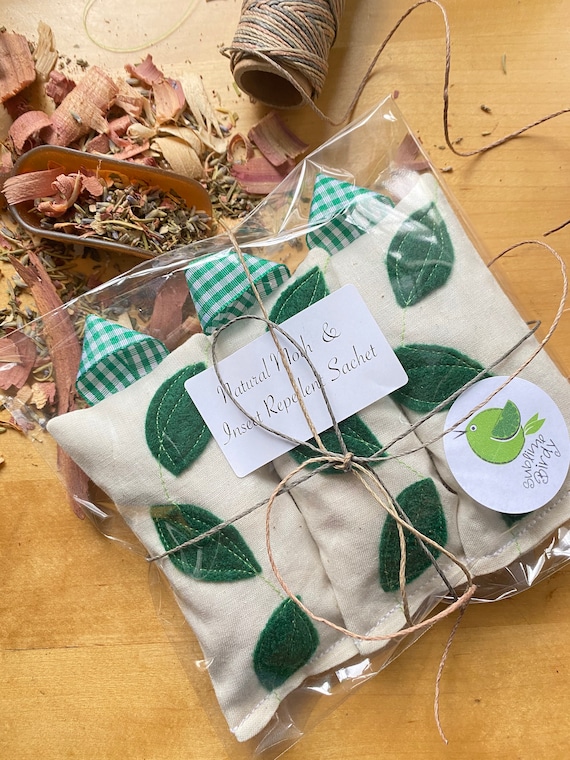
- Use natural moth deterrents: Employ natural moth deterrents, such as cedar blocks, lavender sachets (recipes in previous posts!), or dried herbs (rosemary, thyme, or cloves), to protect them from pests. Place these deterrents directly among the folds of the woolens.

- Wrap delicate items: Consider wrapping delicate items in acid-free tissue paper before storing them.
By following these steps, you can confidently and naturally clean your woolens using the power of winter snow, keeping them fresh and well-maintained for years to come.
Embrace the Winter Ritual

There's a unique sense of satisfaction that comes from embracing natural, time-honored methods to care for our valuable belongings. Snow washing woolens is more than just a cleaning chore; it's a connection to past generations, a deeper appreciation for natural resources, and a mindful ritual that transforms a mundane task into a rewarding experience. So, this winter, embrace the beauty and resourcefulness of the season, and let the snow work its magic on your cherished woolens.