Winter-Ready Garden: 7 Essential Steps for a Thriving Spring
The air is crisp, carrying the scent of woodsmoke from the neighbor’s chimney. The vibrant hues of autumn leaves are slowly fading, leaving behind a landscape preparing for its winter slumber. While the thought of cozy evenings by the fire is appealing, now is the perfect time to give your garden some much-needed TLC. Preparing your garden for winter isn't just about tidying up; it's about laying the groundwork for a flourishing spring. This year, let's go beyond the basics and truly nurture our soil and plants. In this blog post, I’ll share my top 7 essential steps to ensure your garden thrives next spring, drawing on years of experience in organic gardening and sustainable home practices. Get ready to get your hands dirty and set the stage for a bountiful harvest!
1. The Big Clean-Up: Removing Debris and Preventing Pests
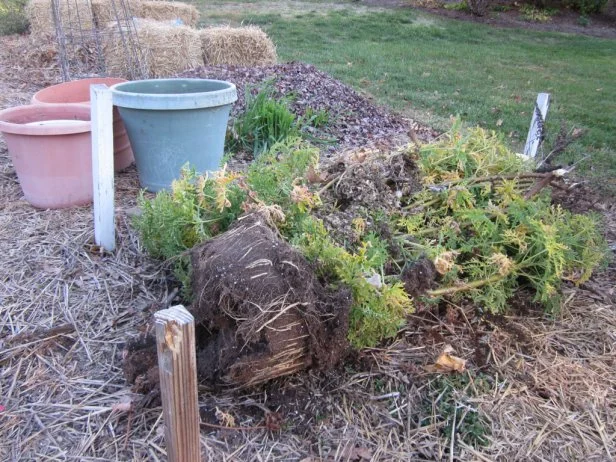
The first step in preparing your garden for winter is a thorough clean-up. Remove all dead or decaying plant matter, fallen leaves, and weeds. This step is crucial in preventing the spread of diseases and pests that can overwinter in your garden. Pests such as squash bugs and bean beetles love to hide in plant debris during the cold months. By removing their shelter, you significantly reduce their population come springtime. Make sure to pull out any weeds, especially those that have gone to seed.  Photo of a gardener carefully removing dead plant stalks and fallen leaves from a garden bed, showcasing the process of cleaning up the garden.
I remember one year, I skipped this step, thinking a little extra "mulch" wouldn't hurt. Come spring, my garden was overrun with squash bugs! I learned my lesson the hard way.
2. Soil Enrichment: Composting for Winter Nourishment
Speaking of mulch, don't toss all those leaves and plant scraps! Instead, turn them into valuable compost. Composting is the heart of organic gardening. Building a healthy compost pile now will provide your garden with nutrient-rich soil come spring. Layer your green materials (vegetable scraps, coffee grounds) with brown materials (dried leaves, straw) in a compost bin or pile. Turn it regularly to aerate and speed up decomposition. If you don’t have a compost bin, consider building a simple one from pallets or using a large plastic container.
 Image of a compost pile steaming in the morning frost, with visible layers of green and brown materials, showing active decomposition.
For an extra boost, consider adding a compost activator, available at most garden centers. I also like to add a handful of rock phosphate to my compost to increase the phosphorus content, which is essential for root development.
3. Cover Cropping: The Natural Soil Builder
If you have empty garden beds, consider planting a cover crop. Cover crops are plants grown specifically to improve soil health. They help prevent erosion, suppress weeds, and add nutrients back into the soil. Some popular cover crops for fall planting include:
- Winter Rye: Tolerates cold temperatures and adds organic matter to the soil.
- Crimson Clover: A beautiful legume that fixes nitrogen in the soil.
- Hairy Vetch: Another legume that's excellent for nitrogen fixation.
- Oats: A fast-growing option that helps suppress weeds.
Sow the seeds of your chosen cover crop according to package instructions. In the spring, you can till the cover crop into the soil to further enrich it or simply cut it down and use it as mulch.
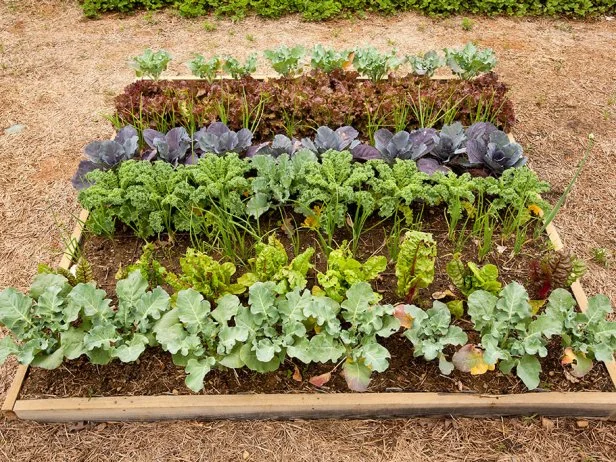 Image of a garden bed densely planted with a green cover crop, showcasing its ability to prevent erosion and suppress weeds.
4. Mulching: Insulating and Protecting Your Soil
Mulching is another essential step in winter garden preparation. A layer of mulch helps insulate the soil, protecting plant roots from extreme temperature fluctuations. It also helps retain moisture and suppress weeds. Suitable mulching materials include:
- Straw: A readily available and affordable option.
- Shredded Leaves: A great way to recycle autumn leaves and add organic matter to the soil.
- Wood Chips: Ideal for perennial beds and pathways.
- Compost: Adds nutrients to the soil as it decomposes.
Apply a layer of mulch 2-4 inches thick around your plants. Be sure to keep the mulch away from plant stems to prevent rot.
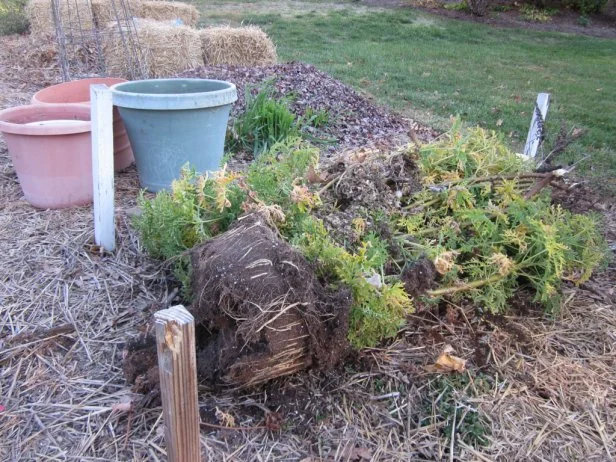 Photo showing a garden bed mulched with straw, demonstrating the process of insulating the soil and protecting plant roots.
5. Protecting Perennials: Winterizing Your Beloved Plants
Certain perennial plants need extra protection during the winter months. These may include tender perennials that are not fully hardy in your climate. To protect them:
- Cut back foliage: Prune back dead or damaged foliage to prevent disease.
- Apply extra mulch: Add a thicker layer of mulch around the base of the plant.
- Wrap tender plants: Wrap sensitive plants with burlap or horticultural fleece for added insulation.
- Move potted plants: Bring potted plants indoors to a cool, bright location.
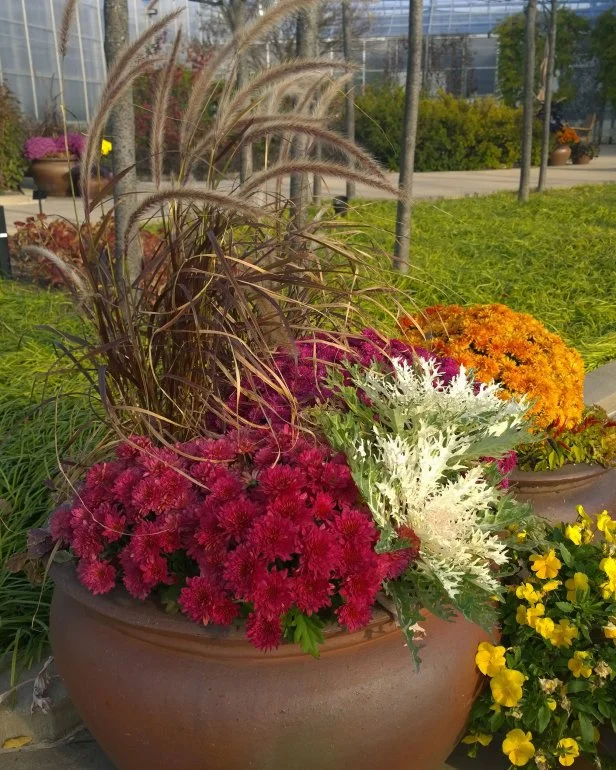 Image of a potted plant wrapped in burlap for winter protection, showcasing a method for insulating tender perennials.
Important Note: Cold weather impacts the nutritional needs of your plants. Now is a great time to check out this resource about plant nutrients from the University of Minnesota Extension Service: Plant Nutrients.
6. Planning for Spring: Seed Ordering and Garden Design
While the garden is resting, it's the perfect time to plan for next spring. Review your garden journal, noting what worked well and what didn't. Order your seeds early to ensure you get the varieties you want. Sketch out your garden layout, considering crop rotation and companion planting.
 Image of someone sitting at a table, reviewing garden plans and seed catalogs, illustrating the process of planning for the upcoming spring season. The image could showcase a cozy farmhouse setting with warm lighting.
Think about adding new elements to your garden, such as a pollinator garden or a raised bed. The possibilities are endless!
7. Tool Maintenance: Preparing for the Next Season
Finally, take the time to clean and maintain your garden tools. Sharpen your pruners and shovels, oil wooden handles, and store your tools in a dry place. This will ensure they are ready for action when spring arrives. A little maintenance now will save you time and frustration later.
 Close-up photo of a gardener sharpening a pair of pruners, showing the process of tool maintenance.
Preparing your garden for winter may seem like a lot of work, but it's an investment that will pay off in a thriving spring garden. By following these simple steps, you'll be setting the stage for a bountiful harvest and a beautiful outdoor space. So, put on your gardening gloves, embrace the crisp autumn air, and get ready to nurture your little slice of earth.
What are your favorite winter gardening tips? Share them in the comments below! Don’t forget to show us your winter-ready gardens using #BetterHomesAndHarvests on Instagram! We can't wait to see what you're up to.