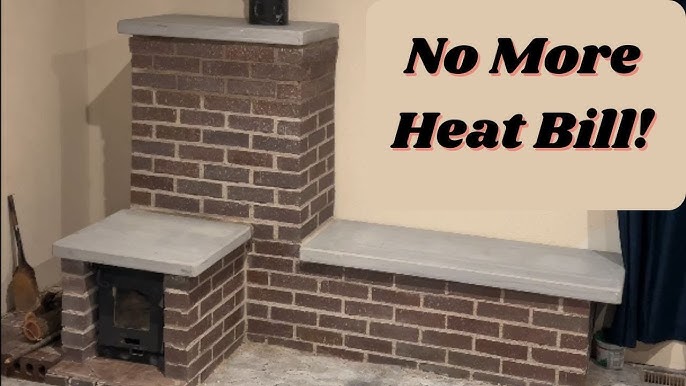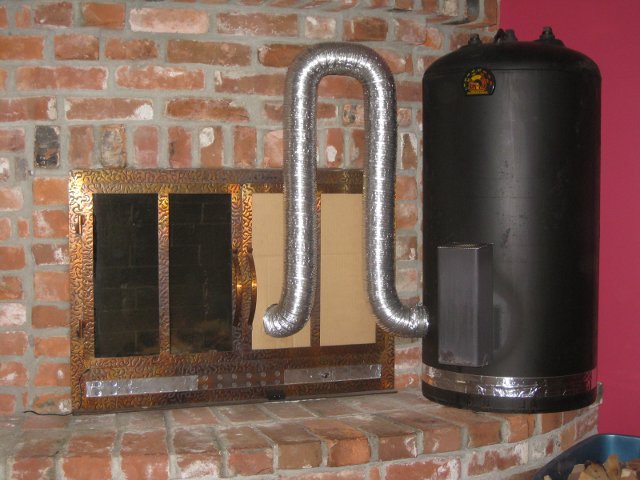
Warm Your Homestead Heart (and Home!) with a DIY Rocket Mass Heater
Are you dreaming of cozy winter nights without the crushing blow of exorbitant heating bills? Do you yearn for the crackle of a fire and the comforting warmth of radiant heat? Then, fellow homesteader, it's time you discovered the magic of the rocket mass heater!
This isn't just another wood stove. A rocket mass heater is a hyper-efficient, budget-friendly heating solution that can transform your chilly living space into a sustainable sanctuary. Imagine relying less on fossil fuels, shrinking your carbon footprint, and feeling the immense satisfaction of heating your home with something you built with your own two hands.
This guide will walk you through building your very own rocket mass heater, using reclaimed materials and simple techniques suitable for all skill levels. Get ready to roll up your sleeves and experience the power of sustainable warmth!
What Exactly IS a Rocket Mass Heater?
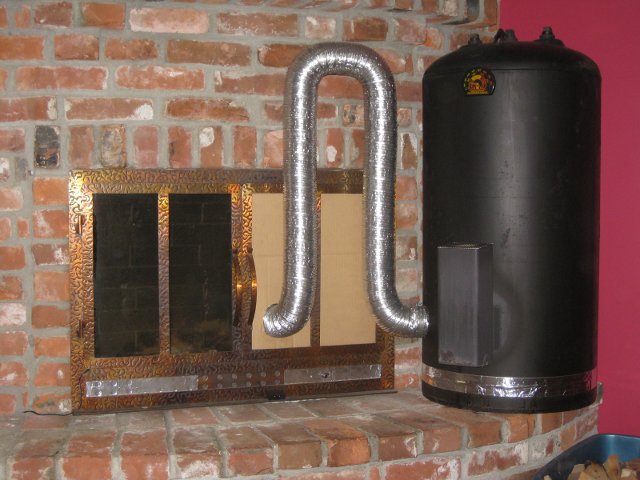
Before we dive into the build, let's understand the genius behind this innovative heating system. Unlike traditional wood stoves that vent much of the heat up the chimney, a rocket mass heater is designed to burn wood extremely efficiently and store the resulting heat in a large thermal mass, like a cob bench. This stored heat then radiates slowly and steadily into your home, providing long-lasting, even warmth.
Key components include:
- The Feed Tube: Where you load the fuel (wood).
- The Combustion Chamber (J-Tube): Where the wood burns intensely and cleanly.
- The Heat Riser: A vertical insulated section that forces hot gases upward, creating strong draft.
- The Heat Exchanger (Barrel): Often a 55-gallon drum, where the hot gases transfer heat to the surrounding mass.
- The Thermal Mass: A cob bench or other structure that absorbs and stores the heat.
- The Chimney: Vents the exhaust gases, which are much cooler than in a traditional wood stove.
Why Choose a Rocket Mass Heater?
- Efficiency: Rocket mass heaters burn wood far more completely than traditional stoves, meaning less wood consumption and less smoke.
- Budget-Friendly: Using reclaimed materials like 55-gallon drums and salvaged bricks significantly reduces costs.
- Sustainable: Reduces your reliance on fossil fuels and minimizes your carbon footprint.
- Comfort: Provides radiant heat, which is much more comfortable and even than the convection heat of a typical wood stove.
- DIY Satisfaction: Building your own heater is an empowering and rewarding experience!
Step-by-Step Guide to Building Your Rocket Mass Heater
Now, let's get to the fun part! This guide outlines the basic steps, but remember to do your research and adapt the design to your specific needs and available materials. Safety is paramount, so consult with experienced builders or take a workshop if you're unsure about any aspect of the build.
1. Gathering Your Materials: The Budget-Conscious Approach
This is where the "budget-friendly" aspect truly shines! Scour your local area for reclaimed materials. Here’s a shopping/scavenging list:
- 55-Gallon Drum: The heart of your heat exchanger. Look for one that previously held non-toxic materials.
- Fire Bricks: Essential for the combustion chamber where intense heat is generated. Salvaged bricks from demolition sites are ideal.
- Regular Bricks: For the outer shell and thermal mass bench (if using brick).
- Insulation: Perlite, vermiculite, or a mixture of clay and straw for insulating the heat riser.
- Clay and Sand: For making cob, the primary material for the thermal mass bench.
- Chimney Pipe: For venting exhaust gases.
- Metal Pipe: For the feed tube and J-tube.
- Gravel or Rock: For the base of the heater.
- Portland Cement: Use sparingly for certain connections, but mostly rely on clay mortar.
2. Constructing the Combustion Chamber (J-Tube)
The J-tube is the engine of your rocket mass heater. It's where the magic happens!
- Shape and Size: The dimensions of the J-tube are crucial for proper combustion. Consult established plans and resources for recommended sizes based on your barrel size.
- Materials: Use fire bricks for the inner walls of the J, as they can withstand the high temperatures.
- Assembly: Carefully arrange the fire bricks to form the J-shape, using clay mortar to hold them together. Ensure a tight seal to prevent air leaks.
- Insulation: Pack the space surrounding the J-tube with insulation (perlite or vermiculite) to retain heat.
3. Building the Heat Riser
The heat riser is a vertical chimney directly above the J-tube.
- Function: It creates a strong draft, pulling hot gases upward and ensuring complete combustion.
- Insulation is Key: Heavily insulate the heat riser to maintain high temperatures and maximize efficiency.
- Material: Use metal pipe (properly insulated) or build a brick structure packed with insulation.
4. Integrating the 55-Gallon Drum (Heat Exchanger)
Now it's time to connect the heat riser to your 55-gallon drum.
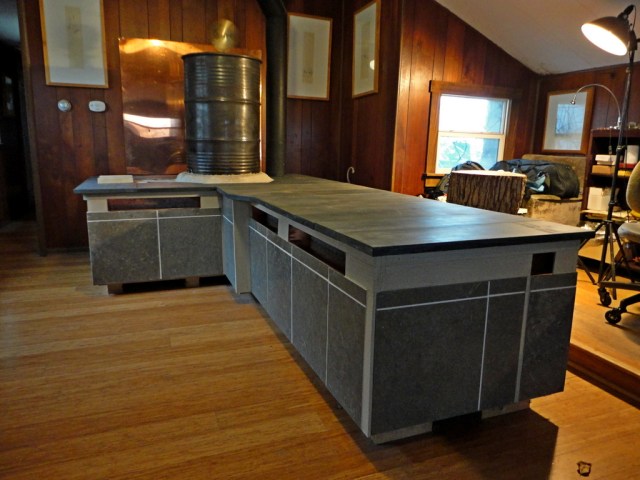
- Placement: Position the drum horizontally above the J-tube and heat riser.
- Connection: Carefully cut a hole in the top of the drum to connect the heat riser. Seal the connection with clay mortar.
- Exhaust Outlet: Create an outlet on the opposite side of the drum for the chimney pipe.
5. Constructing the Thermal Mass Bench (Cob or Brick)
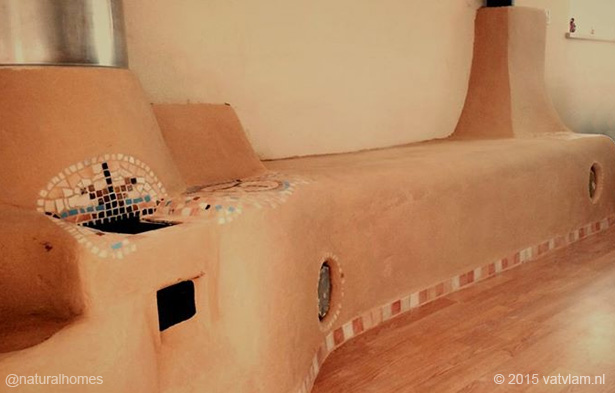
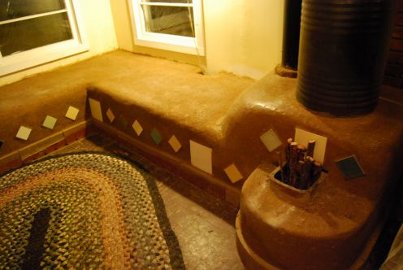
The thermal mass is what sets the rocket mass heater apart. It absorbs the heat from the drum and slowly radiates it into the room. Cob (a mixture of clay, sand, and straw) is a popular and affordable choice.
- Foundation: Build a solid foundation of gravel or rock to support the bench.
- Cob Mixing: Thoroughly mix clay, sand, and straw with water to create a workable cob mixture.
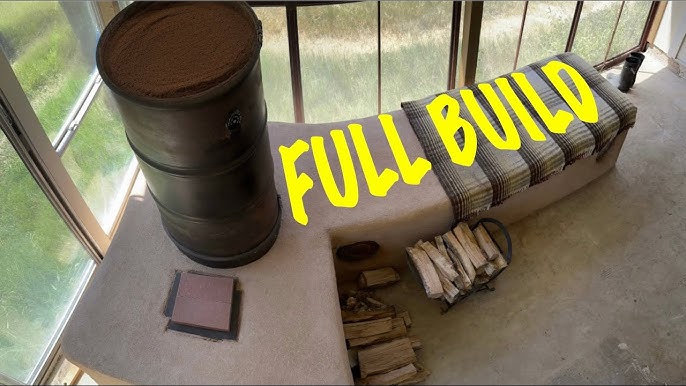
- Bench Construction: Layer the cob around the drum, creating a bench-like structure. Ensure the drum is mostly enclosed in the cob.
- Alternative: Brick Bench: You can also build the bench using reclaimed bricks, using clay mortar to hold them together.
- Airflow: Create airflow channels within the thermal mass to evenly distribute heat.
6. The Chimney: Ensuring Proper Draft
The chimney vents the exhaust gases.
- Placement: Connect the chimney pipe to the outlet on the drum.
- Height: The chimney should be tall enough to create a good draft. Consult local building codes for requirements.
- Sealing: Ensure all connections are tightly sealed to prevent leaks.
7. First Firing and Testing
Before firing up your heater for the first time, carefully inspect all connections and ensure everything is properly sealed. Start with a small fire and gradually increase the amount of wood. Monitor the temperature of the drum and the bench. Be patient – it takes time for the thermal mass to heat up.
8. Tips for Efficient and Safe Operation:
- Use Dry, Seasoned Wood: This is crucial for efficient combustion and minimizing smoke.
- Small, Frequent Loads: Add small amounts of wood frequently rather than large logs.
- Proper Airflow: Ensure adequate airflow to the combustion chamber.
- Monitor the Chimney: Check the chimney regularly for creosote buildup.
- Install a Carbon Monoxide Detector: Safety first!
- Never Leave Unattended: Never leave the heater unattended while it's burning.
Beyond Heating: Rocket Mass Heater Perks
Your rocket mass heater can be more than just a source of warmth. Get creative!
- Cooking: The top of the drum can be used as a cooktop for simmering pots or heating water.
- Seed Starting: Place seedlings near the radiant heat of the bench to give them a head start in the spring.
Troubleshooting Your Rocket Mass Heater
- Smoking Issues: This often indicates poor draft, wet wood, or a blockage in the chimney.
- Inefficient Burning: Ensure you're using dry wood and have proper airflow.
- Overheating: Adjust the amount of wood you're burning to prevent overheating.
The Joy of Sustainable Warmth
Building a rocket mass heater is an investment in your comfort, your wallet, and the environment. It's a challenging but incredibly rewarding project that will connect you to your home and your heat source in a whole new way.
Ready to embark on your DIY heating journey? We'd love to hear about your experiences! What are your biggest heating challenges? What reclaimed materials are you planning to use? Share your questions, photos, and tips in the comments below! Let's build a community of sustainable warmth together!
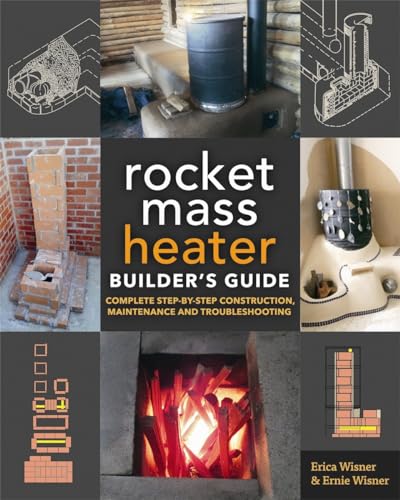
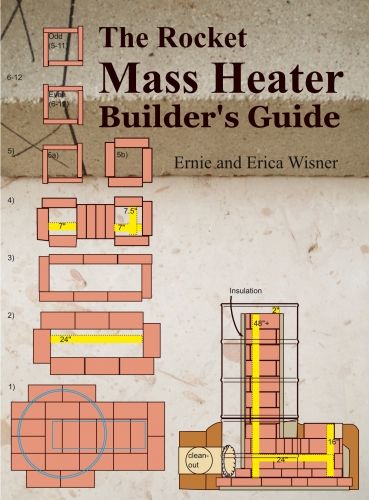
This book, Rocket Mass Heaters, is a great resource for planning your build.
