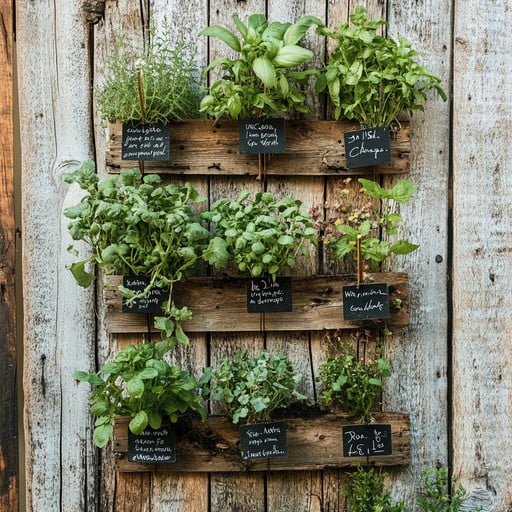
Upcycled Herb Haven: Building a Raised Mediterranean Garden Bed on a Budget
Is there anything quite as delightful as snipping fresh herbs from your garden to add that final flourish to a home-cooked meal? The aroma of rosemary, the zesty kick of oregano – it elevates any dish. But what if you thought you didn't have the space for a full-blown herb garden? Fear not! This DIY project is the perfect solution for small suburban or peri-urban homesteads. We'll show you how to create a beautiful and functional raised Mediterranean garden bed using reclaimed materials – specifically, wooden pallets and old tires! Not only is this project incredibly cost-effective and kind to your wallet, but it's also a fantastic way to upcycle and reduce waste. Let's get started on creating your own little piece of the Mediterranean!

Materials List: Your Toolkit for a Thriving Herb Garden
Before we dive into the building process, let's gather our materials. This project emphasizes sustainability and affordability, so we'll be repurposing common items.
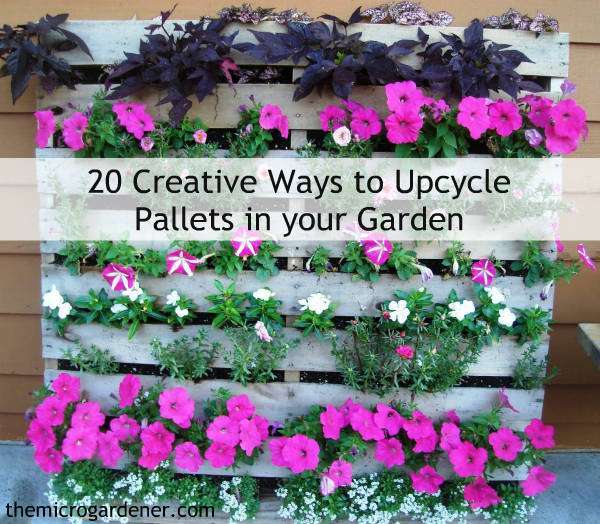
- Reclaimed Wooden Pallets (2-3): Look for heat-treated (HT) pallets to ensure they haven't been treated with harmful chemicals. Pallet dimensions are typically around 4ft x 4ft. The "HT" stamp indicates heat treatment, making them safe for gardening.
- Old Car Tires (2-4): These will add height and visual interest to your garden bed.
- Broken Terracotta Pots: These are essential for drainage (about 5-7 medium-sized broken pots).
- Landscape Fabric: To line the inside of the pallet structure and prevent soil erosion.
- Exterior Wood Screws (2-inch): These will hold the pallet frame together securely.
- Potting Mix: A blend of compost, peat moss, and perlite is ideal for optimal drainage and nutrient retention for your herbs.
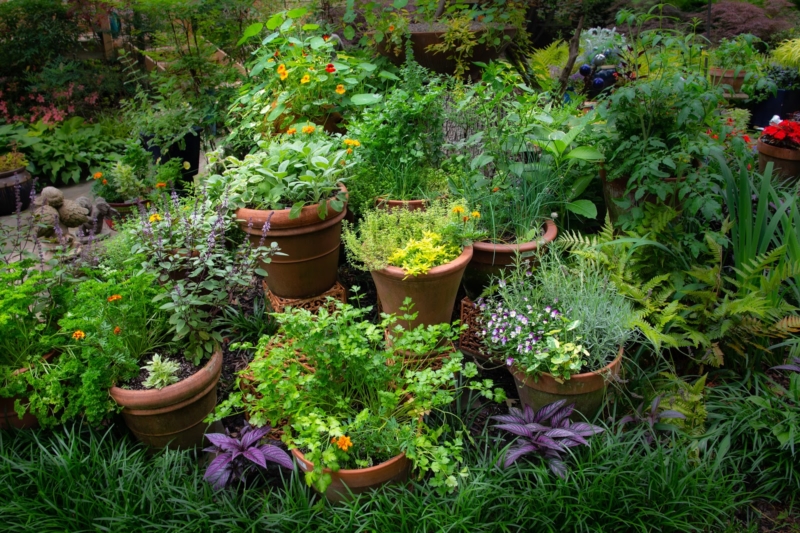
- Mediterranean Herb Seedlings: We recommend Rosemary (Rosmarinus officinalis), Thyme (Thymus vulgaris), Oregano (Origanum vulgare), Lavender (Lavandula angustifolia), and optionally, Sage (Salvia officinalis).
Tools List: Getting the Job Done Right
Having the right tools will make this project much easier and safer.
- Safety Glasses: Protect your eyes from flying debris.
- Gloves: Protect your hands.
- Circular Saw or Hand Saw: For disassembling the pallets.
- Drill with screwdriver bits: To assemble the pallet frame.
- Staple Gun: To secure the landscape fabric.
- Measuring Tape: For accurate measurements.
- Shovel: For moving soil.
- Utility Knife: For cutting the tire sidewalls.
Step-by-Step Instructions: Building Your Upcycled Herb Haven
Now, let's get our hands dirty and build this fantastic herb garden!
1. Pallet Disassembly and Preparation:
Carefully disassemble the pallets using a saw. A specialized pallet pry bar can also be very helpful. Choose the best boards, avoiding any that are heavily damaged, warped, or show signs of chemical treatment beyond the heat treatment mark ("HT"). Remove any nails or staples that remain embedded in the wood. Sort the boards by size and condition – you'll want the sturdiest ones for the frame's corners.
2. Tire Preparation:
First, thoroughly clean the tires with dish soap and a scrub brush to remove any dirt, grime, or residue. Rinse well and let them dry completely. Use a utility knife to carefully cut out one sidewall from each tire. Be extremely cautious when using the utility knife, and always cut away from your body. This creates a larger opening for planting. Add a touch of creativity by painting the tires with bright colors! Use exterior paint specifically designed for rubber to ensure it adheres properly and withstands the elements.

3. Building the Pallet Frame:
Using the disassembled pallet boards, construct a rectangular frame. For a 4ft x 4ft bed, you'll need four boards that are approximately 4ft long for the sides. You'll also need shorter pieces to reinforce the corners. Cut the boards to the desired length. Use the drill and exterior wood screws to connect the boards at the corners. Reinforce each corner by adding an extra piece of wood on the inside, screwing it into both adjoining boards. This will provide extra stability to the frame. Stack and position the tires, setting the pallet frame on top.
4. Lining the Bed:
Line the inside of the pallet frame with landscape fabric. This prevents soil from escaping through the gaps between the boards. Cut the fabric to size, allowing for some overlap at the top edges. Use a staple gun to secure the fabric to the inside of the frame. Ensure the fabric is taut and covers all interior surfaces. Overlap the fabric at the corners to create a secure seal.
5. Creating Drainage:
Create a drainage layer at the bottom of the bed by placing the broken terracotta pot pieces inside. This will help prevent waterlogging and ensure healthy root growth for your herbs. Distribute the pot shards evenly across the bottom of the bed, creating a layer that is a few inches thick.
6. Adding Soil:
Fill the bed with the potting mix. As a reminder, a well-draining mix is crucial for Mediterranean herbs; a blend of compost, peat moss, and perlite works well. Fill the bed to just below the top edge of the pallet frame.
7. Planting the Herbs:
Plant your rosemary, thyme, oregano, lavender, and sage seedlings. Space them according to the plant's mature size (refer to the plant labels for spacing recommendations). Water the seedlings thoroughly after planting.
8. Caring for Your Mediterranean Herb Garden:
- Watering: Water deeply but infrequently, allowing the soil to dry out slightly between waterings. Mediterranean herbs prefer drier conditions.
- Fertilizing: Fertilize sparingly with a balanced organic fertilizer. Over-fertilizing can lead to leggy growth and less flavorful herbs.
- Pruning: Prune regularly to encourage bushier growth and prevent the herbs from becoming woody.
- Harvesting: Harvest herbs regularly to encourage new growth and enjoy their fresh flavor.
- Companion Planting: Consider planting marigolds around your herb garden to deter pests.
- Frost Protection: In colder climates, protect your herbs from frost by covering them with burlap or moving them to a sheltered location during the winter months.
Conclusion
Congratulations! You've successfully built your own upcycled herb haven. This project is a testament to the fact that you don't need a lot of space or money to enjoy fresh, homegrown herbs. The satisfaction of creating something beautiful and functional from reclaimed materials is truly rewarding. Plus, you're contributing to a more sustainable lifestyle. Now, grab your gardening shears, head out to your Upcycled Herb Haven, and start snipping those delicious herbs. We encourage you to share your own DIY gardening projects and successes in the comments below! Happy gardening!