Unwrap Sustainability: Making Your Own Beeswax Food Wraps
Are you tired of single-use plastics cluttering your kitchen and contributing to environmental waste? Do you yearn for a simpler, more sustainable way to store your food? Then it's time to discover the magic of beeswax food wraps! These reusable, eco-friendly wraps are a fantastic alternative to plastic wrap and a perfect project for anyone embracing the homesteading spirit of self-sufficiency. Making your own beeswax wraps is not only incredibly rewarding but also allows you to customize them to your needs and preferences. Let's dive in and unwrap the secrets to creating these amazing kitchen staples!
Why Beeswax Wraps?
Before we get started, let's talk about why beeswax wraps are such a great choice. They're:
- Sustainable: Reduce your reliance on plastic wrap and single-use plastics, minimizing waste.
- Reusable: With proper care, beeswax wraps can last for months, even years.
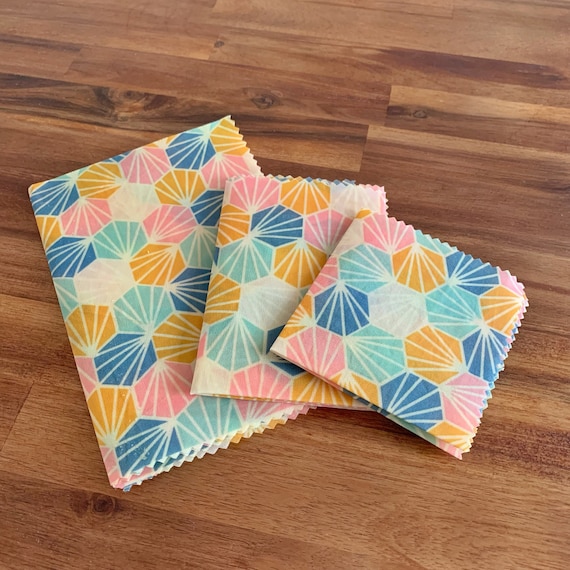
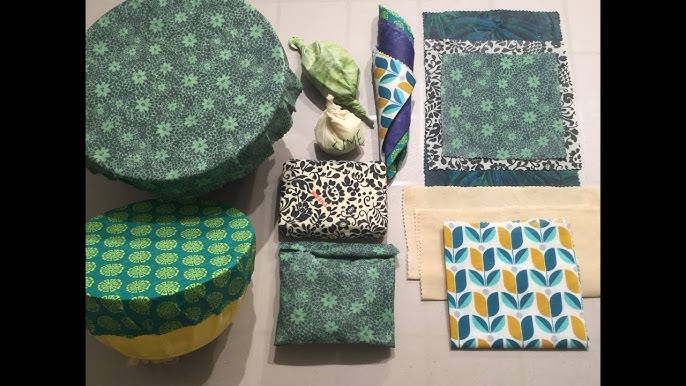
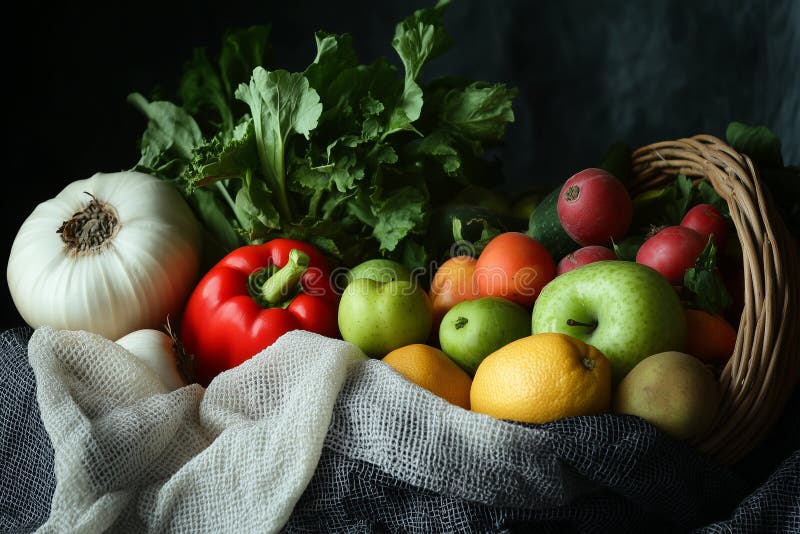
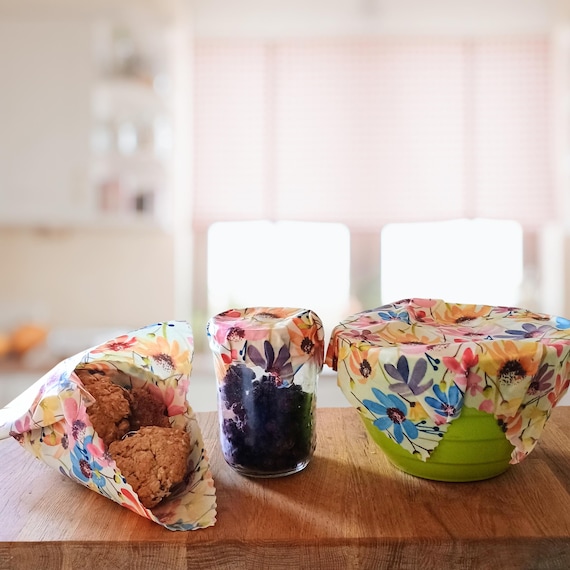
- Versatile: Use them to wrap fruits, vegetables, cheese, bread, leftovers, and more!
- Natural: Made with simple, natural ingredients like beeswax, pine rosin, and jojoba oil.
- Beautiful: Add a touch of rustic charm to your kitchen with colorful and patterned wraps.
Gathering Your Supplies
To embark on this exciting DIY journey, you'll need a few essential materials:
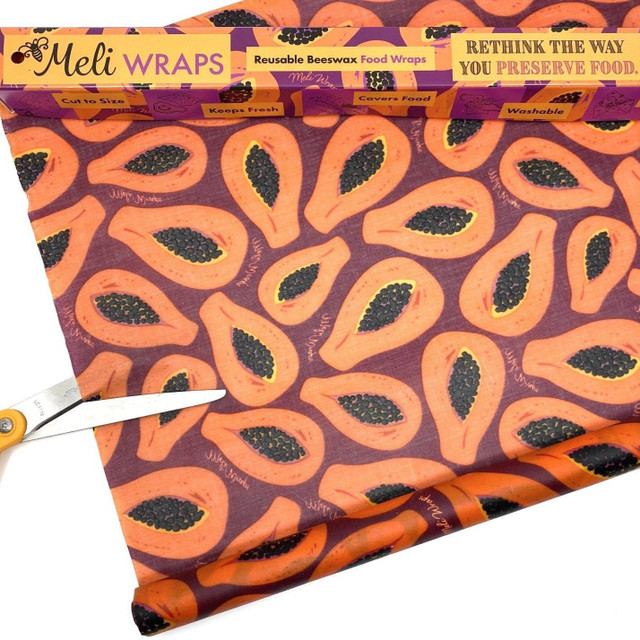
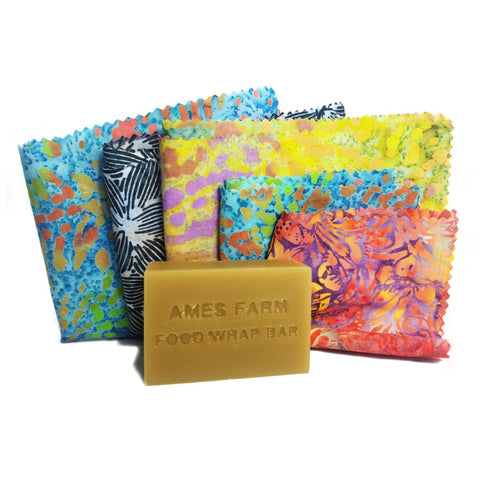
- Organic Cotton Fabric (Pre-washed):
- Hexagon: 12-inch squares - 3 required.
- Leaf shape: Template provided (download link below), 3 required.
It’s essential to pre-wash your fabric to remove any sizing or finishes that may prevent the wax from adhering properly. This ensures a durable and effective wrap.
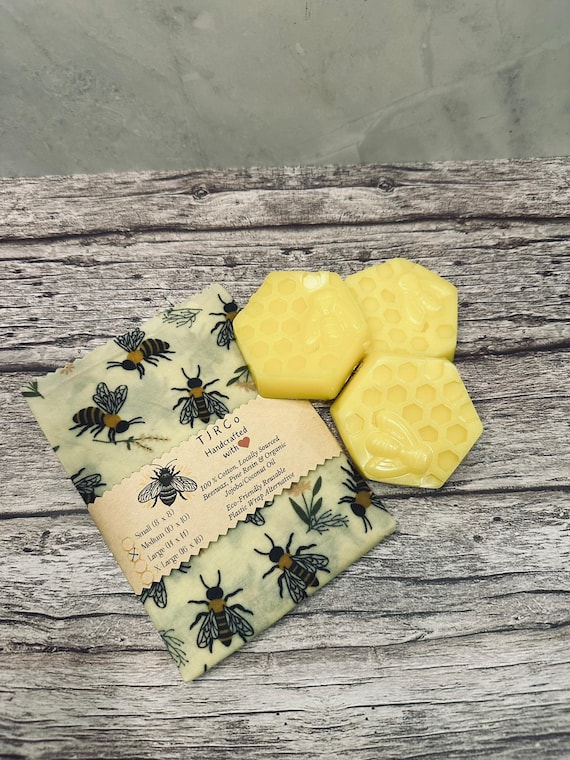
- Locally Sourced Beeswax: 4 ounces. Choosing locally sourced beeswax supports local beekeepers and ensures a high-quality product.
- Pine Rosin: 1 tablespoon. Pine rosin adds tackiness to the wrap, helping it adhere to itself and your food containers.
- Jojoba Oil: 1 tablespoon. Jojoba oil keeps the wraps pliable and prevents them from cracking.
Step-by-Step Guide to Making Beeswax Wraps
Now that you've gathered your supplies, let's get started!
1. Cutting the Fabric
First, you'll need to cut your fabric into the desired shapes. Hexagons are a popular and practical choice, while leaf shapes add a touch of whimsy.
- Hexagons: Simply cut out 12-inch squares.
- Leaf Shapes: Download our handy template here: [Imaginary Beeswax Wrap Template Link] . Print the template, trace it onto your fabric, and carefully cut out the leaf shapes.
Safely Cutting and Shaping Fabric: Always use sharp fabric scissors or a rotary cutter and cutting mat for precise and clean cuts. Take your time and focus on accuracy to ensure your wraps have neat edges. If you're using a template, secure it to the fabric with pins to prevent shifting while cutting.
2. Melting the Wax Mixture
Next, it's time to melt the beeswax, pine rosin, and jojoba oil together. The safest and most effective way to do this is using a double boiler.
- Fill the bottom pot of your double boiler with water and bring it to a simmer.
- Place the beeswax, pine rosin, and jojoba oil in the top pot.
- Place the top pot over the simmering water and stir occasionally until everything is completely melted and smooth.
Important Safety Note: Monitor the wax carefully to avoid overheating or fire hazards. Never leave the double boiler unattended. Beeswax is flammable, so it's crucial to keep the heat low and be vigilant. As the wax melts, you'll notice a gentle, honeyed aroma filling your kitchen. The subtle scent of pine from the rosin will mingle with the sweet beeswax, creating a truly comforting and natural fragrance.
3. Applying the Wax
Now for the fun part!
- Preheat your oven to 200°F (93°C).
- Line a baking sheet with parchment paper.
- Place your fabric shapes on the parchment-lined baking sheet.
- Using a natural-bristle paintbrush, evenly brush the melted wax mixture over the fabric, ensuring it's completely saturated.
As you brush the wax onto the fabric, you'll see it transform into a glistening, almost translucent layer. The fabric will absorb the wax, creating a beautiful, textured surface. Make sure to get the edges well!
4. Setting the Wraps
Time to set the wax!
- Place the baking sheet in the preheated oven for 2-3 minutes, or until the wax is evenly distributed and appears melted.
- Remove the baking sheet from the oven and use tongs to carefully lift the wraps one at a time.
- Hold the wraps up for a few seconds to allow any excess wax to drip off.
- Lay the wraps flat on a clean surface or hang them to cool completely. This will only take a few minutes.
Cleaning and Storing Your Beeswax Wraps
To keep your beeswax wraps in tip-top shape, follow these simple cleaning and storage guidelines:
- Cleaning: Wash your wraps with cool water and mild, natural, fragrance-free soap. Avoid hot water, as it can melt the wax. Gently scrub with a soft cloth or sponge.
- Drying: Air dry your wraps completely before storing.
- Storing: Store your wraps flat or rolled in a cool, dry place. Avoid direct sunlight and heat, which can melt the wax.
Troubleshooting Common Challenges
Sometimes, things don't go exactly as planned. Here are a few common challenges and how to overcome them:
- Uneven Coating: If you notice areas where the wax is too thick or too thin after baking, use a heat gun or hairdryer on low heat to gently redistribute the wax.
- Wraps Being Too Sticky: If your wraps are excessively sticky, it could be due to too much pine rosin. For future batches, try reducing the amount of pine rosin or adding a bit more beeswax.
Embrace the Sustainable Kitchen
Making your own beeswax food wraps is a simple yet powerful way to reduce plastic waste, embrace a slower, more sustainable lifestyle, and connect with the joy of creating homemade goods. Experiment with different fabric patterns, shapes, and sizes to create a collection of wraps that perfectly suit your needs.
We can’t wait to see your creations! Share your beeswax wrap masterpieces on social media using the hashtag #BetterHomesWraps.
P.S. For an extra touch of natural fragrance, consider adding a few drops of essential oil, such as lavender or lemon, to the wax mixture. Just be sure to use food-safe essential oils.