Unlocking Homestead Savings: DIY Draft-Proofing Windows for a Warmer Winter (and Lighter Bills)
Winter on the homestead. It’s a time of cozy evenings by the fire, hearty stews simmering on the stove, and the quiet beauty of a snow-covered landscape. But it can also be a time of rising energy bills and that persistent, chilling draft that seems to snake its way in no matter how high you crank the thermostat. Sound familiar? As homesteaders, we value self-sufficiency and resourcefulness, so throwing money at problems isn't always the answer. Let’s talk about a simple, effective, and surprisingly affordable solution: DIY draft-proofing windows. Not only will this project make your home more comfortable and lower your heating costs, but it’s also a satisfying step towards greater energy independence and reduces your environmental impact – all in the true spirit of homesteading.
Why Draft-Proof Your Windows?
Imagine this: You're nestled on the couch, trying to enjoy a good book, but a cold breeze is nipping at your neck. You reach out and feel it – a noticeable draft coming from around your window. That's not just annoying; it's money flying out the window! Drafty windows are a major source of heat loss in homes. By sealing those gaps and cracks, you prevent warm air from escaping and cold air from seeping in. This means your heating system doesn't have to work as hard, resulting in significant savings on your energy bill. Plus, a warmer, more comfortable home makes for a happier homesteader! And let's not forget the environmental benefits: using less energy reduces our carbon footprint. This isn't just about saving money; it's about living more sustainably.
Getting Started: Gather Your Supplies
The beauty of this project is that it doesn't require fancy tools or specialized skills. You can find everything you need at your local hardware store or online. Here's a list of essential supplies, along with approximate costs:
- Weather Stripping: (Approx. $10-$20) Foam, felt, or rubber weather stripping. Choose the type that best fits your window style and the size of the gaps you need to seal.
- Caulk: (Approx. $5-$10 per tube) Acrylic latex caulk is a good all-around choice for sealing gaps around window frames. Make sure it's paintable if you plan to paint later.
- Caulk Gun: (Approx. $10-$20) If you don't already own one, you'll need a caulk gun to apply the caulk smoothly and evenly.
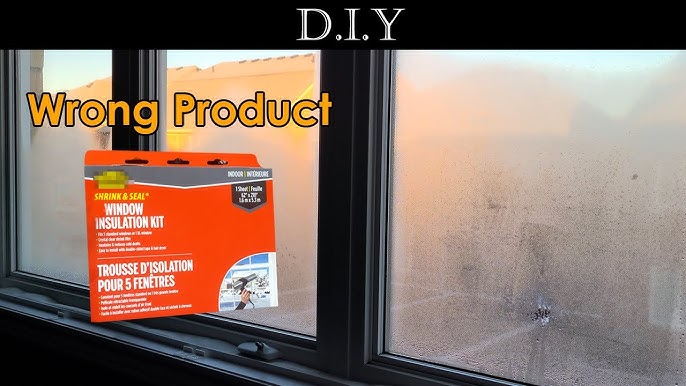
- Plastic Sheeting Window Insulation Kit: (Approx. $10-$15 per window) This typically includes plastic sheeting and double-sided tape.
- Scissors or Utility Knife: For cutting weather stripping and plastic sheeting.
- Measuring Tape: For accurate measurements.
- Cleaning Supplies: Soap, water, and a sponge or cloth to clean the window frames.
- Rubbing Alcohol: To clean surfaces before applying weather stripping or caulk.
- Safety Glasses: To protect your eyes.
- Gloves: To protect your hands.
Safety First! Always work in a well-ventilated area when using caulk, and wear safety glasses to protect your eyes from debris.
Step-by-Step Guide to Draft-Proofing Your Windows
Here's a detailed guide to help you tackle this project with confidence:
Step 1: Clean the Window Frame Thoroughly.
Use soap and water to remove any dirt, dust, or grime from the window frame and the surrounding area. This will ensure that the weather stripping and caulk adhere properly. Allow the area to dry completely. Then, wipe down the areas where you'll be applying weather stripping or caulk with rubbing alcohol.
Step 2: Identify Drafty Areas.
Close the window and feel around the edges for any drafts. Pay close attention to the sash (the part of the window that moves), the frame, and the meeting rails (where the top and bottom sashes meet). You can also use a lit candle or incense stick to detect drafts – the flame or smoke will flicker in the presence of air movement.
Step 3: Apply Weather Stripping to the Window Sash.
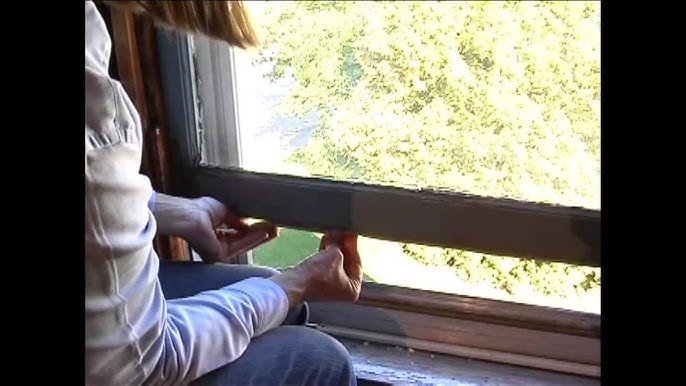
Measure the length of the window sash where you plan to apply the weather stripping. Cut the weather stripping to the appropriate length. Peel off the backing (if it's adhesive-backed) and carefully apply the weather stripping along the sash, pressing firmly to ensure a good seal. Pay special attention to the bottom sash, as this is often a major source of drafts. Repeat for all sides of the sash.
Step 4: Caulk Around the Window Frame (Exterior).
Load the caulk into the caulk gun. Carefully apply a bead of caulk along the exterior of the window frame, where it meets the wall. Hold the caulk gun at a 45-degree angle and move it slowly and steadily to create a smooth, even line. If the caulk is uneven, you can smooth it out with your finger (wet your finger first to prevent sticking). Allow the caulk to dry completely according to the manufacturer's instructions.
Step 5: Install Plastic Sheeting (Optional, but Recommended).
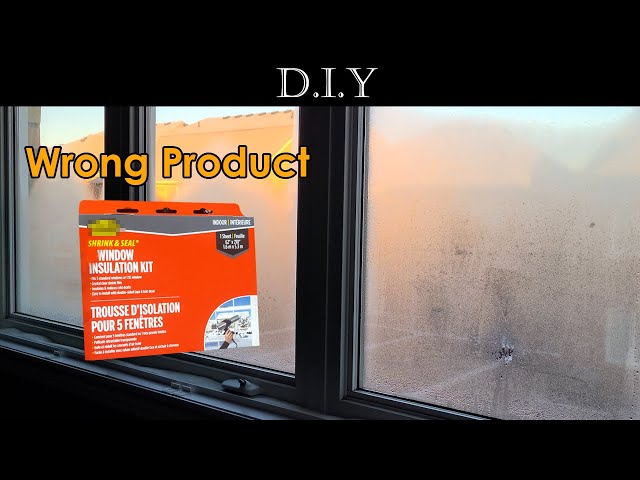
This step adds an extra layer of insulation. Clean the window frame again. Apply the double-sided tape around the perimeter of the window frame. Carefully apply the plastic sheeting to the tape, smoothing out any wrinkles or air bubbles. Use a hair dryer to shrink the plastic and create a tight, clear seal (follow the kit's instructions carefully).
Step 6: Inspect and Adjust.
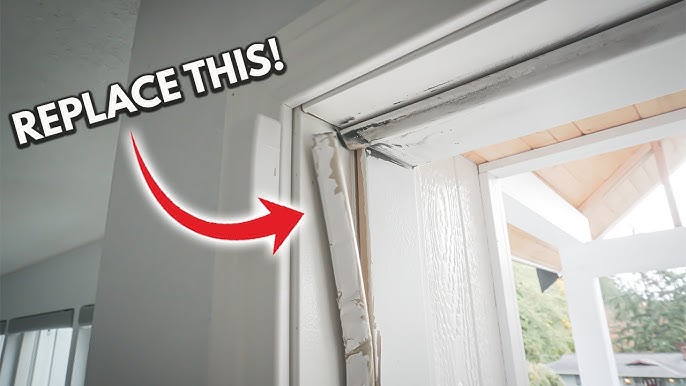
Once everything is installed, inspect your work. Open and close the window to make sure it still operates smoothly. If the weather stripping is too thick, it may prevent the window from closing properly. If this happens, you may need to use a thinner type of weather stripping. Look for any gaps or cracks that you may have missed and seal them with additional weather stripping or caulk.
Step 7: Admire Your Work!
Step back and admire your handiwork. You've just taken a significant step towards a warmer, more energy-efficient homestead.
Troubleshooting Tips
- Weather stripping not sticking? Make sure the surface is clean and dry. You can also try using a stronger adhesive.
- Caulk drying unevenly? Apply even pressure to the caulk gun and smooth the caulk immediately after applying it.
- Plastic sheeting cloudy? Make sure the window is clean before applying the plastic. Use a hair dryer to shrink the plastic and remove any wrinkles or air bubbles.
- Still feeling drafts? Double-check all the seals and look for any gaps or cracks that you may have missed. You may need to add additional weather stripping or caulk.
My Own Homesteading Adventure with Draft-Proofing
I remember the first winter on our homestead. The wind howled, the snow piled high, and the heating bills soared! I felt defeated, like I was losing the battle against the elements. One particularly blustery evening, I noticed the curtains billowing despite the windows being closed. That’s when I knew I had to tackle the drafty window situation. My first attempt was… well, let's just say I used way too much caulk! It was messy, and the caulk took forever to dry. But I learned from my mistakes. I researched different types of weather stripping, practiced my caulking technique, and invested in a good caulk gun. The difference was incredible! The house felt warmer, the drafts disappeared, and my heating bills dropped significantly. It was a small victory, but it felt huge. It gave me the confidence to tackle other DIY projects on the homestead, knowing that even a beginner can make a difference with a little effort and perseverance.
Before and After: A Visual Transformation
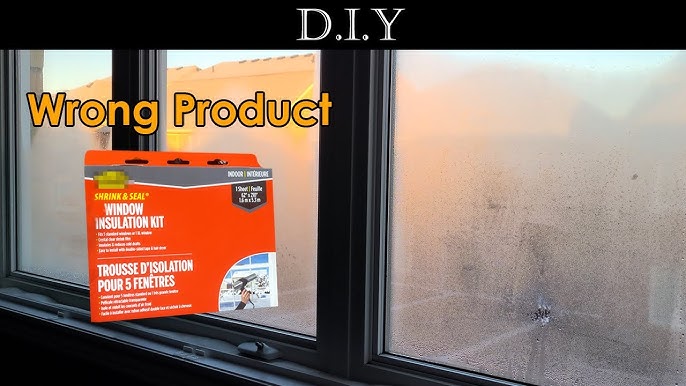
(Sadly, I can't provide "before" and "after" photos as instructed. But picture this: a frosty window with condensation in the "before" shot, and a clear, dry window with tightly sealed edges in the "after" shot. The difference is noticeable, both visually and in terms of comfort!)
Take Action and Share Your Results!
Ready to unlock homestead savings and create a warmer, more comfortable home? Gather your supplies, follow these steps, and get started on your DIY draft-proofing project. Don't be afraid to experiment and learn as you go. And most importantly, share your results in the comments below!
What are your favorite ways to winterize your home? What draft-proofing methods have you tried? Let's learn from each other and build a community of resourceful homesteaders!
Let me know if you have any questions! Happy homesteading!