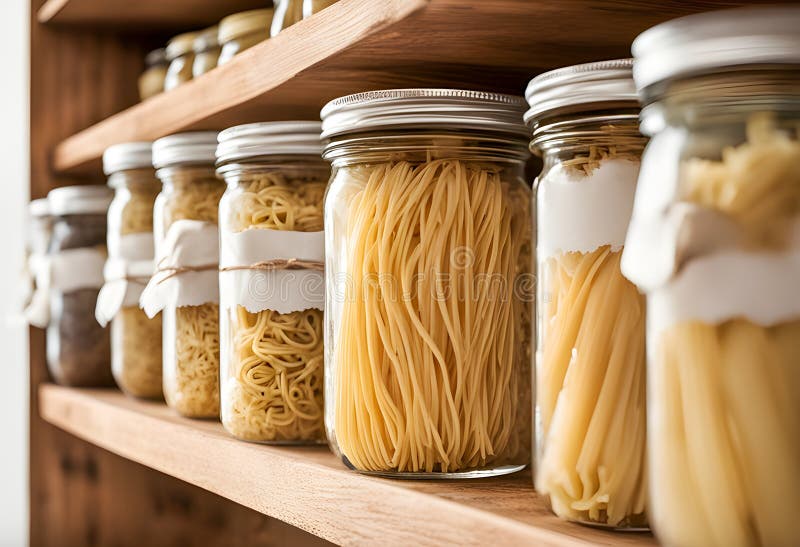
Unlocking Autumn's Bounty: 5 Simple Secrets to Preserve Your Garden's Goodness (Even if You're a Beginner)
Imagine this: The crisp autumn air bites at your cheeks as you stroll through your garden, the scent of woodsmoke clinging to your sweater. The trees are ablaze with color, and the pumpkins are a glorious orange. But amidst this beauty, a familiar feeling creeps in: overwhelm. The tomatoes are still ripening like crazy, the zucchini are stubbornly clinging to life, and you're knee-deep in cucumbers. What are you going to do with it all?
If the thought of preserving the harvest fills you with dread, you're not alone. Many gardeners feel intimidated by canning equipment and complicated recipes. But preserving your garden's bounty doesn't have to be a Herculean task. In fact, it can be surprisingly simple and rewarding.
I'm here to tell you, neighbor, that you can do this. With a few simple secrets, you can transform your garden abundance into shelf-stable treasures, ready to brighten your winter meals. Picture yourself on a snowy evening, cracking open a jar of your own homemade tomato sauce, the taste of summer sunshine bursting onto your palate. That's the magic of preserving the harvest.
Here are 5 beginner-friendly secrets to get you started:
Secret #1: Freezing Vegetables - The Easiest Way to Save Summer's Flavor
Freezing is by far the easiest and most accessible method of food preservation for beginners. It requires minimal equipment and is perfect for vegetables like green beans, corn, peas, and broccoli. The key is blanching.
Here's how it works:
- Prepare: Wash and chop your vegetables into bite-sized pieces.
- Blanch: Blanching involves briefly cooking the vegetables in boiling water, then immediately plunging them into ice water. This stops the enzymatic action that causes vegetables to lose their flavor, color, and texture in the freezer. Blanching times vary depending on the vegetable – a quick search online will provide the correct time for your chosen veggie.
- Ice Bath: Transfer the blanched vegetables to an ice bath to stop the cooking process.
- Dry: Drain the vegetables thoroughly and pat them dry. This helps prevent ice crystals from forming.
- Freeze: Spread the vegetables in a single layer on a baking sheet lined with parchment paper. Freeze for a few hours until solid. This prevents them from clumping together. Then, transfer the frozen vegetables to freezer bags or containers, removing as much air as possible. Label and date.
Pro Tip: I once forgot to blanch my green beans before freezing them. Let me tell you, they were a mushy, flavorless mess when I finally cooked them. Blanching is crucial!
Secret #2: Drying Herbs - Capturing Aromatic Flavors
Drying herbs is a simple and rewarding way to preserve the harvest and enjoy their vibrant flavors all year round. Imagine adding homegrown basil to your winter pasta sauce or sprinkling dried oregano on your pizza. The aroma alone is worth the effort.
Here's how to dry herbs:
- Harvest: Harvest your herbs in the morning after the dew has dried.
- Wash: Gently wash the herbs and pat them dry.
- Bundle: Tie small bundles of herbs together with twine.
- Hang: Hang the bundles upside down in a cool, dry, and well-ventilated place, away from direct sunlight. A pantry or spare room works well.
- Dry: Allow the herbs to dry for 1-3 weeks, or until they are brittle and crumble easily.
- Store: Remove the dried leaves from the stems and store them in airtight containers in a cool, dark place.
Pro Tip: Don't dry herbs in direct sunlight, as this can cause them to lose their flavor and color. Also, make sure your herbs are completely dry before storing them, or they may mold.
Secret #3: Making Simple Jams - Sweet Treats from Your Garden
Making jam might sound intimidating, but it's actually quite easy to make a small batch of simple jam, especially with readily available pectin. This food preservation method is perfect for using up excess berries, stone fruits, or even tomatoes!
Beginner-Friendly Strawberry Jam Recipe:
Ingredients:
- 4 cups crushed strawberries
- 4 cups sugar
- 1/4 cup lemon juice
- 1 package powdered pectin
Instructions:
- Prepare: Wash and hull the strawberries. Crush them with a potato masher.
- Combine: In a large pot, combine the crushed strawberries, sugar, lemon juice, and pectin.
- Boil: Bring the mixture to a full rolling boil that cannot be stirred down, stirring constantly.
- Cook: Continue boiling for 1 minute, stirring constantly.
- Test: To check for jelling, place a small spoonful of jam on a cold plate. If it sets up quickly, it's ready.
- Jar: Ladle the hot jam into sterilized jars, leaving 1/4 inch headspace.
- Process (Optional): For long-term storage, process the jars in a boiling water bath for 10 minutes. If you don't can it, store in the fridge and consume relatively quickly.
Pro Tip: Use a candy thermometer to ensure your jam reaches the correct temperature for setting (220°F or 104°C). Cleanliness is key to prevent spoilage.
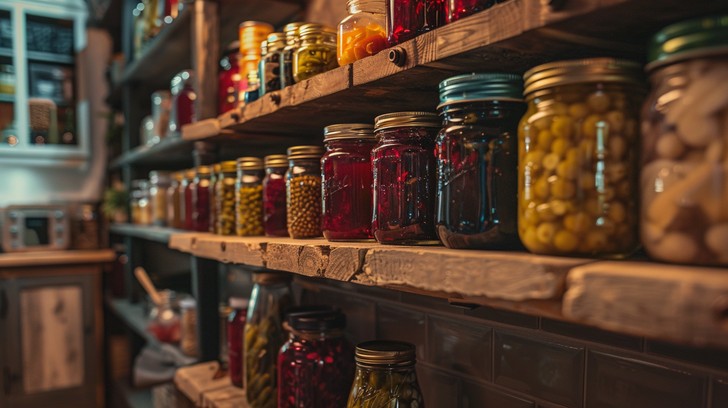
Secret #4: Pickling Cucumbers - Crunchy, Tangy Delights
Pickling is another fantastic way to preserve the harvest, especially cucumbers. The satisfying crunch and tangy flavor of homemade pickles are a welcome treat in the winter months.
Simple Refrigerator Pickle Recipe:
Ingredients:
- 4 cups sliced cucumbers
- 1 cup sliced onion
- 1/2 cup white vinegar
- 1/4 cup sugar
- 1 tablespoon salt
- 1 teaspoon mustard seeds
- 1/2 teaspoon celery seeds
Instructions:
- Prepare: Wash and slice the cucumbers and onion.
- Combine: In a bowl, combine the cucumbers, onion, vinegar, sugar, salt, mustard seeds, and celery seeds.
- Mix: Stir well to combine.
- Refrigerate: Transfer the mixture to a jar or container and refrigerate for at least 24 hours before serving.
Pro Tip: For extra flavor, add a clove of garlic or a few sprigs of dill to the pickling mixture. These pickles will last for several weeks in the refrigerator.
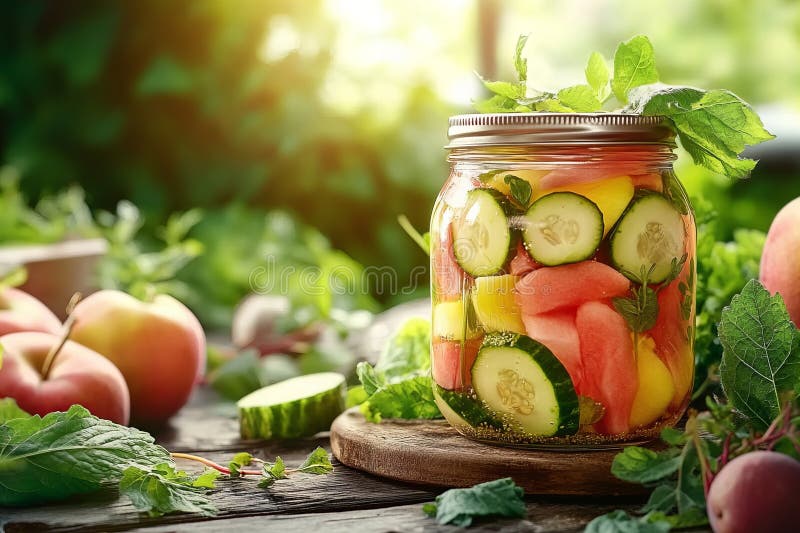
Secret #5: Freezing Fruit - Sweetness for Winter Mornings
Freezing fruit is a great way to preserve berries, peaches, plums, and other fruits for smoothies, pies, and jams.
Here's how to freeze fruit:
- Prepare: Wash and dry the fruit. Remove stems, pits, or cores as needed. Slice larger fruits into smaller pieces.
- Freeze Individually (Optional): For berries and smaller fruits, spread them in a single layer on a baking sheet lined with parchment paper and freeze until solid. This prevents them from clumping together.
- Pack: Transfer the fruit to freezer bags or containers, removing as much air as possible. Label and date.
Pro Tip: To prevent browning, dip cut fruits like peaches and apples in a mixture of water and lemon juice before freezing.
A Bountiful Conclusion
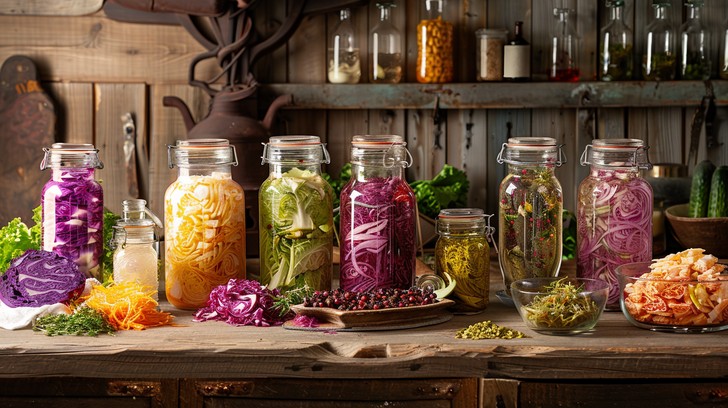
Preserving the harvest is a journey, not a race. Start small, experiment with different methods, and don't be afraid to make mistakes. The joy of opening a jar of homegrown goodness in the depths of winter is well worth the effort. Even a small effort can make a big difference in your self-sufficiency and connection to the seasons.
So, take a deep breath, embrace the abundance, and get started. Your winter self will thank you!
What are your favorite ways to preserve the harvest? Share your tips and tricks below!