Unlocking Autumn's Bounty: 5 Easy Ways to Preserve Your Garden Harvest
The crisp autumn air carries the scent of woodsmoke and decaying leaves – a bittersweet reminder of summer's end and a call to action in the garden. The pumpkins are glowing orange, the last tomatoes are ripening, and the herbs are bursting with flavor. But what to do with all that beautiful homegrown produce? Letting it go to waste is simply not an option!
In this post, you'll discover five simple, time-tested methods to preserve your abundant fall harvest, ensuring you enjoy the fruits (and vegetables!) of your labor all winter long. From freezing to dehydrating, we'll cover techniques that are perfect for beginners and experienced homesteaders alike. You'll not only save money by preserving your harvest, but you'll also enjoy the unparalleled flavor of homegrown food long after the garden fades.
Ready to transform your garden's bounty into delicious winter meals?

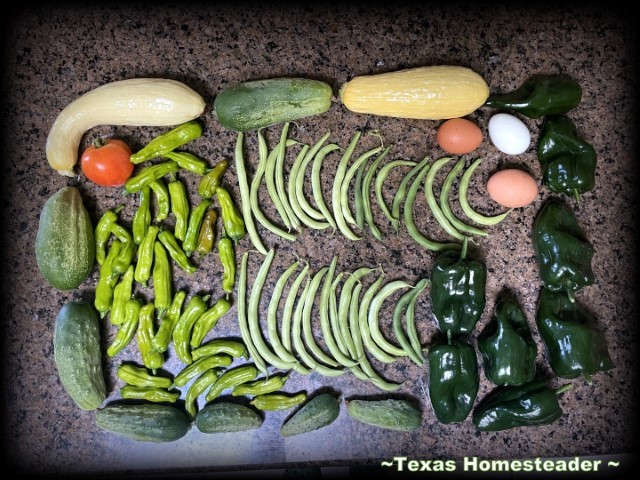
Preserving the autumn harvest ensures you can enjoy your homegrown produce all year round.
1. Freezing for Freshness: A Beginner's Guide
Freezing is arguably the easiest and quickest way to preserve many garden vegetables and fruits. It retains much of the fresh flavor and nutrients, making it a fantastic option for busy gardeners. Think of it as hitting the "pause" button on summer!
How to Freeze Your Garden Goodies:
- Wash and Prepare: Thoroughly wash your produce and cut it into usable sizes. For example, dice tomatoes, slice zucchini, or trim green beans.
- Blanching (Important for Most Vegetables): Blanching involves briefly immersing vegetables in boiling water, then immediately plunging them into ice water. This stops enzyme activity that can cause discoloration and loss of flavor during freezing. Refer to a blanching chart for specific times for each vegetable.
- Flash Freeze (Optional but Recommended): Spread the prepared vegetables in a single layer on a baking sheet and freeze for a couple of hours. This prevents them from clumping together in the freezer bag.
- Package and Freeze: Transfer the flash-frozen (or blanched) vegetables to freezer-safe bags or containers. Remove as much air as possible to prevent freezer burn. Label with the contents and date.
Examples & Tips:
- Tomatoes: Core, blanch for 30-60 seconds, peel, and freeze whole or diced. Roasting tomatoes before freezing concentrates their flavor and reduces mushiness upon thawing.
- Green Beans: Trim, blanch for 2-3 minutes, and freeze.
- Zucchini & Summer Squash: Slice or dice, blanch for 1-2 minutes, and freeze.
- Berries: Wash, dry thoroughly, flash freeze, and then package.
Troubleshooting:
- Mushy Vegetables: Over-blanching or improper packaging can lead to mushy vegetables. Follow blanching times carefully and remove as much air as possible from freezer bags.
- Freezer Burn: Freezer burn occurs when food is exposed to air in the freezer. Use freezer-safe bags or containers and remove excess air.
2. Dehydrating Delights: Creating Nutrient-Rich Snacks
Dehydrating is a fantastic way to create shelf-stable snacks and ingredients from your garden harvest. From crispy kale chips to flavorful dried herbs, the possibilities are endless. Plus, dehydrated foods take up minimal storage space!

Dehydrating is a space-saving way to preserve the intense flavors of your homegrown herbs and vegetables.
How to Dehydrate Your Garden's Bounty:
- Prepare: Wash and slice your produce. Thin, even slices are key for consistent drying.
- Pre-Treatment (Optional): Some fruits benefit from a pre-treatment to prevent browning. For example, dip apple slices in lemon juice.
- Arrange: Spread the sliced produce in a single layer on dehydrator trays.
- Dehydrate: Follow the manufacturer's instructions for your dehydrator. Drying times will vary depending on the produce and the dehydrator. Generally, you want to dehydrate until the food is leathery or brittle.
- Condition: After dehydrating, place the food in an airtight container and check for condensation over the next few days. If condensation appears, return the food to the dehydrator for further drying.
Examples & Tips:
- Herbs: Hang bunches of herbs upside down in a dark, well-ventilated area, or dehydrate them in a dehydrator. Store dried herbs in airtight containers.
- Tomatoes: Slice thinly and dehydrate for sun-dried tomatoes.
- Apples: Core and slice thinly, dip in lemon juice, and dehydrate for apple chips.
- Kale: Wash, remove the tough stems, massage with olive oil (optional), and dehydrate for kale chips.
Troubleshooting:
- Mold Growth: Inadequate drying can lead to mold growth. Make sure your food is thoroughly dried and properly conditioned before storing.
- Uneven Drying: Uneven slicing can cause some pieces to dry faster than others. Aim for consistent slices.
3. The Art of Pickling: Tangy and Delicious Preservation
Pickling is a time-honored method of preserving food in a brine of vinegar, salt, and spices. It not only extends the shelf life of your garden vegetables but also adds a delicious tangy flavor. Pickled cucumbers, peppers, and green beans are classic favorites.

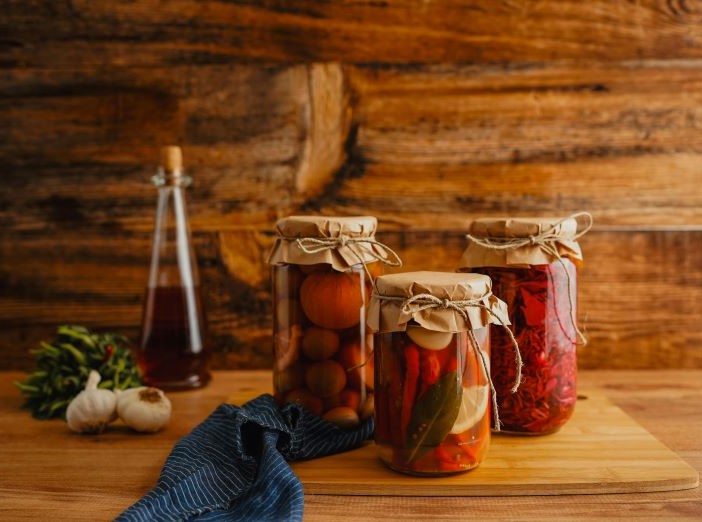
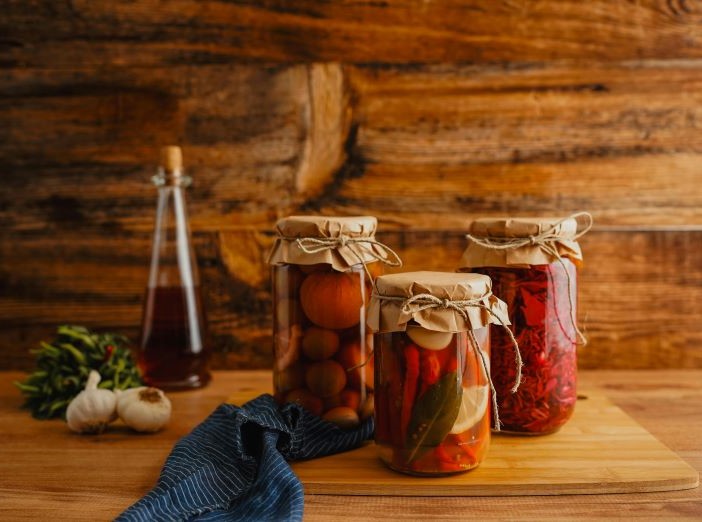
Pickling offers a tangy and flavorful way to preserve your surplus garden vegetables.
Quick Pickling vs. Canning:
- Quick Pickling: This method involves refrigerating pickled vegetables for a shorter shelf life (a few weeks). It's a great option for beginners.
- Canning: This method involves processing pickled vegetables in a boiling water bath to create a shelf-stable product. It requires more equipment and attention to safety. Follow a tested canning recipe from a reliable source.
How to Quick Pickle:
- Prepare: Wash and cut your vegetables into desired shapes.
- Make Brine: Combine vinegar (white or apple cider), water, salt, sugar (optional), and spices in a saucepan. Bring to a boil, stirring until salt and sugar are dissolved.
- Pack Jars: Pack the vegetables into sterilized jars, leaving some headspace.
- Pour Brine: Pour the hot brine over the vegetables, leaving about ½ inch of headspace.
- Refrigerate: Let the jars cool completely, then refrigerate for at least 24 hours before eating.
Examples & Tips:
- Cucumbers: Slice into spears or rounds for classic dill pickles. Add garlic, dill, and peppercorns to the brine.
- Peppers: Use a variety of peppers for colorful pickled peppers. Add garlic and oregano to the brine.
- Green Beans: Trim and blanch green beans before pickling. Add dill and garlic to the brine.
Troubleshooting:
- Soft Pickles: Using the wrong type of vinegar or not using enough salt can result in soft pickles. Use white or apple cider vinegar with at least 5% acidity.
- Cloudy Brine: This can be caused by impurities in the water or salt. Use filtered water and pickling salt.
4. Root Cellaring: A Natural Storage Solution
Root cellaring is an ancient method of preserving vegetables by storing them in a cool, dark, and humid environment. It's a great option for storing root vegetables like potatoes, carrots, and beets. While a true root cellar is ideal, you can also create a makeshift root cellar in a basement, garage, or even a buried container.

Root cellaring provides a natural and energy-efficient way to store root vegetables for months.
Creating a Simple Root Cellar:
- Choose a Location: Select a cool, dark, and humid space. A basement or unheated garage is often suitable.
- Prepare Vegetables: Harvest vegetables carefully, avoiding bruises and cuts. Leave about an inch of stem on root vegetables. Don't wash them unless they are very dirty; just brush off excess soil.
- Layer Storage: Store vegetables in layers in bins or crates, separated by layers of damp sand, sawdust, or leaves. This helps maintain humidity and prevent rot.
Examples & Tips:
- Potatoes: Store in a dark, cool place with high humidity. Avoid storing potatoes with apples, as apples release ethylene gas, which can cause potatoes to sprout.
- Carrots & Beets: Trim the tops, leaving about an inch of stem. Store in damp sand or sawdust.
- Onions & Garlic: Store in a cool, dry, and well-ventilated place. Hang them in mesh bags or spread them out on screens.
Troubleshooting:
- Rotting Vegetables: Check your stored vegetables regularly for signs of rot. Remove any spoiled vegetables immediately to prevent the spread of rot.
- Sprouting: Sprouting can occur if the temperature is too warm or if the humidity is too low. Maintain proper temperature and humidity levels.
5. Infusing Flavors: Herbal Oils and Vinegars
Preserve the vibrant flavors of your garden herbs by infusing them into oils and vinegars. These infused products are perfect for salad dressings, marinades, and flavoring dishes. Plus, they make beautiful and thoughtful gifts!

Infusing herbs into oils and vinegars creates flavorful ingredients for cooking and salad dressings.
How to Make Herbal Oils and Vinegars:
- Harvest Herbs: Harvest fresh, clean herbs.
- Prepare Herbs: Dry the herbs slightly to reduce the water content (this helps prevent spoilage). You can air dry them for a few hours or use a dehydrator on a low setting.
- Sterilize Jars/Bottles: Sterilize jars or bottles in boiling water.
- Pack Herbs: Pack the dried herbs into the sterilized jars or bottles.
- Pour Oil/Vinegar: Pour high-quality olive oil or vinegar (white or apple cider) over the herbs, ensuring they are completely submerged.
- Seal and Store: Seal the jars or bottles and store them in a cool, dark place for at least 2-3 weeks to allow the flavors to infuse.
- Strain (Optional): After infusing, you can strain the oil or vinegar to remove the herbs, or leave them in for continued flavor.
Examples & Tips:
- Garlic Oil: Infuse olive oil with garlic cloves for a flavorful cooking oil.
- Rosemary Vinegar: Infuse white vinegar with rosemary sprigs for a tangy salad dressing.
- Chili Oil: Infuse olive oil with dried chili peppers for a spicy condiment.
Troubleshooting:
- Botulism Risk: Improperly prepared herbal oils can pose a risk of botulism. Always use dried herbs and store the infused oil in the refrigerator. Using fresh herbs increases moisture content and potential for bacterial growth.
- Cloudy Oil/Vinegar: This can be caused by impurities in the herbs or oil/vinegar. Use high-quality ingredients and dry the herbs thoroughly.
The abundance of the autumn garden is a gift, and preserving that bounty allows you to enjoy the flavors of homegrown food throughout the year. Whether you choose freezing, dehydrating, pickling, root cellaring, or infusing, each method offers a unique way to extend the life of your harvest and embrace the principles of self-sufficiency and sustainable living. Even if you only have a small garden or access to a local farmer's market, these preservation techniques can help you minimize food waste and maximize the enjoyment of seasonal produce.
Embrace the principles of self-sufficiency and sustainable living.
What are your favorite ways to preserve the harvest? Share your tips and recipes in the comments below! Don't forget to tag us in your photos on Instagram using #BetterHomesAndHarvests for a chance to be featured!
As the days grow shorter, take a moment to appreciate the beauty of the changing season and the abundance your garden provides. Happy harvesting!