Unlock Your Homestead's Potential: The Ultimate DIY Guide to Building a Backyard Chicken Coop from Recycled Materials
Are you dreaming of fresh eggs every morning, the satisfaction of self-sufficiency, and a more sustainable lifestyle? Raising chickens can be a fantastic addition to any homestead, big or small. And what better way to welcome your feathered friends than with a DIY chicken coop built from recycled materials?
In this comprehensive guide, we'll walk you through the process of building a sturdy and stylish backyard chicken coop using readily available reclaimed resources. We'll focus on affordable solutions, offering tips for adapting the project to your specific needs and budget. This project isn't just about saving money; it's about embracing resourcefulness, reducing waste, and creating a truly unique and functional space for your flock. Get ready to roll up your sleeves and create a haven for your hens!
Why Build a Recycled Chicken Coop? The "Why" Behind the "How"
Before we dive into the "how," let's talk about the "why." Building a recycled chicken coop aligns perfectly with the core values of homesteading:
- Sustainability: Repurposing materials reduces your environmental footprint and minimizes waste.
- Self-Reliance: Building your own coop empowers you with valuable skills and reduces your dependence on commercial products.
- Cost Savings: Cheap chicken coop options are possible by using materials you already have or can acquire for free or at a low cost.
- Customization: You can tailor the coop's design to perfectly fit your space, flock size, and aesthetic preferences.
- Connection with Nature: Working with natural and reclaimed materials fosters a deeper appreciation for the resources around us.
For us, the decision to build a coop from recycled materials was driven by a desire to minimize our environmental impact and maximize our self-sufficiency. We loved the idea of transforming discarded items into a functional and beautiful structure for our chickens. Plus, the savings allowed us to invest in higher-quality feed and other essential supplies.
Planning Your Recycled Chicken Coop: Size, Location, and Materials
The first step in any DIY project is careful planning. Consider the following factors:
- Flock Size: A general rule of thumb is 4 square feet of coop space per chicken and 8-10 square feet of run space per chicken. A DIY chicken coop for 2-4 chickens made from recycled materials requires different dimensions compared to a larger flock.
- Location: Choose a well-drained area with partial shade. Consider proximity to your house for easy egg collection and predator protection.
- Predator Protection: Research common predators in your area and incorporate features to deter them, such as hardware cloth, a secure latch, and a raised coop. Think about building a chicken coop from recycled materials predator proof.
- Climate: Adapt your design to your local climate. In colder climates, provide adequate insulation and ventilation. In warmer climates, ensure good airflow to prevent overheating.
- Material Sourcing: Start gathering recycled materials. Pallets, reclaimed wood, old doors and windows, scrap metal, and even tires can be repurposed into coop components. Check with local construction sites, demolition companies, and online marketplaces for free chicken coop material sources.
Step-by-Step Guide to Building Your Recycled Chicken Coop
Now, let's get to the fun part! Here's a detailed, step-by-step guide to building your backyard chicken coop from recycled materials. Remember to adjust these instructions to fit your specific design and materials.
Step 1: Building the Foundation (if applicable)
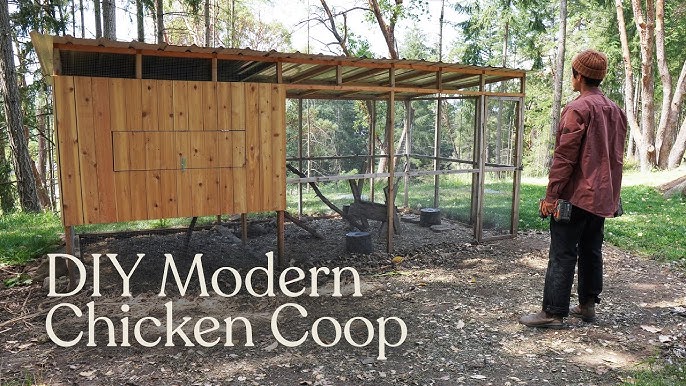
Depending on your design, you may need to build a foundation. This could be as simple as a gravel bed or a more elaborate concrete slab. A raised coop on legs offers protection from rodents and moisture. Pallets can be repurposed to serve as the base of your coop, creating an elevated floor.
Note: Alt-text describing raised chicken coop foundation constructed from pallets
Step 2: Constructing the Frame
Use reclaimed lumber to build the frame of your coop. Ensure the frame is square and sturdy. Consider using corner braces for added strength.
Note: Alt-text showing the basic wooden frame of the coop being assembled
Step 3: Adding Walls and Roofing
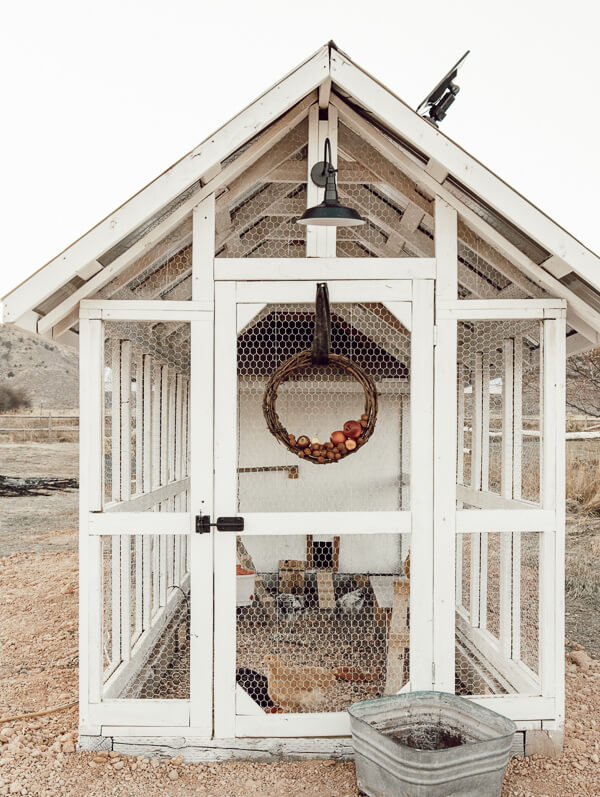
Clad the frame with your chosen recycled materials. Pallet wood, reclaimed siding, and even old license plates can be used to create unique and durable walls. Ensure there are no gaps or cracks that could allow drafts or predators to enter. For the roof, consider using corrugated metal, reclaimed shingles, or even a repurposed tarp. Ensure the roof has a slight slope to allow rainwater to run off.
Note: Alt-text displaying recycled license plates attached to side walls of a chicken coop
Step 4: Building the Run
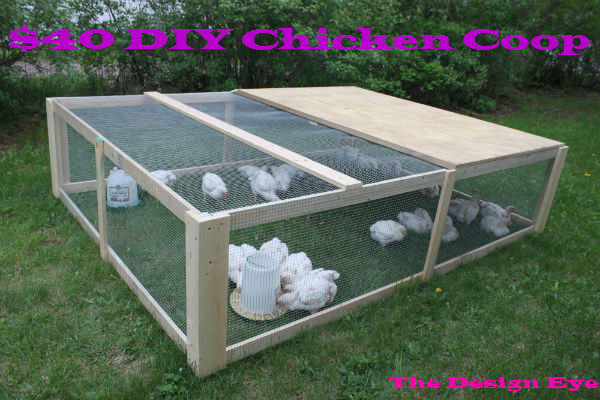
The run provides your chickens with space to roam and forage safely. Use sturdy posts and chicken wire or hardware cloth to enclose the run. Bury the wire a few inches below the ground to prevent predators from digging under. If possible, cover the run with netting or a roof to protect your chickens from aerial predators and harsh weather.
Note: Alt-text depicting a chicken run with chicken wire enclosed with a roof and open door
Step 5: Installing Nesting Boxes
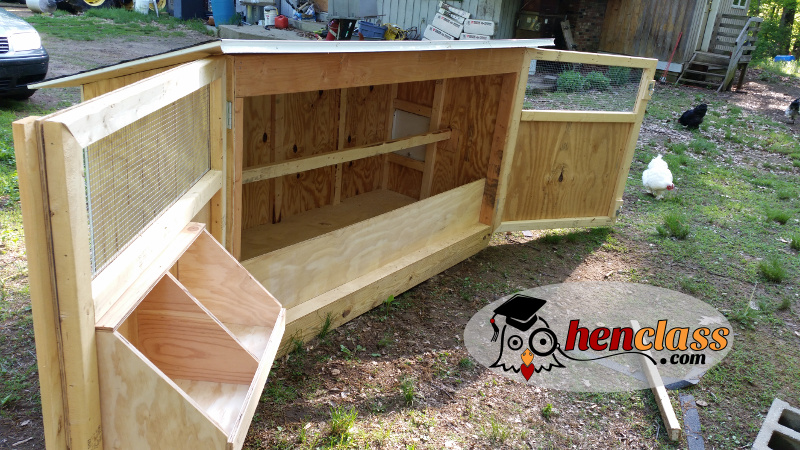
Nesting boxes provide your chickens with a private and comfortable place to lay their eggs. A good rule of thumb is one nesting box for every 3-4 hens. You can build nesting boxes from scrap wood or repurpose old drawers or crates. Place the nesting boxes in a dark and quiet area of the coop. Fill them with soft bedding, such as straw or wood shavings.
Note: Alt-text showing nesting boxes installed near top wall of chicken coop
Step 6: Adding Roosting Bars
Roosting bars provide your chickens with a place to sleep at night. Use sturdy branches or lengths of lumber to create roosting bars. Place the roosting bars at varying heights to accommodate chickens of different sizes and ages. Ensure the roosting bars are easy to access and clean.
Note: Alt-text displaying chicken coop roosting bars made of recycled tree branches
Step 7: Ensuring Ventilation
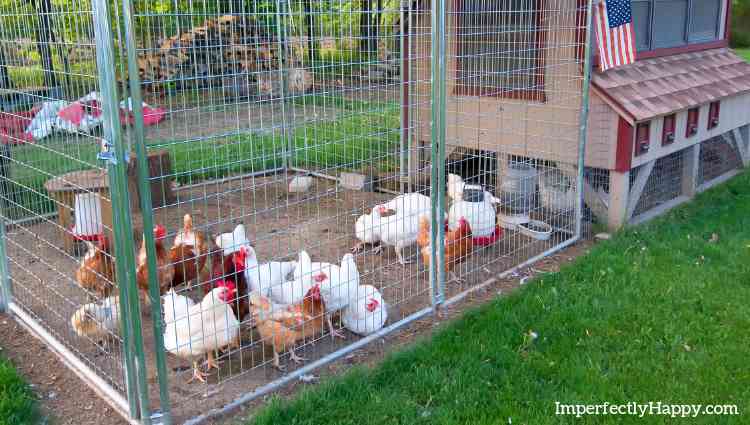
Proper ventilation is crucial for a healthy chicken coop. It helps to prevent moisture buildup and ammonia fumes. Install vents near the top of the coop to allow warm, moist air to escape. Cover the vents with hardware cloth to prevent predators from entering.
Note: Alt-text showing ventilation openings in a chicken coop.
Step 8: Adding a Door and Latch
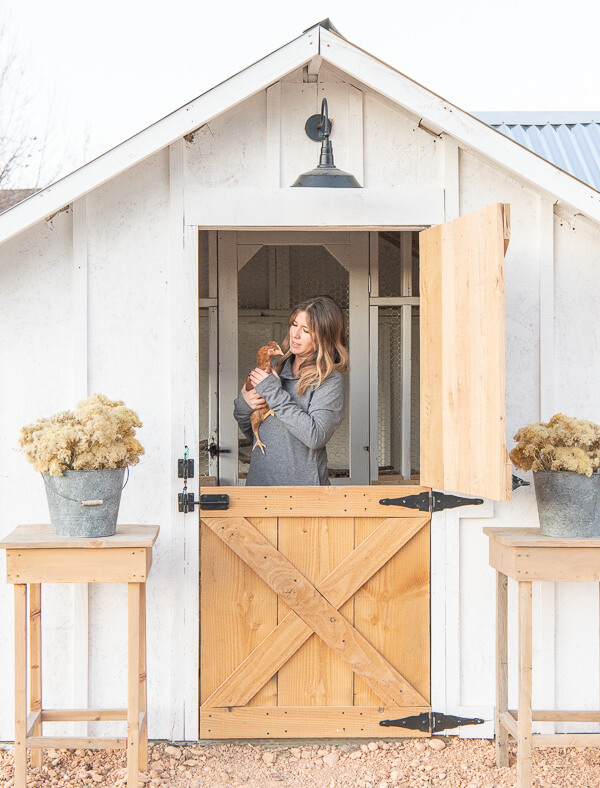
Install a secure door and latch to keep your chickens safe from predators. Use a strong latch that is difficult for predators to open. Consider adding a small ramp to make it easier for your chickens to enter and exit the coop.
Step 9: Finishing Touches
Add any finishing touches to personalize your coop. Paint it with a fun color, add decorative trim, or create a sign with your chickens' names. Remember to use non-toxic paint and materials that are safe for your chickens.
Adapting the Project for Different Homestead Sizes and Budgets
One of the great things about building a DIY chicken coop is that you can customize it to fit your specific needs and budget.
- Small Homesteads: If you have limited space, consider building a smaller coop or a mobile chicken tractor. This allows you to move your chickens around your yard to different areas for foraging and pest control.
- Large Homesteads: If you have more space, you can build a larger coop with a more extensive run. Consider adding features like a dust bathing area or a composting system.
- Tight Budgets: Focus on sourcing free or low-cost recycled materials. Use simple construction techniques and minimize the use of new materials. A cheap chicken coop is absolutely achievable.
Tips for Success
- Safety First: Always wear appropriate safety gear, such as gloves, eye protection, and a dust mask, when working with power tools and recycled materials.
- Check Local Ordinances: Before building your coop, check with your local municipality to ensure you comply with all zoning regulations and building codes.
- Start Small: If you're new to DIY projects, start with a smaller, simpler design. You can always add on to it later.
- Don't Be Afraid to Ask for Help: If you get stuck, don't be afraid to ask for help from friends, family, or online communities.
Embrace the Homesteading Spirit
Building a backyard chicken coop from reclaimed wood is more than just a construction project; it's an opportunity to connect with nature, embrace self-sufficiency, and create a sustainable lifestyle. By using recycled materials, you're not only saving money but also reducing your environmental impact. So, gather your materials, grab your tools, and get ready to embark on this rewarding homesteading adventure!
Now it's your turn! Have you built a DIY chicken coop from recycled materials? Share your experiences, tips, and photos in the comments below! We'd love to see your creative designs and learn from your experiences. Do you have any questions about building your own sustainable chicken coop? Ask away! Let's build a thriving community of homesteaders together.