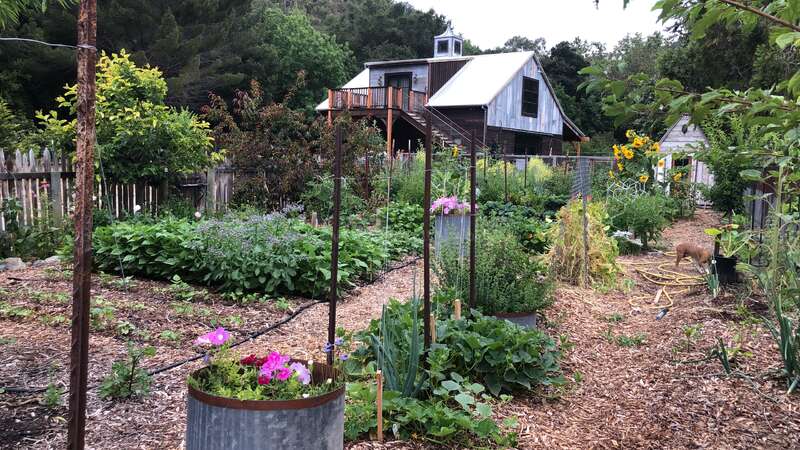
Unlock Your Homestead's Potential: Building a DIY Raised Garden Bed with Integrated Irrigation
Are you dreaming of sun-ripened tomatoes bursting with flavor, crisp lettuce grown steps from your kitchen, and the deep satisfaction of feeding your family from your own land? If you're browsing "Better Homes and Harvests," chances are you're already on the path to a simpler, more self-sufficient life. But sometimes, getting started can feel overwhelming. This project is designed to help you take a significant step forward: building your own DIY raised garden bed with integrated irrigation.
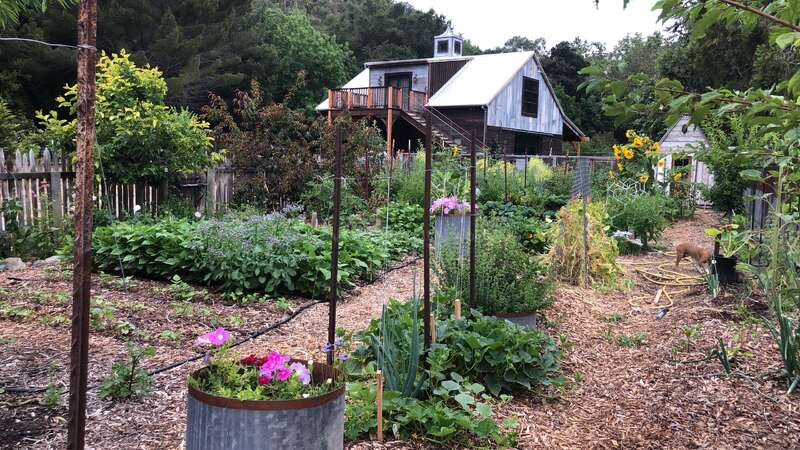
Forget back-breaking weeding, inconsistent watering, and struggling with poor soil. A raised garden bed brings the garden to you, offering better drainage, easier access, and more control over your growing environment. And with integrated irrigation, you’ll conserve water, save time, and ensure your plants thrive even during dry spells. This is homesteading efficiency at its finest!
Why a Raised Garden Bed with Irrigation? The Benefits are Blooming!
Before we dive into the "how," let's explore the "why." This project offers a triple threat of benefits for any aspiring homesteader:
- Increased Food Production: Raised beds allow you to create the perfect soil mix for your plants, leading to healthier growth and higher yields.
- Water Conservation: Targeted irrigation, like drip lines, delivers water directly to the roots, minimizing waste and reducing your water bill. This is essential for sustainable gardening and drought-resistant landscapes.
- Enhanced Accessibility: No more bending and straining! Raised beds are easier on your back and can be adapted for gardeners with mobility issues.
Imagine harvesting a basket overflowing with your own homegrown vegetables, knowing you nurtured them with your own hands. That's the reward waiting for you at the end of this project!
My Own Raised Bed Revelation
I remember when I first started homesteading. My garden was a weedy mess, and I spent hours hauling water buckets. One particularly hot summer, half my tomato plants withered and died. That's when I decided to build my first raised bed with drip irrigation. The difference was astounding! My plants flourished, and I had so much free time (and a much happier back!). It was a turning point in my homesteading journey.
Let's Get Building: Your Step-by-Step Guide
This project is designed for beginner to intermediate DIYers. We'll break it down into manageable steps with clear instructions and helpful tips.
Step 1: Planning and Design
- Location, Location, Location: Choose a sunny spot that receives at least 6-8 hours of sunlight per day. Consider proximity to a water source.
- Size Matters: A good starting size is 4 feet wide by 8 feet long. This allows easy access from both sides without stepping on the soil. The height should be at least 12 inches, but 18-24 inches is ideal for better drainage and accessibility.
- Material Selection: Untreated cedar is a great choice for its natural rot resistance. You can also use reclaimed lumber or concrete blocks. Avoid treated lumber, as the chemicals can leach into the soil.
- Irrigation Design: Plan your irrigation system. Drip lines are highly efficient. You'll need drip tubing, connectors, a timer (optional but highly recommended), and a backflow preventer to protect your water source.
Step 2: Gathering Your Materials
Here’s a shopping list to get you started:
- Lumber: For a 4' x 8' x 1' bed, you'll need two 8-foot boards and two 4-foot boards.
- Fasteners: Deck screws (3-inch) are strong and weather-resistant.
- Tools: Saw, drill, measuring tape, level, safety glasses, gloves.
- Irrigation Supplies: Drip tubing, connectors, timer, backflow preventer.
- Weed Barrier Fabric: To line the bottom of the bed and prevent weeds.
- Soil: A mix of topsoil, compost, and potting mix.
Step 3: Constructing the Bed
- Cut the Lumber: If you're buying lumber from a big box store, they'll often cut it for you.
- Assemble the Frame: Use the drill and deck screws to attach the boards together, forming a rectangle. Ensure the corners are square using a carpenter's square or by measuring the diagonals (they should be equal).
- Reinforce the Corners (Optional): Add corner brackets for extra stability, especially if you're building a taller bed.
Step 4: Installing the Irrigation System
- Lay the Drip Tubing: Run the drip tubing along the length of the bed, spacing the lines about 12 inches apart. Secure the tubing with landscape staples.

- Connect to Water Source: Attach the drip tubing to your water source using the appropriate connectors and a backflow preventer. If using a timer, install it between the water source and the tubing.
Step 5: Preparing the Bed for Planting
- Line the Bed: Place weed barrier fabric at the bottom of the bed to prevent weeds from growing up.
- Fill with Soil: Fill the bed with your soil mixture. A good ratio is 1/3 topsoil, 1/3 compost, and 1/3 potting mix.
Step 6: Planting and Maintenance
- Plant Strategically: Consider companion planting to maximize space and deter pests.
- Water Wisely: Use your irrigation system to water deeply and regularly. Adjust the timer based on the weather and your plants' needs.
- Mulch: Add a layer of mulch to help retain moisture and suppress weeds.
- Fertilize: Use organic fertilizers to provide your plants with the nutrients they need.
Troubleshooting Tips
- Wobbly Bed: Ensure the corners are square and reinforce them with brackets.
- Leaky Irrigation: Check all connections and make sure the tubing is properly inserted.
- Poor Drainage: Add more compost or potting mix to improve drainage.
- Pest Problems: Use organic pest control methods, such as companion planting or insecticidal soap.
Cost-Effective Alternatives
- Reclaimed Materials: Use reclaimed lumber or pallets to build your bed.
- DIY Irrigation: Create your own drip irrigation system using recycled bottles.
Extending the Growing Season
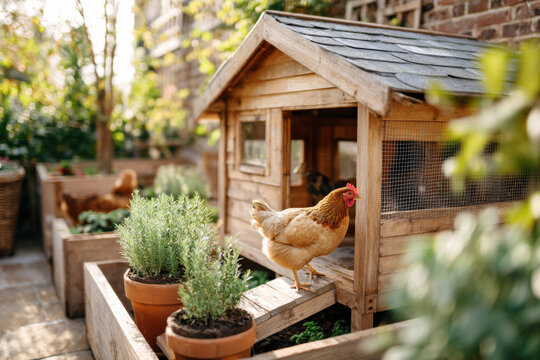
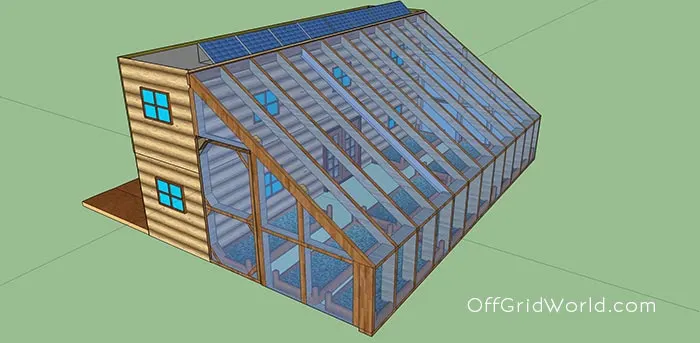
Consider adding a hoop house or cold frame to your raised bed to extend your growing season. This will allow you to grow vegetables earlier in the spring and later in the fall.
Ready to Grow? Take the Next Step!
Building a DIY raised garden bed with integrated irrigation is a rewarding project that will significantly boost your homestead's self-sufficiency. It’s a small investment that yields big returns in terms of fresh produce, water conservation, and personal satisfaction.
Don't be afraid to get your hands dirty and experiment. Homesteading is all about learning and adapting.
Now it's your turn!
Have you built a raised garden bed before? What tips would you share? Let us know in the comments below! We'd love to hear about your experiences and answer any questions you may have.
For more homesteading inspiration, check out these related articles:
- [Link to an article on companion planting]
- [Link to an article on composting]
- [Link to an article on water conservation]
Happy growing, fellow homesteaders! Let's create a more sustainable future, one raised bed at a time.