Unlock Winter Harvests: Build a DIY Cold Frame from Scraps!
Remember that first frost that always seems to sneak up and steal your late-season tomatoes? I do. It’s a heartbreaking moment for any gardener, the realization that your fresh, homegrown bounty is about to disappear until next spring. But what if I told you there's a simple, affordable way to extend your growing season and even harvest fresh greens throughout the winter? Enter the cold frame – your mini-greenhouse solution built from repurposed materials! Imagine snipping fresh spinach in January, knowing you nurtured it yourself, protected from the elements. Let’s dive into how you can build your own!
Why Embrace the Cold Frame?
A cold frame is essentially a miniature greenhouse, designed to protect plants from frost, wind, and other harsh weather conditions. By trapping solar heat, it creates a warmer microclimate, allowing you to:
- Extend the growing season: Start seeds earlier in the spring and continue harvesting later into the fall and winter.
- Protect plants from frost: Shield delicate seedlings and mature plants from damaging freezes.
- Harden off seedlings: Gradually acclimate indoor-grown plants to outdoor conditions.
- Reduce reliance on store-bought produce: Enjoy fresh, homegrown vegetables even when the weather outside is frightful.
- Save money: By starting your own seeds and extending your harvest, you'll reduce your grocery bill and reliance on nurseries.
- Embrace sustainability: Using recycled materials minimizes waste and reduces your environmental impact.
Gathering Your Materials: Scavenger Hunt Time!
The beauty of this project lies in its affordability and adaptability. You can build a cold frame using a variety of readily available or salvaged materials. Here's a list to get you started, with cost-saving tips:
- Glazing (Transparent Cover):
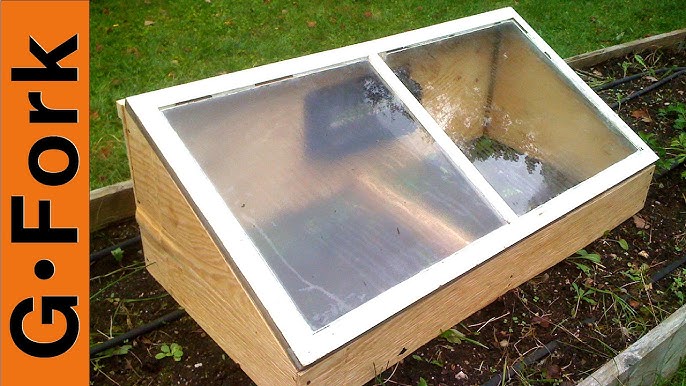
- Old windows: The holy grail of cold frame building! Check with neighbors, construction sites, or salvage yards. Cost: Free - $20
- Storm doors: Similar to windows, but larger. Cost: Free - $30
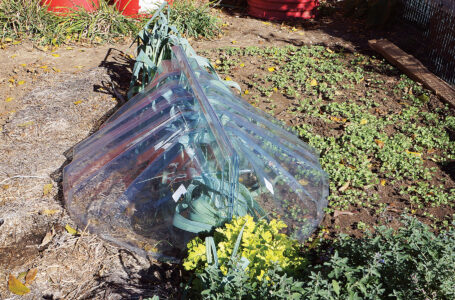
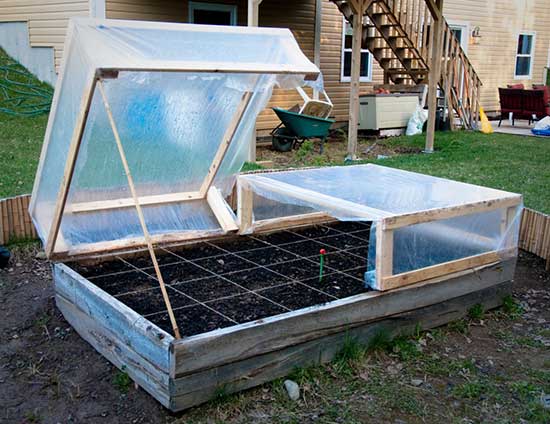
- Clear plastic sheeting (polyethylene): A budget-friendly option, but less durable. You can secure it to a wooden frame. Cost: $10 - $20
- Rigid polycarbonate panels: More expensive but offer excellent insulation and durability. Cost: $30 - $50
- Frame Materials:
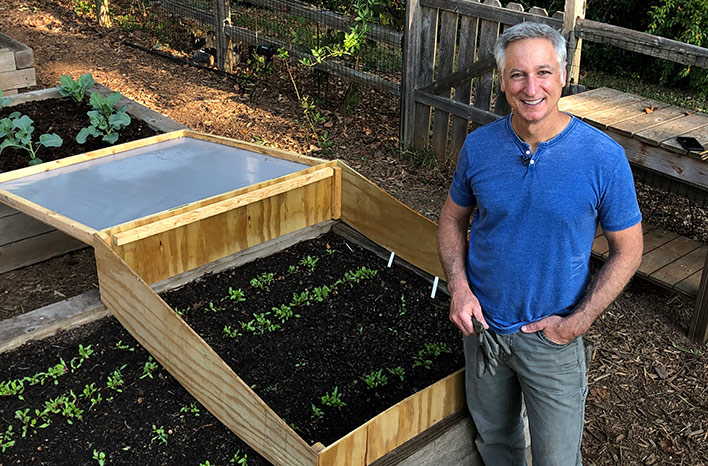
- Reclaimed lumber: Pallets, old fence boards, or scrap wood. Cost: Free - $20
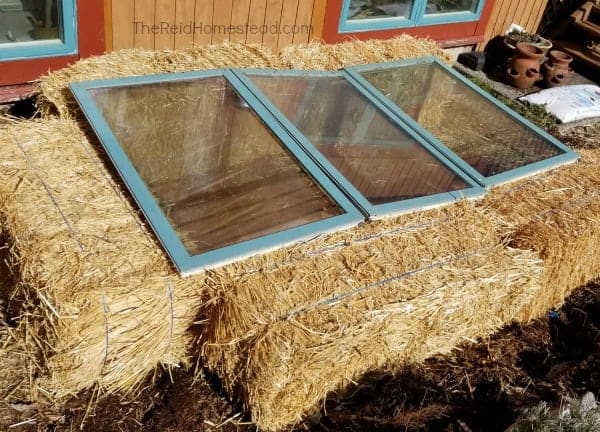
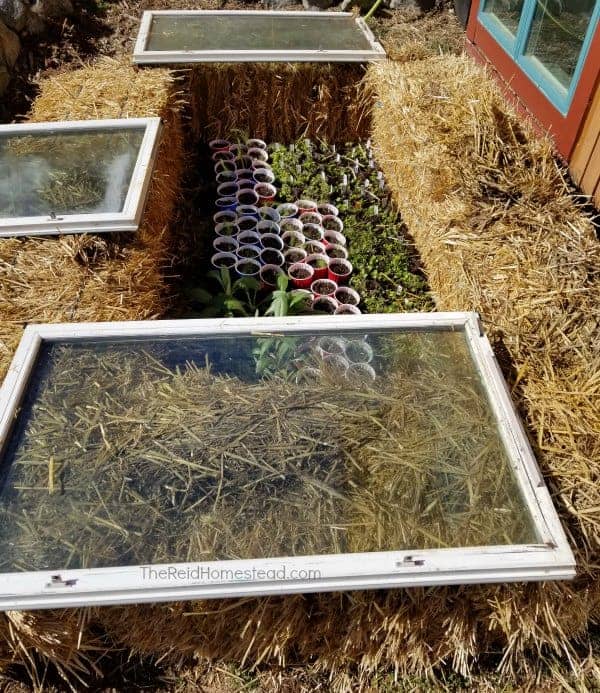
- Straw bales: A natural and insulating option, especially for a temporary cold frame. Cost: $5 - $10 per bale
- Concrete blocks: Durable and readily available. Cost: $1 - $3 per block
- Hardware & Tools:
- Screws or nails: For assembling the frame.
- Hinges: For attaching the glazing to the frame (if using a window or door).
- Handles or latches: For easy opening and closing.
- Measuring tape: Essential for accurate cuts.
- Saw: For cutting lumber.
- Drill: For pre-drilling holes and attaching hardware.
- Gloves: To protect your hands.
- Safety glasses: For eye protection.
Step-by-Step Construction: Let's Build!
This guide focuses on building a simple cold frame using an old window and reclaimed lumber, but feel free to adapt the instructions based on your chosen materials.
Step 1: Prepare the Site.
Choose a sunny location with good drainage. Ideally, the cold frame should face south to maximize sunlight exposure. Level the ground where you plan to build.
Step 2: Build the Frame.
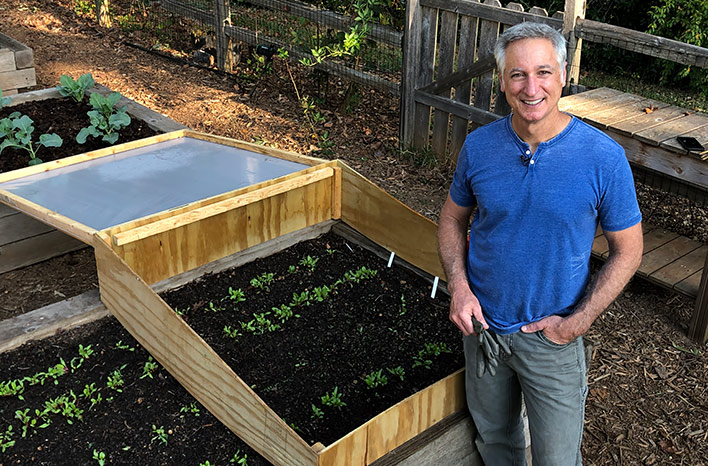
- Measure the window you'll be using for the top. This will determine the overall dimensions of your cold frame.
- Cut the lumber to create a rectangular frame that's slightly larger than the window. The back of the frame should be taller than the front to create a sloped roof, which allows for better sunlight penetration and water runoff. A 12-18 inch difference is ideal.
- Assemble the frame using screws or nails. Ensure the corners are square and the structure is sturdy.
Step 3: Attach the Glazing.
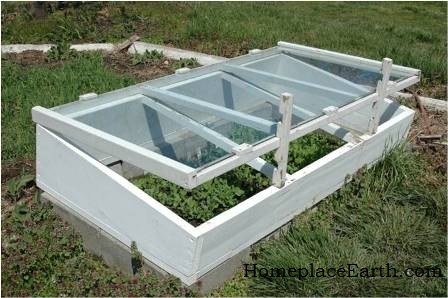
- Position the window on top of the frame.
- Attach hinges along the top edge of the frame, allowing the window to open and close.
- Install handles or latches to secure the window when closed.
Step 4: Insulate (Optional but Recommended).
- Line the inside of the frame with insulation, such as bubble wrap or rigid foam insulation. This will help retain heat and protect plants from extreme temperatures.
- Consider banking straw bales around the outside of the frame for added insulation.
Step 5: Add Finishing Touches.
- Paint or stain the frame to protect it from the elements and improve its appearance.
- Add a thermometer inside the cold frame to monitor the temperature.
Troubleshooting: Common Issues and Solutions
- Uneven ground: Level the ground before building the frame, or use shims to adjust for any unevenness.
- Leaky seams: Seal any gaps with caulk or weather stripping to prevent heat loss.
- Condensation buildup: Provide adequate ventilation by opening the lid during the day. You can also install a small fan to circulate air.
- Overheating: Monitor the temperature inside the cold frame and open the lid to vent excess heat.
- Pests: Inspect plants regularly for pests and take appropriate measures to control them.
Usage & Maintenance: Keeping Your Cold Frame Thriving
- Ventilation: This is crucial! On sunny days, open the lid to prevent overheating. As a general rule, if the temperature inside reaches 70°F (21°C), it's time to vent.
- Watering: Water plants as needed, but be careful not to overwater. The soil in a cold frame tends to dry out more slowly.
- Temperature Monitoring: Use a thermometer to track the temperature inside the cold frame. This will help you adjust ventilation as needed.
- Weeding: Regularly remove weeds to prevent them from competing with your plants for nutrients and water.
- Winter Protection: During extremely cold weather, cover the cold frame with blankets or tarps for added insulation.
- Maintenance: Inspect the frame regularly for damage and make any necessary repairs.
Enjoying the Harvest
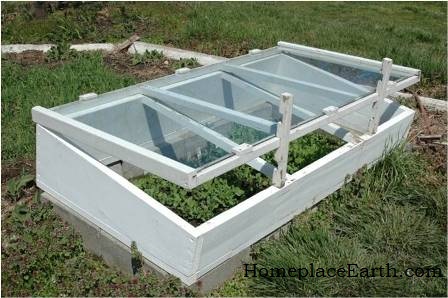
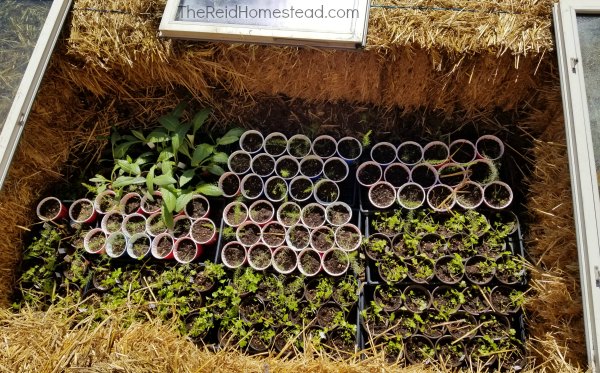
The true reward comes when you start harvesting fresh vegetables from your own cold frame, even in the depths of winter. Imagine the taste of homegrown lettuce, spinach, or kale gracing your table when everything outside is covered in snow. That's the magic of the cold frame!
Don't be intimidated by the prospect of building your own cold frame. It's a simple, rewarding project that will extend your growing season, save you money, and bring you closer to nature. Embrace the challenge, get creative with your materials, and enjoy the fruits (and vegetables!) of your labor.
Ready to build your own? Share your experiences and photos of your cold frame creations on social media using #BetterHomesAndHarvests!
Before you go, grab your free printable checklist of cold frame maintenance tasks: [link to checklist - create a simple checklist and host it on your site or a file sharing service like Google Drive].
