Unlock the Secrets of Sustainable Living: Build a Beginner-Friendly Root Cellar for a Bountiful Harvest!
Are you dreaming of fresh, homegrown produce all winter long? Do you yearn for a deeper connection with the land and a more sustainable way of life? If so, then building a root cellar might be the perfect project for you! A root cellar offers a simple, time-tested method of food preservation that allows you to enjoy the fruits (and vegetables!) of your labor well beyond the growing season. This guide will walk you through building a DIY root cellar, even if you have limited experience. Get ready to embrace homesteading and take control of your winter food storage!
I remember the first time I tasted a carrot pulled from my neighbor's root cellar in January. The crisp sweetness was a revelation, a stark contrast to the bland, imported vegetables in the grocery store. It sparked a desire in me to reconnect with traditional food preservation methods and experience the satisfaction of self-sufficiency. Building a root cellar seemed daunting at first, but I soon discovered that with a little planning and effort, it was entirely achievable.
Why Build a Root Cellar?
Before we dive into the construction process, let's explore the many benefits of having your own DIY root cellar:
- Sustainable Living: Reduce your carbon footprint by minimizing reliance on transportation and energy-intensive refrigeration.
- Food Preservation: Store fruits, vegetables, and even some meats naturally, without the need for canning or freezing.
- Cost Savings: Lower your grocery bills by enjoying your garden’s bounty throughout the winter.
- Reduced Food Waste: Properly stored produce lasts longer, reducing spoilage and waste.
- Connection to the Land: Experience the satisfaction of preserving your harvest using traditional methods.
- Emergency Preparedness: Provides a secure food source in case of disruptions to the food supply chain.
Our Project: An Earth-Bermed Root Cellar for Beginners
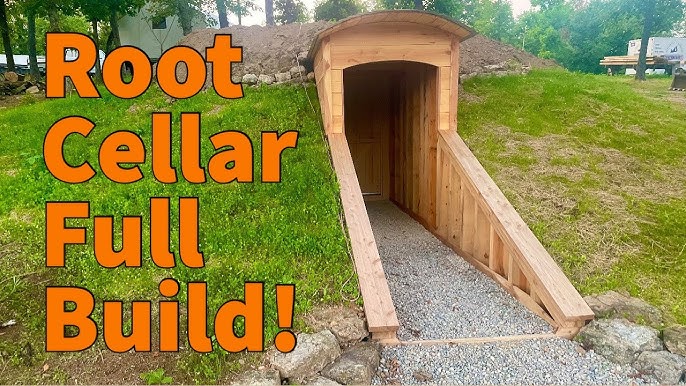
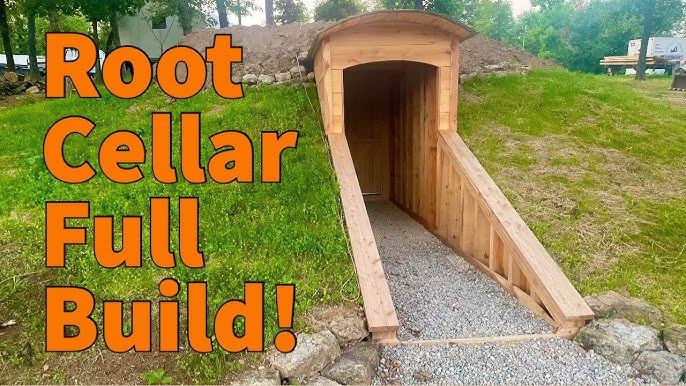
We'll be focusing on building a small, earth bermed root cellar. This type of root cellar is partially underground, utilizing the earth's natural insulation to maintain a cool, consistent temperature. It’s a great option for beginners because it's relatively simple to construct and requires fewer specialized tools.
Important Note: Before starting any construction project, check your local building codes and regulations. You may need a permit, depending on the size and location of your root cellar.
Materials & Tools List
Here's a comprehensive list of what you’ll need. Prices are estimates and may vary:
Materials:
- Lumber: Untreated lumber for framing (4x4 posts, 2x4s, plywood). Approximately $200-$400. Consider reclaimed lumber for a budget-friendly and sustainable option.
- Concrete Blocks or Cinder Blocks: For the base and walls (if not using wood). Approximately $100-$300.
- Gravel: For drainage. Approximately $50-$100.
- Insulation: Rigid foam insulation boards (optional, but recommended). Approximately $50-$150.
- Waterproofing Membrane: Heavy-duty plastic sheeting or roofing felt. Approximately $30-$50.
- Door: A solid, insulated door. Reclaimed doors work great! Approximately $50-$200.
- Ventilation Pipes: PVC pipes for air intake and exhaust. Approximately $20-$40.
- Hardware: Screws, nails, hinges, latches. Approximately $20-$50.
- Shelving: Lumber or reclaimed shelves. Approximately $30-$100.
Tools:
- Shovel
- Wheelbarrow
- Measuring tape
- Level
- Saw (hand saw or circular saw)
- Drill
- Hammer
- Safety glasses
- Work gloves
Step-by-Step Construction Guide
Follow these steps to build your beginner-friendly DIY root cellar.
Step 1: Site Selection
Choose a location that is:
- Well-drained: Avoid areas prone to flooding or standing water.
- Shady: A north-facing slope is ideal to minimize sun exposure.
- Accessible: Easy to access from your garden and house.
- Away from tree roots: Roots can damage the structure over time.
Step 2: Excavation
Dig a rectangular pit to the desired dimensions of your root cellar. A size of 6ft x 8ft x 4ft deep is a good starting point. Remember to slope the sides slightly for stability.
Safety First: Call your local utility companies before digging to avoid hitting any underground lines. Wear safety glasses and work gloves during excavation.
Step 3: Base Construction
Lay a gravel base (4-6 inches) at the bottom of the pit for drainage. Compact the gravel. This is crucial for preventing moisture buildup in your root cellar.
Step 4: Wall Construction
You have a few options for constructing the walls:
- Concrete Blocks: Lay concrete blocks on the gravel base, using mortar to join them. Ensure the walls are level and plumb.
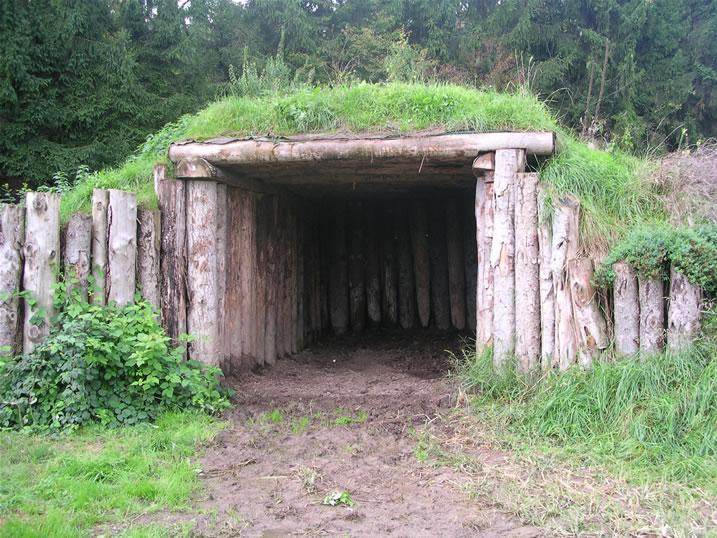
- Lumber Framing: Build a wooden frame using pressure treated 4x4 posts sunk into the ground and secured with concrete (optional but recommended). Attach 2x4s horizontally to create the walls. Line the inside of the frame with plywood.
Step 5: Insulation (Optional)
If desired, attach rigid foam insulation boards to the interior walls. This will help regulate temperature and humidity. Seal the seams with tape.
Step 6: Waterproofing
Cover the exterior walls with a waterproofing membrane (heavy-duty plastic sheeting or roofing felt). This will protect the walls from moisture damage. Overlap the seams and seal them with waterproof tape.
Step 7: Roof Construction
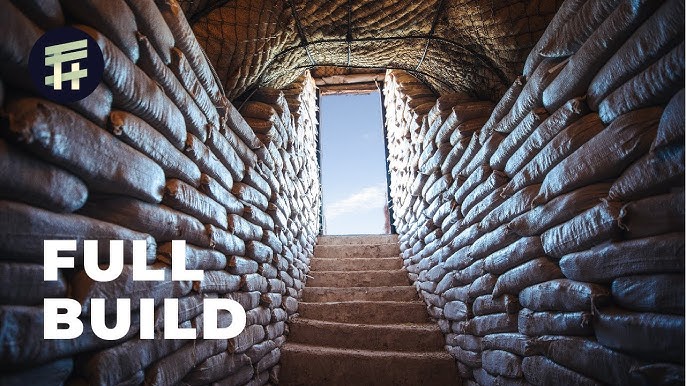
Build a sturdy roof frame using lumber. Angle the roof slightly to allow for water runoff. Cover the frame with plywood.
Step 8: Waterproofing the Roof
Apply a layer of waterproofing membrane to the roof, ensuring complete coverage.
Step 9: Earth Berming
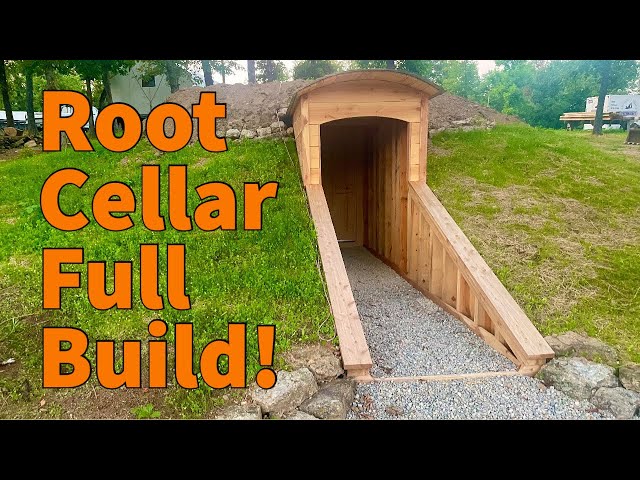
Backfill the excavated soil around the walls and over the roof, creating an earth bermed root cellar. This provides insulation and helps maintain a stable temperature. Aim for at least 1-2 feet of soil cover.
Step 10: Door Installation
Install a solid, insulated door. Ensure the door seals tightly to prevent drafts.
Step 11: Ventilation
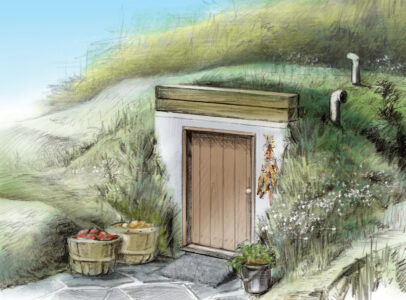
Install two ventilation pipes: one near the floor for air intake and one near the ceiling for exhaust. This will help regulate humidity and prevent mold growth. You can add caps to the pipes to prevent rain and pests from entering.
Step 12: Shelving
Install shelving to store your produce. Use untreated lumber or reclaimed shelves.
Maintaining Your Root Cellar
Here are some tips for keeping your root cellar in top condition:
- Temperature: Aim for a temperature between 32°F and 40°F (0°C and 4°C).
- Humidity: Maintain a humidity level of 85-95%. You can increase humidity by placing containers of water in the cellar or misting the floor with water.
- Ventilation: Adjust the ventilation pipes to regulate temperature and humidity.
- Regular Inspection: Check for signs of mold or pests regularly. Remove any spoiled produce immediately.
- Organization: Keep your root cellar organized to maximize space and prevent produce from spoiling.
Troubleshooting Common Problems
- Too Warm: Add more insulation or increase ventilation.
- Too Cold: Reduce ventilation or add a small heater (use caution!).
- Too Humid: Increase ventilation.
- Too Dry: Add containers of water or mist the floor.
- Mold Growth: Improve ventilation and remove any spoiled produce.
- Pests: Seal any cracks or openings and use traps if necessary.
What to Store in Your Root Cellar
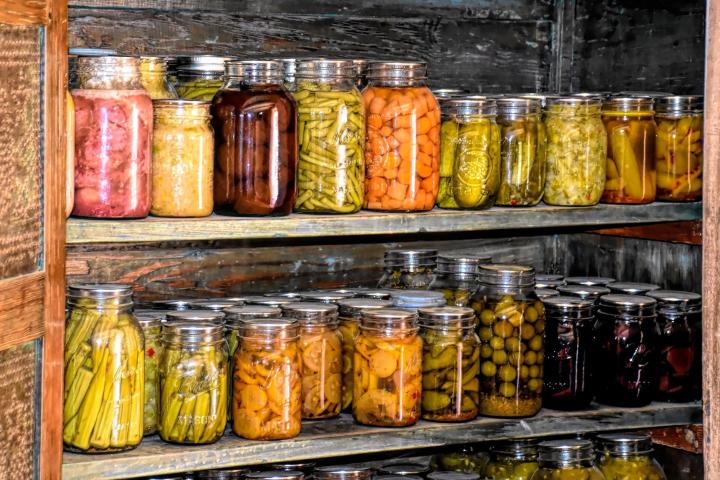
The best vegetables for root cellar storage include:
- Potatoes
- Carrots
- Beets
- Onions
- Garlic
- Cabbage
- Apples
- Pears
Beyond the Basics: Creative Root Cellar Ideas
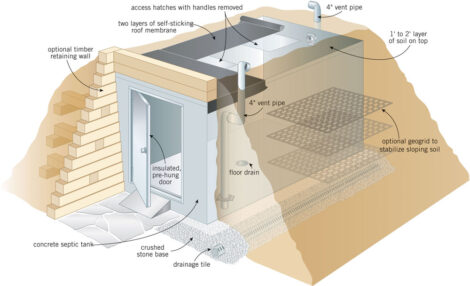
Don't be afraid to get creative! There are many variations on the basic earth bermed root cellar. Consider repurposing old materials, such as tires or shipping containers, to build your DIY root cellar on a budget. Some people even convert old septic tanks into root cellars!
Start Your Sustainable Journey Today!
Building a root cellar is a rewarding project that can connect you to the land, reduce your environmental impact, and provide you with fresh, homegrown produce all winter long. Don't be intimidated by the prospect. Start small, follow these steps, and enjoy the fruits (and vegetables!) of your labor. Embrace the principles of sustainable living and food preservation and experience the joy of self-sufficiency!
Now, we want to hear from you! What are your experiences with food preservation? What do you plan to store in your root cellar? Share your thoughts and questions in the comments below! Let's build a community around homesteading and sustainable food practices!