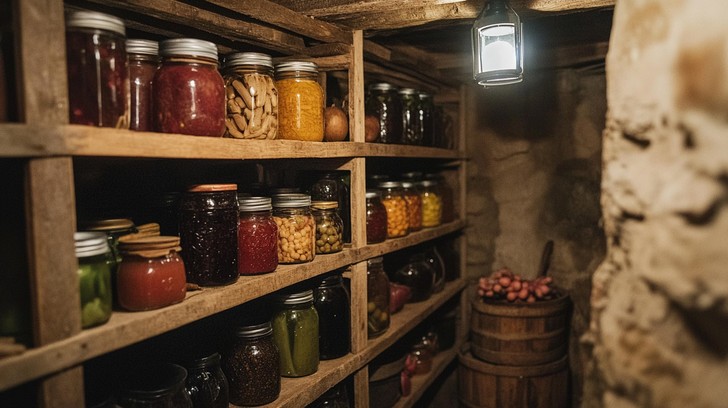
Unlock the Secrets of a Well-Stocked Root Cellar: Your Ultimate Guide to Autumn Root Cellar Prep for Winter's Bounty
The crisp air bites with a promise of frost, leaves crunch underfoot in a symphony of autumnal hues, and the garden… well, the garden is nearing its grand finale. But the harvest doesn't have to end when the growing season does. Here at Better Homes and Harvests, we know you yearn for a deeper connection to the land, for the satisfaction of providing wholesome, homegrown food for your family year-round. And that’s where the magic of the root cellar comes in.
Imagine pulling a perfectly preserved potato from your own stash in the dead of winter, the taste of summer sunshine bursting forth. This year, let's make that dream a reality. Whether you're a seasoned homesteader or a curious beginner, this guide will provide you with the practical, step-by-step knowledge you need to prepare your root cellar for a bountiful winter. We'll unlock the secrets to storing your autumn harvest and enjoying fresh, homegrown goodness long after the snow flies.
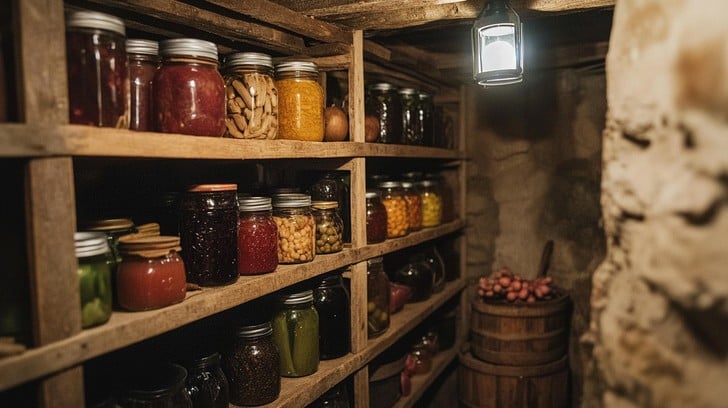
Why a Root Cellar? Embrace Sustainable Food Storage
Before we dive into the "how," let's address the "why." In a world of grocery stores and global supply chains, a root cellar might seem like a relic of the past. But it's so much more than that. A well-prepared root cellar offers a sustainable, cost-effective, and delicious way to:
- Reduce your reliance on store-bought produce: Enjoy fresh, organic vegetables all winter long, knowing exactly where they came from.
- Minimize food waste: Properly stored root vegetables can last for months, reducing spoilage and saving you money.
- Embrace seasonal eating: Savor the flavors of fall and winter, and reconnect with the natural rhythms of the year.
- Lower your carbon footprint: Reduce your dependence on transportation and refrigeration, contributing to a more sustainable lifestyle.
Assessing and Preparing Your Space: Location, Location, Location
The first step in autumn root cellar prep is assessing your space. Ideal root cellars maintain cool temperatures (32-40°F or 0-4°C) and high humidity (85-95%). Not everyone has a traditional underground cellar, and that's perfectly okay! Here are a few options to consider:
- Traditional Underground Cellar: If you’re lucky enough to have one, inspect it for cracks, leaks, and proper ventilation. Ensure the floor is earthen or gravel to help maintain humidity.
- Basement Corner: A cool, dark corner of your basement can work, especially if it has concrete walls. You might need to insulate the area to maintain consistent temperatures.
- Outdoor Root Cellar (Hillside or Buried Container): These require more construction but offer excellent temperature and humidity control.
- Modified Closet or Pantry: Even a well-insulated closet or pantry can be adapted for short-term storage of certain root vegetables.
Essential Prep Steps:
Clean and Sanitize: Thoroughly clean your chosen space, removing any debris, cobwebs, or old produce. Sanitize with a diluted bleach solution (1 part bleach to 10 parts water) to prevent mold and bacteria growth. Allow to air dry completely.
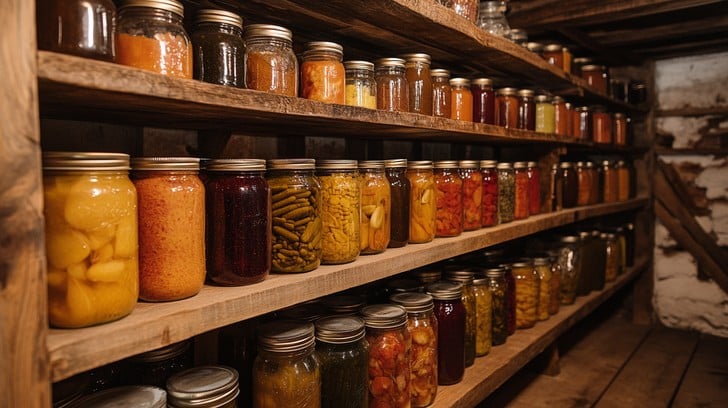
Inspect and Repair: Check for cracks, leaks, or any structural damage. Repair any issues to prevent water infiltration and maintain temperature control.
Ventilation is Key: Proper ventilation is crucial to prevent moisture buildup and mold growth. Ensure your root cellar has adequate ventilation, either through vents or by opening the door periodically.
Rodent Proofing: Mice and other critters love root vegetables as much as we do! Seal any cracks or openings to prevent them from entering your root cellar. Consider using wire mesh to protect stored produce.
Choosing Your Crops: The Best Root Vegetables for Long-Term Storage
Not all vegetables are created equal when it comes to root cellaring. Some store beautifully for months, while others are best enjoyed fresh. Here are some of the best options:
- Potatoes: Choose late-season varieties specifically bred for storage.
- Carrots: Store best in damp sand or sawdust to maintain moisture.
- Onions: Cure them properly before storing in a cool, dry place with good ventilation.
- Garlic: Similar to onions, cure thoroughly and store in a dry, well-ventilated area.
- Beets: Store like carrots, in damp sand or sawdust.
- Cabbage: Hang them upside down from the ceiling or store them on shelves.
- Winter Squash: Store in a cool, dry place with good air circulation.
Insider Tip: Choose undamaged, blemish-free produce for storage. Any cuts or bruises can lead to spoilage.
Harvesting and Preparing Your Vegetables: Handle with Care
Proper harvesting and preparation are essential for successful root cellaring.
Harvest at the Right Time: Harvest root vegetables when they are fully mature but before the first hard frost.
Handle with Care: Avoid bruising or damaging the vegetables during harvest.
Curing (for Onions and Garlic): Cure onions and garlic by spreading them out in a dry, well-ventilated place for 1-2 weeks until the necks are completely dry.
Remove Excess Soil: Gently brush off excess soil, but don't wash the vegetables unless absolutely necessary. Washing can introduce moisture and promote spoilage.
Cut the Tops (for Carrots, Beets, etc.): Trim the tops of carrots, beets, and other root vegetables, leaving about 1-2 inches of stem.

Storage Methods: From Sand to Shelves
The way you store your root vegetables can significantly impact their shelf life. Here are a few common methods:
Sand or Sawdust: Layer root vegetables like carrots and beets in damp sand or sawdust in boxes or bins. This helps maintain moisture and prevent them from drying out.
Crates and Boxes: Store potatoes, onions, and garlic in crates or boxes with good ventilation.
Shelves: Use shelves to store squash, cabbage, and other vegetables that need good air circulation.
Hanging: Hang cabbage upside down from the ceiling to maximize air circulation and prevent rot.
My Personal Experience: I remember one year, I didn't properly cure my onions, and they all rotted within a few weeks. It was a smelly and disappointing lesson learned! Now, I always make sure to cure them thoroughly before storing them in mesh bags in a cool, dry corner of my basement.
Monitoring and Maintenance: Keep a Close Eye
Even with the best preparation, regular monitoring is essential to ensure the success of your root cellar.
- Check Regularly: Inspect your stored vegetables at least once a week for signs of spoilage.
- Remove Spoiled Produce: Promptly remove any rotten or damaged vegetables to prevent them from affecting the rest of your harvest.
- Adjust Ventilation: Adjust ventilation as needed to maintain optimal temperature and humidity levels.
- Maintain Temperature and Humidity: Use a thermometer and hygrometer to monitor temperature and humidity levels. Add a humidifier or dehumidifier if necessary.
Resources for Further Exploration:
- Better Homes and Harvests - "Building a DIY Cold Frame for Extended Gardening": [Insert Internal Link to Relevant Article Here]
- Better Homes and Harvests - "Beginner's Guide to Composting": [Insert Internal Link to Relevant Article Here]
- Local University Extension Office: Many extension offices offer valuable resources and workshops on food preservation and storage.
- National Center for Home Food Preservation: (External Link - Replace with actual URL) For research-based recommendations for most methods of home food preservation.
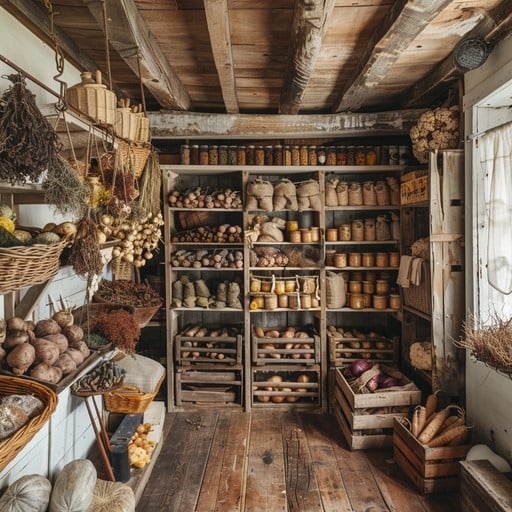
Embrace the Bounty!
Preparing your root cellar for autumn is an investment in your health, your sustainability, and your connection to the natural world. By following these simple steps, you can enjoy the fruits (and vegetables!) of your labor all winter long. Remember, it's not about perfection; it's about progress. Each year, you'll learn more and refine your techniques, becoming a true master of food preservation. So, embrace the season, get your hands dirty, and prepare to savor the bounty of your autumn harvest!
Now, tell us in the comments: What are your best tips for storing root vegetables, and what are you most excited to harvest and store this year?