Unlock Homesteading Resilience: The Secret of Elevated Pallet Garden Beds
Here on the homestead, we're always chasing that elusive balance: maximum yield with minimal input. For years, I struggled with poor soil. Amending it was a constant battle, and frankly, back-breaking work. The garden was producing, but it was always a little…lackluster. Then, I stumbled upon a solution so simple, so effective, it felt like cheating. It was the answer to reclaiming wasted space, improving soil quality, and boosting yields all in one fell swoop: building elevated garden beds from reclaimed pallets. Let me share this secret over the fence; it might just transform your homestead too!
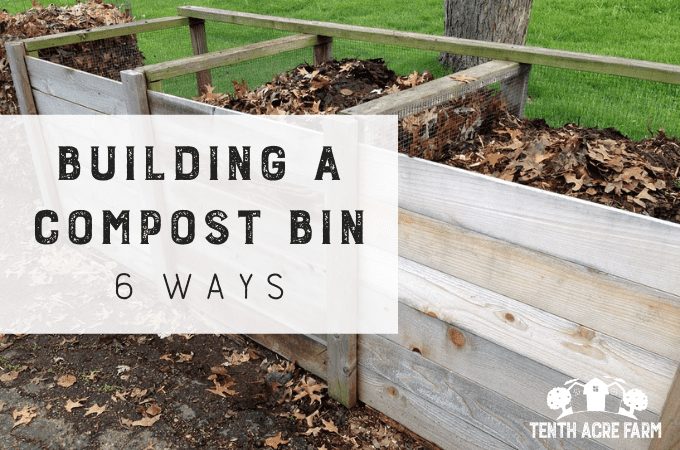
This project isn't just about building a box; it's about building resilience into your homestead. It tackles poor soil, maximizes space utilization, and even helps with pest control. And the best part? It can be done on a budget, primarily using reclaimed materials. This is a DIY project perfect for intermediate homesteaders looking to take their gardens to the next level of self-sufficiency.
Why Elevated Garden Beds? The Benefits Are Sky-High
Before we dive into the how-to, let’s quickly cover why elevated garden beds are a game-changer:
- Improved Soil Quality: You control the soil composition! Say goodbye to rocky, nutrient-poor earth and hello to a perfectly balanced growing medium.
- Pest Control: Raising your garden off the ground makes it harder for slugs, snails, and other ground-dwelling pests to reach your precious plants.
- Better Drainage: Elevated beds naturally drain better, preventing waterlogged roots and promoting healthier growth.
- Easier on the Back: No more bending and straining! Raised beds bring your garden to a comfortable working height.
- Extended Growing Season: Soil in raised beds warms up faster in the spring and stays warmer longer in the fall, extending your growing season.
- Space Efficiency: Ideal for small homesteads or urban gardening, maximizing your growing area.
The Elevated Pallet Garden Bed Project: A Step-by-Step Guide
Alright, let's get our hands dirty! Here's a detailed guide to building your own elevated garden bed from reclaimed pallets.
Materials You’ll Need:
- Pallets: Look for pallets marked with an "HT" stamp (heat treated, not chemically treated). Avoid pallets with "MB" markings, which indicates methyl bromide fumigation - these are toxic. You’ll need approximately 2-3 pallets depending on the desired size. Cost: Usually free from local businesses, construction sites, or online classifieds.
- Landscape Fabric: To line the inside of the bed and prevent soil from escaping. Cost: $10-20 per roll.
- Heavy-Duty Staples or Nails: To secure the landscape fabric. Cost: Already on hand or $5-10.
- Soil: A blend of topsoil, compost, and other organic matter. Calculate the volume needed based on the bed size. Cost: Varies, but budget $30-50 for a good quality mix.
- Safety Glasses & Gloves: Essential for protecting yourself.
- Saw: For cutting pallets.
- Hammer or Staple Gun: For securing materials.
- Measuring Tape: Ensure accurate cuts and assembly.
Step 1: Sourcing and Preparing Your Pallets
Finding free pallets is easier than you think! Check with local businesses, construction sites, or online classifieds. Once you have your pallets, carefully inspect them for any signs of damage, rot, or chemical treatment (avoid pallets marked with "MB").
Use a saw to disassemble the pallets. Carefully remove the nails or staples holding the boards together. You can use a pry bar for this, but be careful not to split the wood.
Step 2: Designing Your Garden Bed
Decide on the size and shape of your garden bed. A simple rectangular design is easiest, but feel free to get creative! Consider the available space and the types of plants you want to grow. Typical height is 12-24 inches.
Step 3: Cutting the Wood
Cut the pallet boards to the desired lengths based on your design. Ensure you have enough boards for the sides and the bottom of the garden bed. Sand down any rough edges to prevent splinters.
Step 4: Assembling the Frame
Construct the frame of your garden bed using the cut pallet boards. Use nails or screws to securely join the boards together. Consider adding corner braces for extra stability.
Step 5: Adding the Bottom (Optional but Recommended)
While not strictly necessary, adding a bottom to your raised bed helps retain moisture and prevents weeds from growing up into the bed. You can use additional pallet boards or a sheet of plywood.
Step 6: Lining the Bed with Landscape Fabric
Line the inside of the garden bed with landscape fabric. This will prevent the soil from escaping and help retain moisture. Secure the fabric with staples or nails.
Step 7: Filling the Bed with Soil
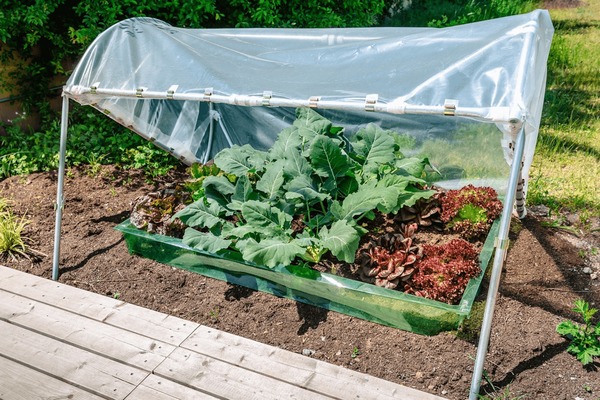
Fill the garden bed with a high-quality soil mix. A blend of topsoil, compost, and other organic matter is ideal. Ensure the soil is well-draining and nutrient-rich. You may want to consider lasagna gardening within your new bed. This is where you layer browns and greens to improve the bed's soil over time.
Step 8: Planting Your Garden!
Now comes the fun part! Plant your favorite vegetables, herbs, or flowers in your new elevated garden bed. Water regularly and enjoy the fruits (and vegetables!) of your labor. Remember to consider companion planting strategies to maximize your yields and minimize pests!
Addressing Potential Challenges
- Finding Safe Pallets: Always check for the "HT" stamp and avoid pallets with "MB" markings. If you're unsure, err on the side of caution.
- Wood Rot: To prevent wood rot, consider lining the inside of the bed with plastic sheeting (in addition to the landscape fabric) or treating the wood with a non-toxic wood preservative.
- Termites: While unlikely, termites can be an issue, especially if the pallets are already infested. Inspect carefully and treat the wood if necessary. Elevating the bed even higher off the ground can also help.
Before & After: Witnessing the Transformation
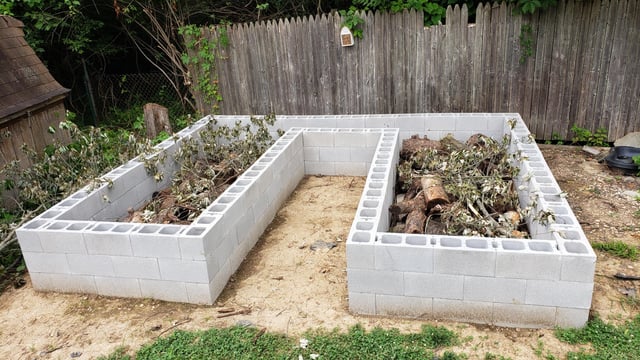
Before, our garden soil was compacted and yielded inconsistent results. We battled weeds constantly, and bending over was a chore. Now, with our elevated pallet garden beds, the difference is astounding. We've seen a significant increase in yields, the soil is rich and easy to work with, and pest problems have diminished drastically.
Quantifiable Benefits:
- Increased yields by an estimated 30%
- Reduced weeding time by 50%
- Virtually eliminated slug and snail damage
Ready to Transform Your Homestead?
Building elevated garden beds from reclaimed pallets is a simple, cost-effective way to improve your homestead's resilience and self-sufficiency. It's a project that delivers tangible results, enhancing your gardening experience and boosting your yields.
Now it’s your turn! Share your own experiences or variations of this project in the comments below. We'd love to see your creativity! Don't forget to subscribe to the Better Homes and Harvests newsletter for more homesteading tips and tricks. And be sure to share your projects on social media using #BHHHomesteadProjects! Let’s build a more resilient future, one pallet at a time.