Unlock Homesteading Mastery: Building a Low-Cost Greenhouse from Reclaimed Materials
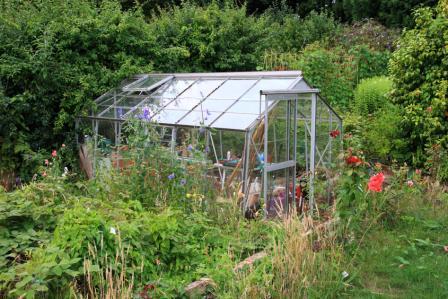
Imagine the satisfaction of nurturing seedlings in the early spring, extending your growing season, and enjoying fresh produce year-round – all thanks to a greenhouse you built yourself. At Better Homes and Harvests, we believe in empowering our readers to create more self-sufficient and sustainable homesteads. Today, we're diving into a practical, budget-friendly project: building a low-cost greenhouse from reclaimed materials. This is a fantastic way to embrace the principles of self-sufficiency and reduce your environmental impact. I built my own greenhouse a few years ago and it's been a game-changer for my homestead.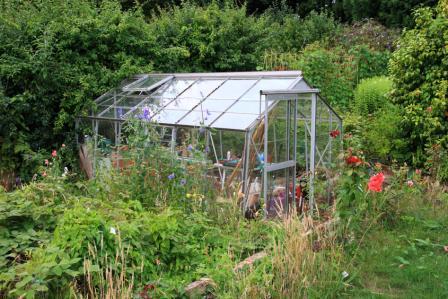
This guide provides a detailed, step-by-step approach to building your own greenhouse, even if you're new to homesteading DIY.
Why Build a Greenhouse from Reclaimed Materials?
Building with reclaimed materials is a cornerstone of sustainable homesteading. It reduces waste, saves money, and adds character to your structures. Reclaimed greenhouses can be just as effective as commercially built ones, offering a controlled environment for plant growth while minimizing your carbon footprint. This project is also a great way to practice self-sufficiency and gain valuable DIY skills.
Project Goals:
- Construct a functional and durable greenhouse using primarily reclaimed materials.
- Keep costs to a minimum without compromising structural integrity.
- Adapt the design to suit different climates and garden sizes.
- Provide a controlled environment for starting seedlings, extending the growing season, and overwintering plants.
Materials List (with Estimated Costs):
- Reclaimed Windows: (Free - $5 each) Scour local salvage yards, online marketplaces (Facebook Marketplace, Craigslist), or construction sites for discarded windows. Different sizes and shapes are fine; just adjust your design accordingly.
- Reclaimed Lumber: (Free - $1 per linear foot) Pallets, old fences, or construction scraps can be used for framing. Ensure the wood is untreated or treated with non-toxic preservatives if it will be in contact with the soil.
- Polycarbonate or Greenhouse Plastic: ($50 - $100) If you can't find enough reclaimed windows, use durable polycarbonate panels or greenhouse plastic for remaining areas. Purchase this new for optimal light transmission and durability. This will be your main expense if using lots of it!
- Door: (Free - $20) A salvaged door from a renovation project or a simple DIY door made from reclaimed lumber.
- Fasteners: ($20) Screws, nails, bolts, and washers for assembling the frame.
- Hinges and Latches: ($10) For the door and any ventilation windows.
- Gravel or Crushed Stone: ($30) For the greenhouse floor to improve drainage.
- Ventilation System (Optional): ($0 - $50) Consider adding a simple vent near the roof for airflow. You can create a manually operated vent or repurpose an old window.
- Sealant/Caulk: ($10) To seal gaps and improve insulation.
Total Estimated Cost: $120 - $240 (depending on the availability of reclaimed materials)
Tools Needed:
- Safety Glasses
- Work Gloves
- Measuring Tape
- Circular Saw or Hand Saw
- Drill with Various Bits
- Hammer
- Level
- Square
- Staple Gun (if using greenhouse plastic)
- Utility Knife
- Caulking Gun
Step-by-Step Instructions:
Step 1: Planning and Design.
Before you start gathering materials, create a basic design for your greenhouse. Consider the size of your garden, the amount of sunlight your location receives, and the availability of reclaimed materials. Sketch out a simple plan, noting the dimensions and placement of windows, doors, and ventilation. I recommend a lean-to style greenhouse if attaching it to an existing structure! This simplifies the construction and uses less materials.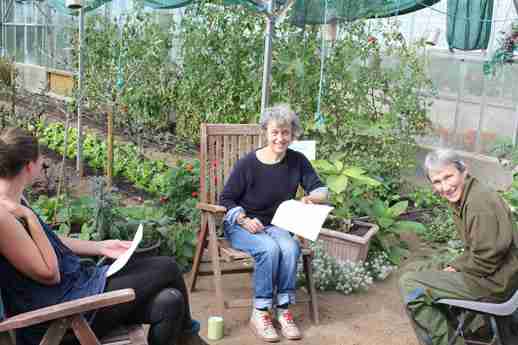
Step 2: Site Preparation.
Choose a location that receives at least 6-8 hours of sunlight per day. Clear the area of any vegetation and level the ground. A slightly sloped area is ideal for drainage. Add a layer of gravel or crushed stone to the floor to improve drainage and prevent weed growth.
Step 3: Building the Frame.
Construct the frame using reclaimed lumber. Cut the lumber to the appropriate lengths based on your design. Ensure the frame is sturdy and level. Use screws and bolts for a secure connection. Remember to incorporate supports for the windows and door. I used pallet wood for the base of mine, it worked great as an insulator and kept moisture out.
Step 4: Installing the Windows.
Carefully install the reclaimed windows into the frame. Secure them with screws or nails. Ensure the windows are properly sealed to prevent drafts and heat loss. Caulk around the edges of the windows to create a weather-tight seal.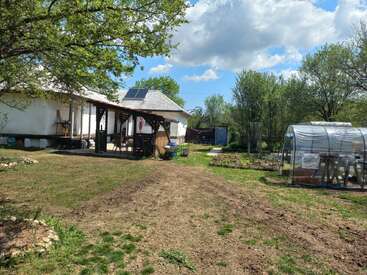
Step 5: Adding the Door.
Install the salvaged or DIY door using hinges. Ensure the door swings freely and latches securely. Weatherstrip the door to prevent drafts.
Step 6: Covering with Polycarbonate or Greenhouse Plastic (if needed).
If you don't have enough reclaimed windows to cover the entire structure, use polycarbonate panels or greenhouse plastic. Attach the polycarbonate panels to the frame with screws and washers. Stretch the greenhouse plastic tightly over the frame and secure it with a staple gun. Overlap the edges of the plastic to prevent tears.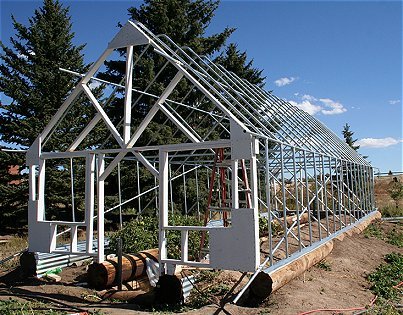
Step 7: Installing Ventilation.
Adequate ventilation is crucial to prevent overheating. Install a vent near the roof to allow hot air to escape. You can create a simple manually operated vent by cutting an opening in the frame and covering it with a hinged piece of wood or plastic. I added a small solar powered fan to circulate air.
Step 8: Finishing Touches.
Add any finishing touches, such as shelves for plants, a watering system, or a thermometer. Inspect the greenhouse for any gaps or leaks and seal them accordingly.
Safety Considerations:
- Always wear safety glasses and work gloves when handling reclaimed materials.
- Be careful when cutting and handling lumber. Use power tools safely and follow manufacturer instructions.
- Ensure the greenhouse is structurally sound and can withstand wind and snow loads.
- Be cautious when working on ladders or elevated surfaces.
- If using treated lumber, take precautions to avoid contact with skin and eyes.
Personal Anecdotes:
When I built my greenhouse, I initially underestimated the importance of proper ventilation. During the first hot days, the temperature inside soared, and I lost a few seedlings. That's when I added the ventilation system, and it made a huge difference. I also learned the importance of using high-quality greenhouse plastic. The cheap stuff tore easily in the wind. Now I opt for a thicker, more durable option.
SEO Optimization:
This blog post incorporates relevant keywords such as "homesteading DIY," "self-sufficiency," "sustainable living," "DIY greenhouse building," and "reclaimed materials greenhouse" to improve search engine optimization.
Seasonal Activity/Homesteading Calendar Tie-in:
Late winter or early spring is the perfect time to build your low-cost greenhouse, ensuring it's ready for starting seedlings and extending your growing season. This aligns with the homesteading calendar as gardeners prepare for the planting season.
Bonus tip: I also have added a trellis inside for climbing beans and cucumbers. Maximizing vertical space is crucial in a small greenhouse.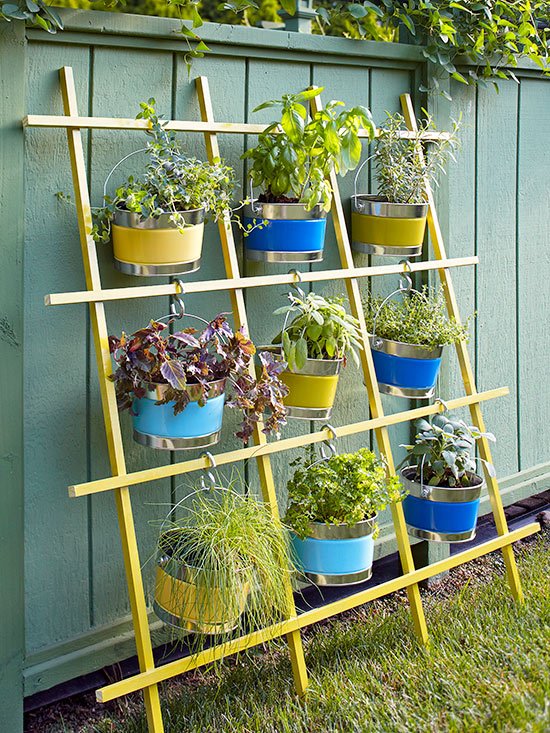
Conclusion:
Building a low-cost greenhouse from reclaimed materials is a rewarding and practical project for any homesteader. By following these step-by-step instructions, you can create a functional and sustainable structure that extends your growing season and enhances your self-sufficiency. Remember to prioritize safety, embrace resourcefulness, and adapt the design to your specific needs and available materials.
What other low-cost improvements have you made on your homestead? Share your tips and project photos in the comments below!
