Unlock Homestead Independence: Your Step-by-Step Guide to Building a Budget-Friendly Root Cellar
Imagine biting into a crisp apple in the dead of winter, a flavor that bursts with the freshness of fall. That's the magic of a root cellar! At Better Homes and Harvests, we celebrate sustainable living, and we know our readers crave practical, hands-on projects that bring them closer to self-sufficiency. That's why we're excited to guide you through building your own budget-friendly root cellar. This isn't just about construction; it's about empowering you to take control of your food security and embrace a more resilient lifestyle. Building a root cellar is a rewarding project that pays dividends in fresh food and peace of mind for years to come.
Why Build a Root Cellar?
Before we dive into the "how," let's talk about the "why." In a world increasingly concerned with food security and sustainability, a root cellar offers a simple, yet powerful solution for preserving your garden's bounty.
- Extended Harvest: A root cellar creates the ideal environment for storing fruits and vegetables, allowing you to enjoy fresh, homegrown produce months after the growing season ends.
- Reduced Food Waste: By properly storing your harvest, you can significantly reduce food waste and save money on your grocery bills.
- Energy Savings: Unlike refrigerators or freezers, a root cellar uses natural cooling and humidity control, minimizing your energy consumption and carbon footprint.
- Food Security: A well-stocked root cellar provides a buffer against unexpected disruptions in the food supply chain.
Finding the Right Location
Location is paramount for a successful root cellar. You'll need a spot that naturally stays cool and humid. Here are a few considerations:
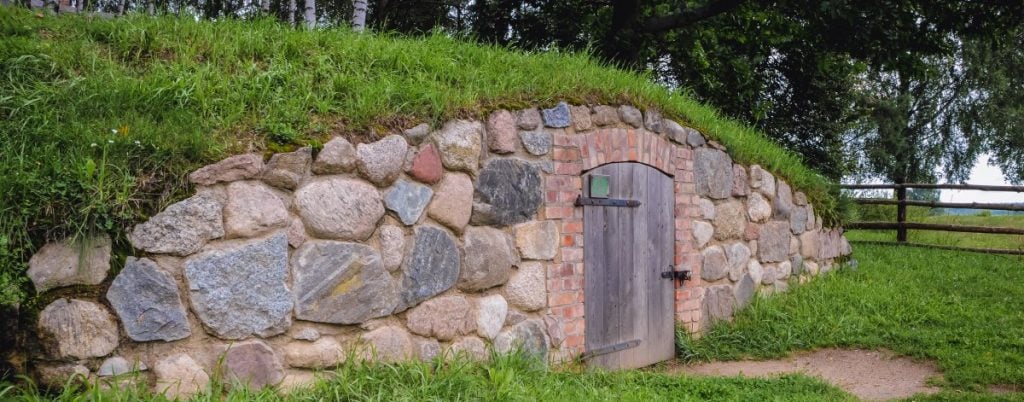
- Underground is Best: The earth provides insulation, maintaining a stable temperature. A partially or fully underground structure is ideal.
- North-Facing Slope: A north-facing slope receives less direct sunlight, helping to keep the cellar cool.
- Good Drainage: Avoid areas prone to flooding or excessive moisture. Good drainage is crucial to prevent spoilage.
- Accessibility: Choose a location that's relatively easy to access, especially during winter months.
Our Budget-Friendly Root Cellar Design: The Earthbag Option
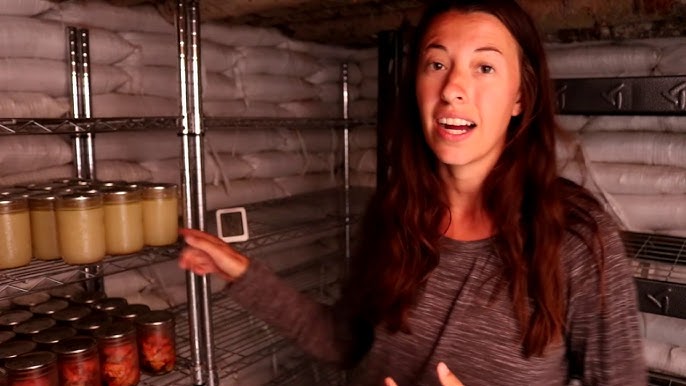
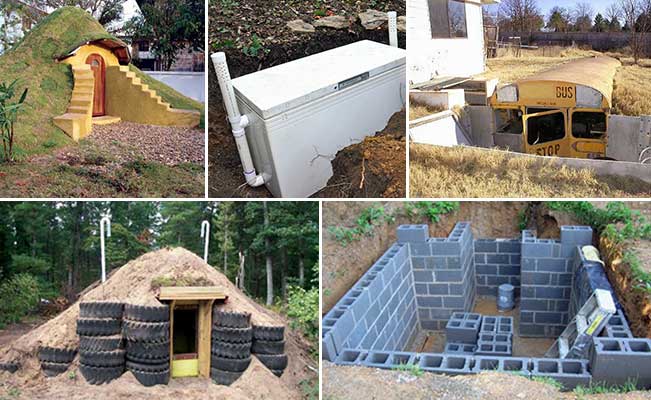
For this guide, we'll focus on an earthbag root cellar. This method is cost-effective, uses readily available materials, and is relatively easy to construct. Earthbags are essentially tubes of woven polypropylene filled with compacted earth. They create strong, durable walls that provide excellent insulation.
Step-by-Step Guide to Building Your Earthbag Root Cellar
Here's a detailed, step-by-step guide to building your budget-friendly earthbag root cellar:
Step 1: Planning and Preparation
- Determine Size: Decide on the size of your root cellar based on your storage needs. A small root cellar (e.g., 8ft x 10ft) is a good starting point.
- Gather Materials: Create a comprehensive materials list (see budget breakdown below).
- Acquire Tools: Ensure you have the necessary tools, including shovels, buckets, tampers, levels, measuring tape, and a wheelbarrow.
- Check Local Codes: Before starting construction, check with your local authorities regarding any building codes or permits.
Step 2: Site Excavation
- Mark the Perimeter: Mark the outline of your root cellar on the chosen site.
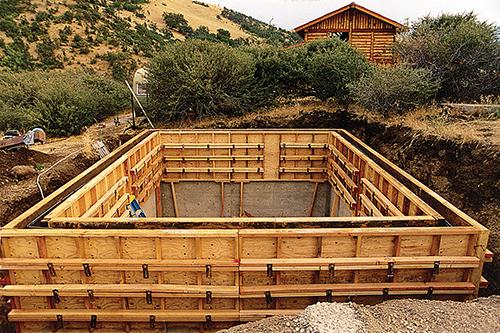
- Excavate the Site: Dig down to the desired depth. For a partially underground root cellar, 3-4 feet is a good start. For full underground, dig deeper, ensuring proper ventilation consideration. Save the excavated soil for filling the earthbags.
- Level the Base: Ensure the base of the excavation is level and compacted. This will provide a stable foundation for the earthbags.
Step 3: Building the Earthbag Walls
- Lay the First Course: Start laying the first course of earthbags around the perimeter. Overlap the bags slightly for added strength.
- Compact Each Bag: Thoroughly compact each bag using a tamper to create a dense, solid wall. This is crucial for the structural integrity of the root cellar.
- Barbwire Between Courses: Place two strands of barbed wire between each course of earthbags. This acts as "rebar," preventing the bags from shifting and adding tensile strength.
- Continue Building: Continue laying courses of earthbags, compacting each bag and adding barbed wire between courses, until you reach the desired wall height.
Step 4: Doorway and Ventilation
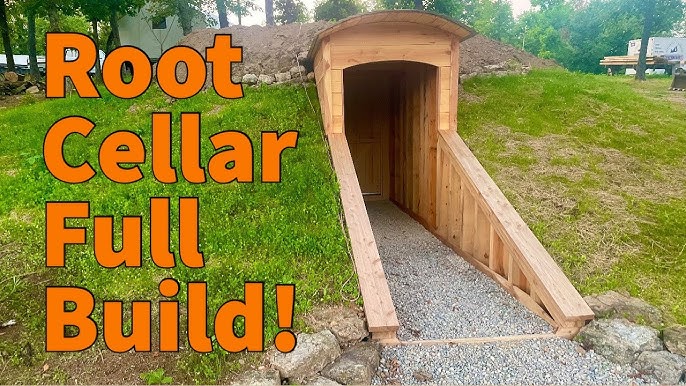
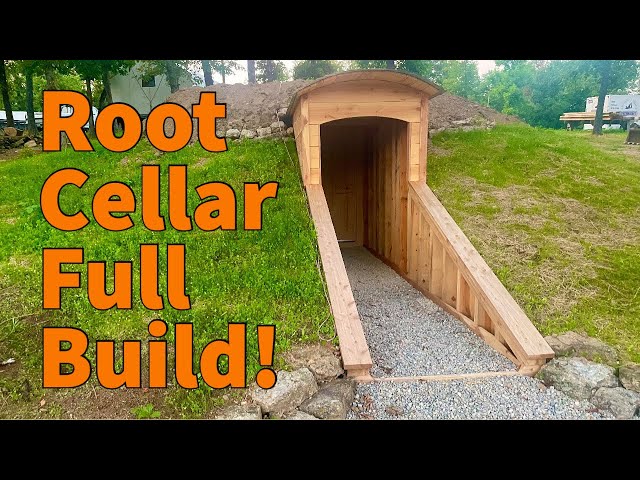
- Install Door Frame: Install a sturdy door frame using wood or metal. Ensure the frame is well-anchored to the earthbag walls.
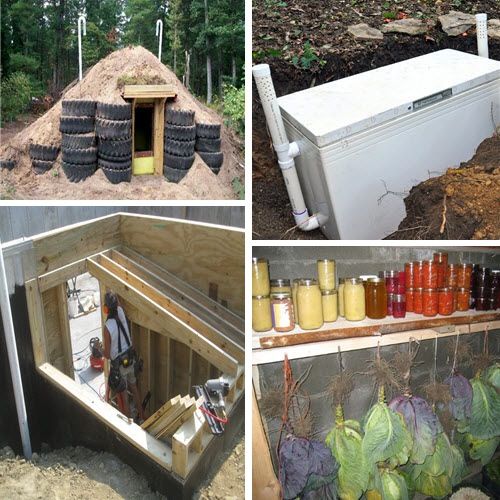
- Ventilation Pipes: Install ventilation pipes at both the top and bottom of the root cellar. This will allow for air circulation and prevent moisture buildup. PVC pipes work well for this purpose.
Step 5: Roof Construction
- Choose Roofing Method: There are several options for roofing an earthbag root cellar, including a dome, a wooden frame with a waterproof covering, or a combination of both.
- Dome (Advanced): A dome roof is structurally strong but requires more skill to construct.
- Wooden Frame: A wooden frame is simpler to build and can be covered with plywood, roofing felt, and a layer of soil for added insulation.
- Waterproof Membrane: Regardless of the roofing method, ensure you have a waterproof membrane to prevent leaks.
Step 6: Finishing Touches
- Plaster the Walls: Apply a layer of plaster to the interior and exterior walls of the root cellar. This will protect the earthbags from moisture and erosion. A mixture of clay, sand, and straw works well.
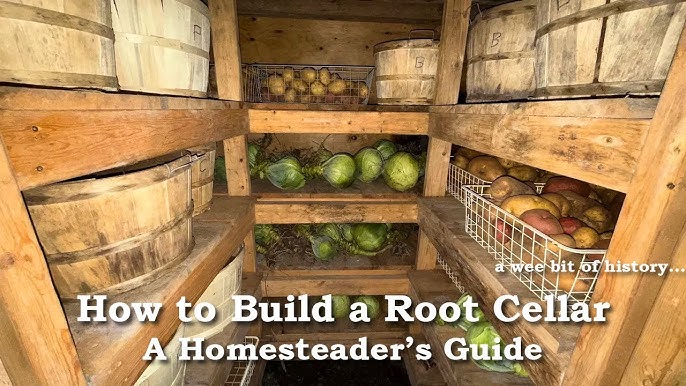
- Install Shelving: Install shelving to store your fruits and vegetables. Wooden shelves are a good option.
- Add a Door: Install a sturdy door to keep out pests and maintain a stable temperature.
- Monitor Temperature and Humidity: Use a thermometer and hygrometer to monitor the temperature and humidity inside the root cellar. Aim for a temperature between 32-40°F (0-4°C) and a humidity level of 85-95%.
Budget Breakdown
Here's an estimated budget breakdown for our earthbag root cellar:
- Earthbags: $100 - $200 (depending on quantity and size)
- Barbed Wire: $50 - $100
- Door Frame: $50 - $100 (repurposed materials can significantly reduce this cost)
- Roofing Materials: $200 - $500 (depending on the chosen method)
- Ventilation Pipes: $20 - $50
- Plaster Materials: $50 - $100
- Shelving: $50 - $100 (reclaimed wood is a great option)
- Tools: (Assume you already have basic tools) $0 - $50 (for any additional tools needed)
Total Estimated Cost: $570 - $1200
Note: This is just an estimate. Actual costs may vary depending on your location, the materials you choose, and whether you can source any materials for free or at a discount. Reclaimed or repurposed materials will help keep costs down significantly.
Tips for Success
- Proper Compaction: Compacting the earthbags thoroughly is crucial for the structural integrity of the root cellar. Don't skip this step!
- Good Ventilation: Adequate ventilation is essential for preventing moisture buildup and spoilage.
- Monitor Temperature and Humidity: Regularly monitor the temperature and humidity inside the root cellar to ensure optimal storage conditions.
- Store Produce Properly: Store different types of produce in separate containers or areas to prevent cross-contamination.
Troubleshooting
- Too Much Moisture: Improve ventilation by opening vents or adding a dehumidifier. Ensure good drainage around the root cellar.
- Too Warm: Add more insulation to the roof and walls. Consider planting trees or shrubs to provide shade.
- Pest Problems: Seal any cracks or openings to prevent pests from entering. Use traps or natural repellents to control pests.
Downloadable Checklist
Download your Root Cellar Checklist Here (replace with a real link if you have one)
Share Your Experience!
We hope this guide has inspired you to build your own budget-friendly root cellar. We'd love to hear about your experiences! Share your challenges, successes, and lessons learned in the comments section below. Post photos of your completed projects and ask any questions you may have. Let's build a vibrant community of homesteaders! Share this post on your social media to encourage people to comment and ask questions!
Storing Your Harvest: A Quick Guide
- Apples: Store in crates or boxes, making sure they don't touch each other.
- Potatoes: Store in burlap sacks or wooden crates in a dark, cool, and humid environment.
- Carrots: Store in boxes of damp sand or sawdust.
- Onions: Hang in mesh bags in a cool, dry, and well-ventilated area.
- Winter Squash: Store on shelves in a cool, dry place.
Building a root cellar is an investment in your self-sufficiency and food security. It's a project that connects you to the land and empowers you to provide for yourself and your family. So, grab your tools, gather your materials, and embark on this rewarding homesteading adventure!
