Unlock Homestead Independence: Building a Budget-Friendly Root Cellar with Reclaimed Materials
Hey there, fellow homesteaders! Have you ever felt that nagging frustration of watching your garden bounty dwindle away as winter approaches? Or maybe you’re tired of relying on store-bought produce, especially when you’ve worked so hard to grow your own? If you're anything like my neighbor Sarah, a devoted reader of "Better Homes and Harvests" and a passionate (though sometimes overwhelmed!) homesteader, you dream of self-sufficiency. That's where a root cellar comes in. It's the unsung hero of homesteading, a simple yet incredibly effective way to extend the harvest and ensure access to fresh, nutritious food year-round.
This isn't about complicated construction or breaking the bank. We're talking about a DIY project even a moderately experienced DIYer can tackle over a weekend, using mostly reclaimed materials. Let's get started!
The Problem: Why a Root Cellar Matters for Homesteaders
The modern food system prioritizes convenience over nutrition and sustainability. We're accustomed to readily available produce, but this comes at a cost – transportation, storage, and potential loss of flavor and nutrients. For homesteaders striving for greater independence, a root cellar represents a powerful step towards self-reliance. It allows you to:
- Preserve the Harvest: Store root vegetables (potatoes, carrots, beets), fruits (apples, pears), and even some canned goods at optimal temperatures and humidity levels.
- Reduce Food Waste: Minimize spoilage and make the most of your garden's bounty.
- Save Money: Reduce reliance on grocery stores and enjoy homegrown food for months after the growing season ends.
- Increase Food Security: Build a buffer against supply chain disruptions and ensure access to healthy food for your family.
- Energy-Efficient Storage: No need for electricity! Root cellars harness the earth's natural temperature to keep food cool.
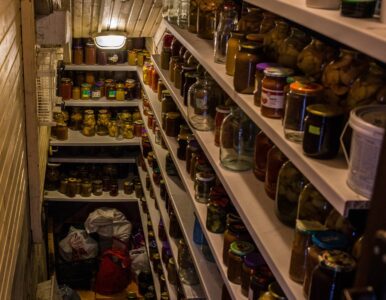
Our Solution: A Simple, Budget-Friendly Root Cellar
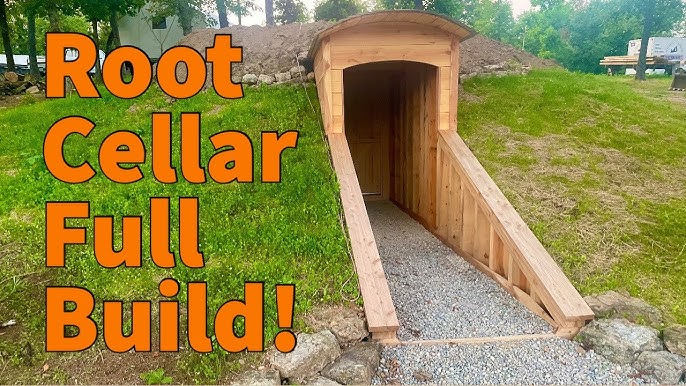
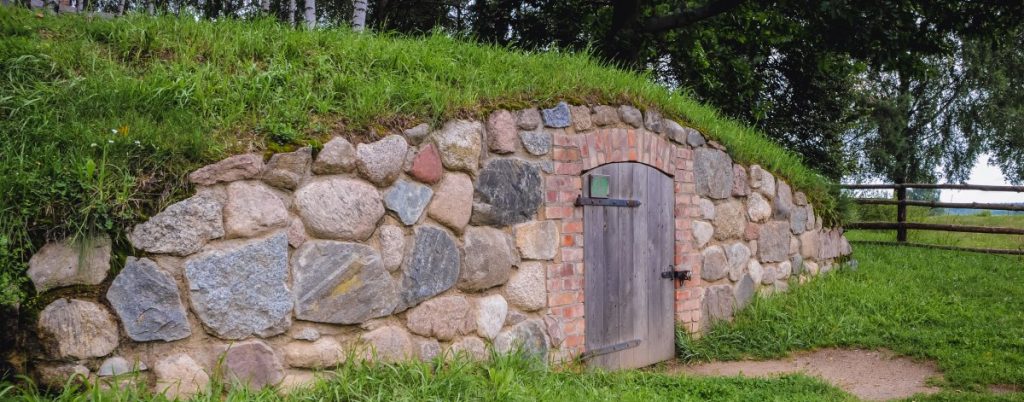
We'll focus on building a small, above-ground root cellar utilizing readily available reclaimed materials, such as repurposed wood, concrete blocks, and salvaged doors. This design is perfect for smaller homesteads or those with limited space.
Step-by-Step Guide: Building Your DIY Root Cellar
1. Planning & Preparation:
Location, Location, Location: Choose a location that's shaded, well-drained, and preferably on the north side of your home or barn to minimize sun exposure. A slight slope can aid in drainage.
Size Matters: Determine the size of your root cellar based on your storage needs. A 6ft x 8ft structure is a good starting point for a small family.
Gather Your Materials: This is where the "reclaimed" part comes in! Scour local sources for:
- Reclaimed Wood: Pallets, old barn wood, or lumber from deconstructed buildings. Aim for untreated wood whenever possible.
- Concrete Blocks: For the foundation.
- Salvaged Door: Solid-core exterior door is ideal.
- Roofing Materials: Metal roofing, asphalt shingles, or even heavy-duty tarps.
- Insulation: Straw bales, recycled denim insulation, or rigid foam insulation.
- Gravel or Crushed Stone: For drainage.
- Hardware: Screws, nails, hinges, etc.
- Tools: Circular saw, drill, level, measuring tape, shovel, hammer, safety glasses, gloves.
Permits: Check with your local building department to determine if any permits are required.
Estimated Cost: $200 - $500 (depending on the availability of reclaimed materials)
2. Building the Foundation:
- Clear the Site: Remove any vegetation and debris from the chosen location.
- Level the Ground: Ensure the ground is level to prevent uneven settling.
- Lay the Gravel Bed: Spread a layer of gravel or crushed stone (4-6 inches thick) to improve drainage and prevent moisture from wicking up into the structure.
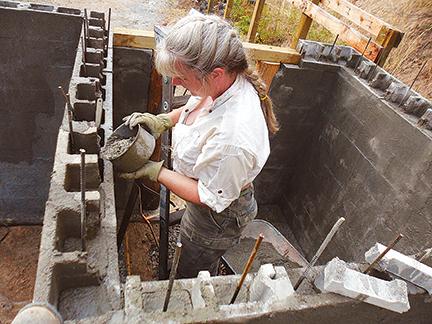
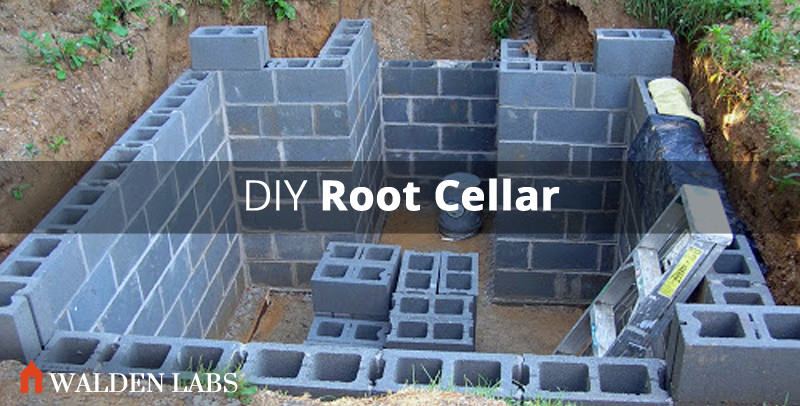
- Construct the Foundation: Lay the concrete blocks on top of the gravel bed, ensuring they are level and square. Use mortar to secure the blocks together for added stability.
- Remember to leave gaps for ventilation if the cellar is mostly underground
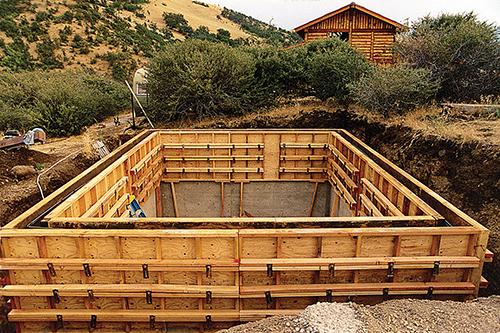
3. Framing the Walls:
- Cut the Lumber: Cut the reclaimed wood to the desired dimensions for the wall framing.
- Assemble the Frames: Construct the wall frames using screws or nails, ensuring they are square and sturdy.
- Raise the Walls: Attach the wall frames to the foundation, using screws or nails to secure them in place. Ensure the walls are plumb and level.
4. Insulating the Walls:
- Choose Your Insulation: Straw bales are a great natural option, providing excellent insulation and moisture absorption. Recycled denim insulation is another eco-friendly choice. Rigid foam insulation is also effective, but be sure to seal the seams properly.
- Install the Insulation: Pack the insulation tightly between the wall studs.
- Cover the Insulation: Cover the insulation with a vapor barrier (such as plastic sheeting) to prevent moisture from penetrating the insulation.
5. Building the Roof:
- Construct the Roof Frame: Build a simple roof frame using reclaimed lumber. A slightly sloped roof will help shed water.
- Attach the Roofing Material: Install the roofing material, ensuring it is securely fastened and watertight. Overlap the roofing material to prevent leaks.
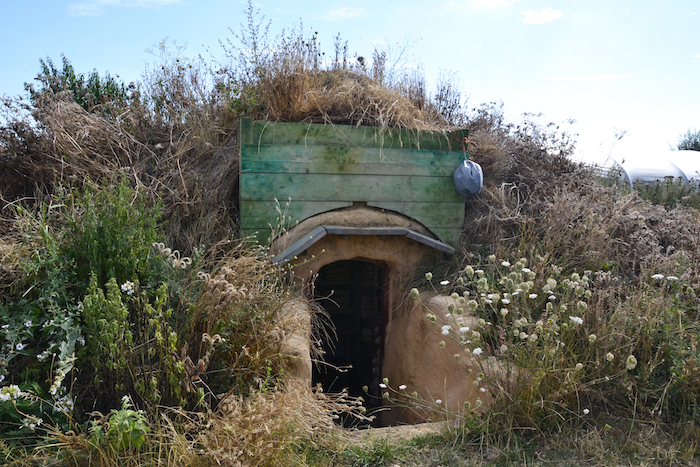
6. Installing the Door:
- Frame the Doorway: Construct a sturdy frame for the salvaged door.
- Hang the Door: Install the door using hinges, ensuring it swings smoothly and seals tightly.
- Weatherstrip the Door: Install weather stripping around the doorframe to prevent drafts and maintain a consistent temperature inside the root cellar.
7. Ventilation:
- Install Ventilation Pipes: Adequate ventilation is crucial for maintaining the proper temperature and humidity levels inside the root cellar. Install two ventilation pipes – one near the floor and one near the ceiling – to promote air circulation.
- Cover the Vents: Cover the vents with screens to prevent pests from entering the root cellar.
8. Interior Finishing (Shelving):
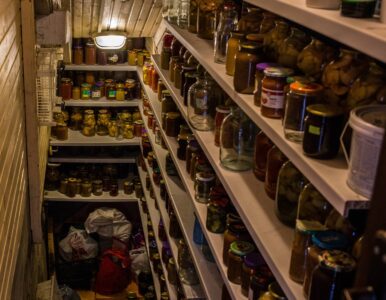
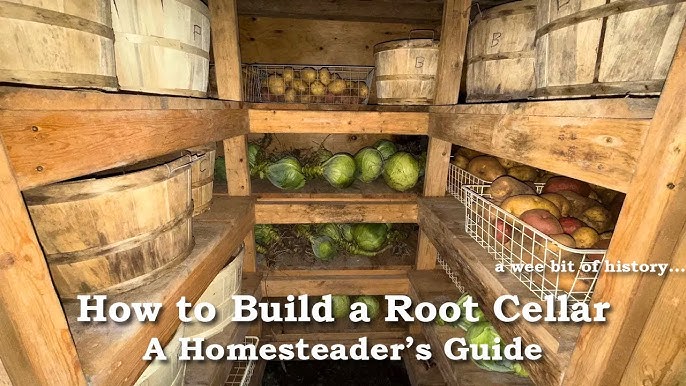
- Build Shelving: Construct shelving using reclaimed lumber or pallets. Ensure the shelves are sturdy enough to hold the weight of your produce.
- Optimize Airflow: Arrange the shelves to allow for good air circulation around the produce.
- Consider Crates and Bins: Use crates or bins to organize your produce and prevent it from bruising.

Potential Challenges and Troubleshooting Tips
- Moisture Control: Moisture is the enemy of long-term food storage. Ensure proper ventilation and drainage to prevent mold and rot.
- Pest Control: Keep the root cellar clean and free of debris to prevent pests from taking up residence. Seal any cracks or holes in the walls and foundation. Consider using natural pest repellents, such as diatomaceous earth.
- Temperature Fluctuations: Insulate the root cellar properly to minimize temperature fluctuations. Monitor the temperature and humidity levels regularly.
- Finding Reclaimed Materials: Be patient and persistent in your search for reclaimed materials. Check with local demolition companies, construction sites, and online marketplaces.
The Final Step: Enjoying the Fruits (and Vegetables!) of Your Labor
Congratulations! You've built your own DIY root cellar and taken a significant step towards homestead independence. Now, it's time to fill it with the bounty of your garden and enjoy fresh, healthy food throughout the winter.
Call to Action
We'd love to hear about your experiences building a root cellar! Share your photos, ask questions, or suggest related projects in the comments below. What reclaimed materials did you use? What challenges did you face, and how did you overcome them? Let's learn from each other and build a more sustainable future, one root cellar at a time! Share your pictures in the comments below!
