Unlock Homestead Independence: Build Your Own DIY Root Cellar for Year-Round Food Security
Are you tired of relying on grocery stores for your produce, especially during the harsh winter months? Do you dream of enjoying the fruits (and vegetables!) of your labor year-round? Then it's time to consider building your own DIY root cellar! A root cellar is a time-tested method of food preservation, a cornerstone of self-sufficient living, and a crucial step towards achieving true food security.
In this comprehensive guide, we'll walk you through the process of building an affordable and beginner-friendly root cellar on your homestead, using readily available materials. Get ready to drastically reduce your grocery bills, enjoy healthy, home-preserved food, and experience the immense satisfaction of self-reliance. Let's dig in!
Why Build a Root Cellar? The Benefits of Old-Fashioned Food Storage
Before we dive into the how-to, let’s explore why a root cellar is such a valuable asset for any homesteader:
- Year-Round Food Supply: Enjoy fresh, homegrown produce long after the growing season ends.
- Reduced Grocery Bills: Minimize trips to the store and save money by storing your harvest.
- Food Security: Be prepared for unexpected events and ensure a stable food supply for your family.
- Preserve Nutritional Value: Unlike canning or freezing, root cellaring can help retain the natural nutrients of your produce.
- Environmentally Friendly: Reduce your carbon footprint by minimizing reliance on processed and transported foods.
- Increased Self-Sufficiency: Gain independence and control over your food source.
Planning Your Root Cellar: The Foundation for Success
Proper planning is critical for a successful root cellar. Here's what you need to consider:
Site Selection: Location, Location, Location!
Choosing the right location is the first crucial step. The ideal site should:
- Be cool and shady: North-facing slopes are typically best to minimize sun exposure and maintain a consistent temperature.
- Have good drainage: Avoid areas prone to flooding or water accumulation. Proper drainage is vital to prevent spoilage.
- Be easily accessible: You'll need to access your root cellar regularly, even in winter.
- Be away from tree roots: Tree roots can damage the structure and compete for moisture.
- Utilize existing features (optional): Consider building into a hillside or using an existing structure like a garage or shed.
Size and Design: Tailoring to Your Needs
The size of your root cellar will depend on your storage needs. Consider:
- The size of your garden: How much produce do you expect to store each year?
- Your family size: How many people will you be feeding?
- Your storage goals: Do you want to store just root vegetables, or also fruits, nuts, and canned goods?
A small root cellar (6x8 feet) might be sufficient for a small family, while a larger family may require a 10x12 foot structure or bigger.
Design Considerations: Balancing Simplicity and Functionality
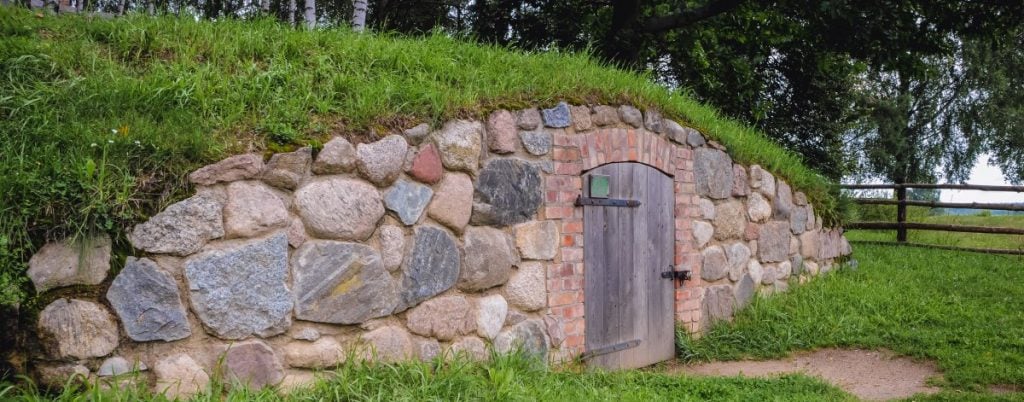
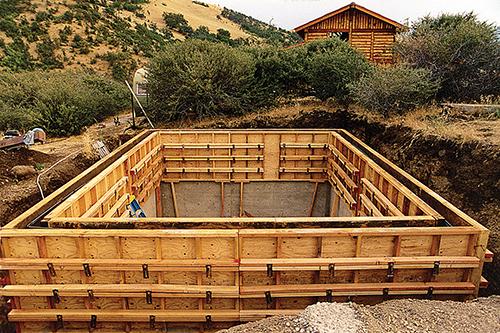
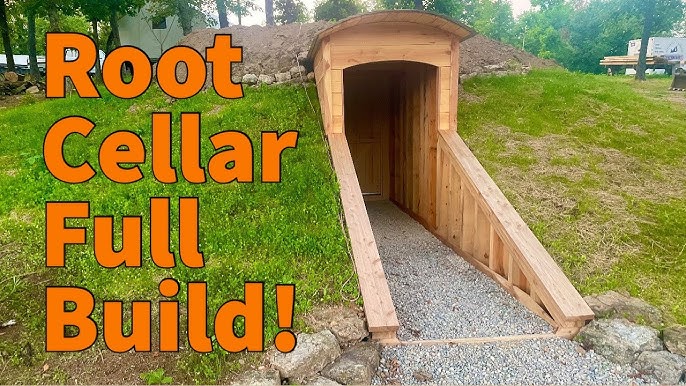
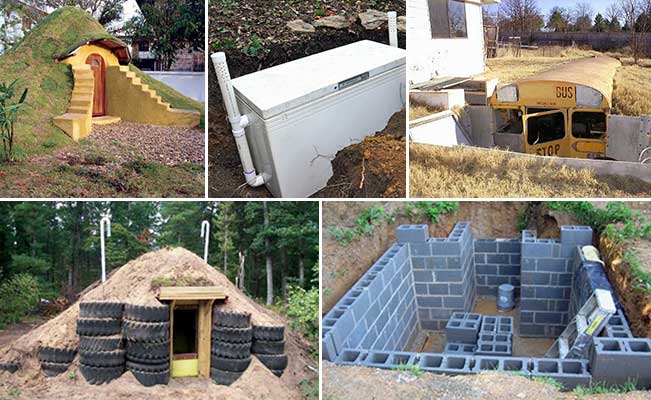
For a beginner-friendly project, we recommend a simple, partially underground design. This type of root cellar is relatively easy to construct and provides excellent insulation.
Materials: Affordable and Accessible Options
Here are some affordable and readily available materials to consider:
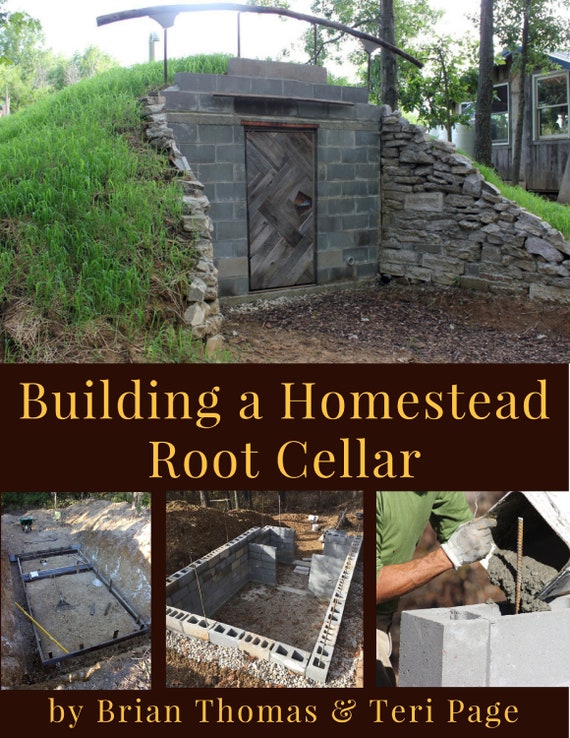
- Cinder blocks: Durable, easy to work with, and relatively inexpensive.
- Straw bales: Excellent insulation, but require proper protection from moisture.
- Reclaimed lumber: A budget-friendly option, but ensure it's free from rot and pests.
- Gravel: Essential for drainage and creating a stable base.
- Plastic sheeting: To create a moisture barrier.
Budget-Friendly Tip: Scour local classifieds and online marketplaces for used or salvaged materials.
Building Your DIY Root Cellar: A Step-by-Step Guide
Now, let's get our hands dirty! Here's a step-by-step guide to building your root cellar:
Step 1: Excavation
- Dig a hole according to your planned dimensions. The depth will depend on your design, but aim for at least 4-6 feet deep for good temperature regulation.
- Ensure the walls of the excavation are stable and properly sloped to prevent collapse.
Step 2: Drainage and Foundation
- Add a layer of gravel (at least 6 inches thick) to the bottom of the excavation for drainage.
- Compact the gravel thoroughly.
- Pour a concrete slab or lay a bed of compacted gravel as a foundation for the walls.
Step 3: Wall Construction (Cinder Blocks)
- Lay the first course of cinder blocks on the foundation, ensuring they are level and aligned.
- Use mortar to secure the blocks together, staggering the joints for added strength.
- Continue laying courses of cinder blocks until you reach the desired height.
- Reinforce the walls with rebar for added stability, especially if building in an area with unstable soil.
Step 4: Wall Construction (Straw Bales - Alternative)
- If using straw bales, create a level platform to build upon.
- Stack the straw bales tightly together, ensuring they are well-compressed.
- Use stakes to secure the bales in place.
- Cover the exterior of the straw bales with plastic sheeting to protect them from moisture.
- Consider adding a layer of clay plaster for added insulation and protection.
Step 5: Roof Construction
- Construct a sturdy roof frame using lumber.
- Cover the frame with plywood or OSB sheathing.
- Add a layer of insulation (e.g., rigid foam insulation or straw bales).
- Cover the roof with a waterproof membrane (e.g., roofing felt or EPDM rubber).
- Backfill the excavated soil around the walls and over the roof to provide insulation.
Step 6: Ventilation
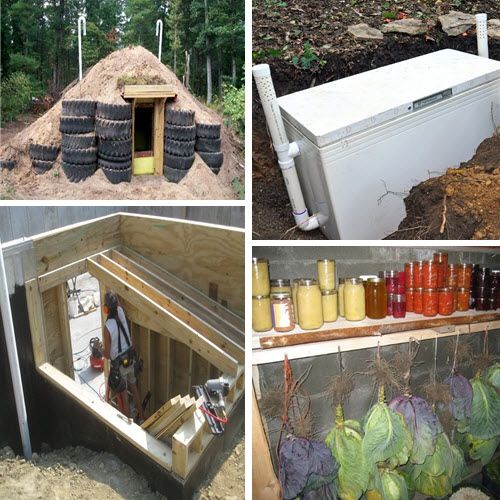
- Install at least two ventilation pipes – one near the floor and one near the ceiling. This creates airflow and prevents moisture buildup.
- Cover the ends of the pipes with screens to prevent rodent entry.
- Consider installing adjustable dampers to control airflow as needed.
Step 7: Interior Finishing
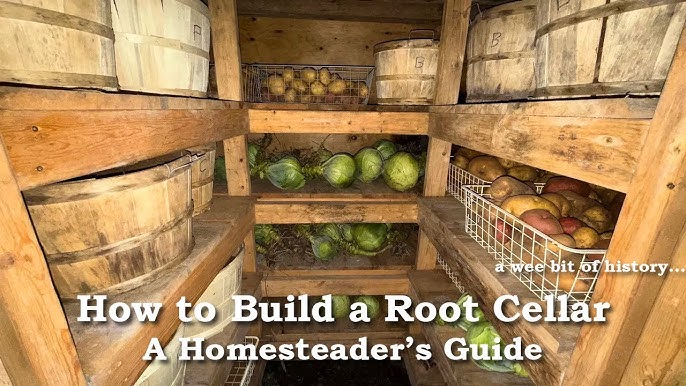
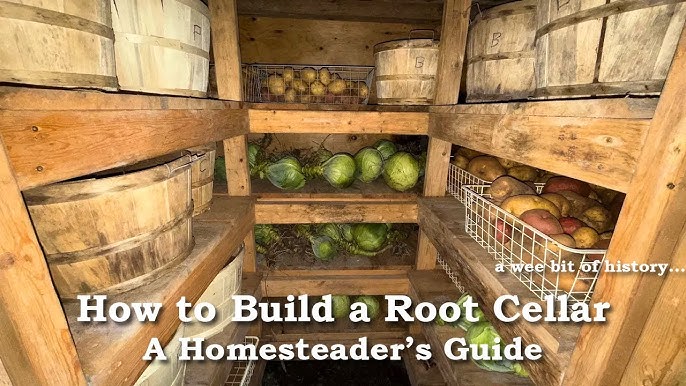
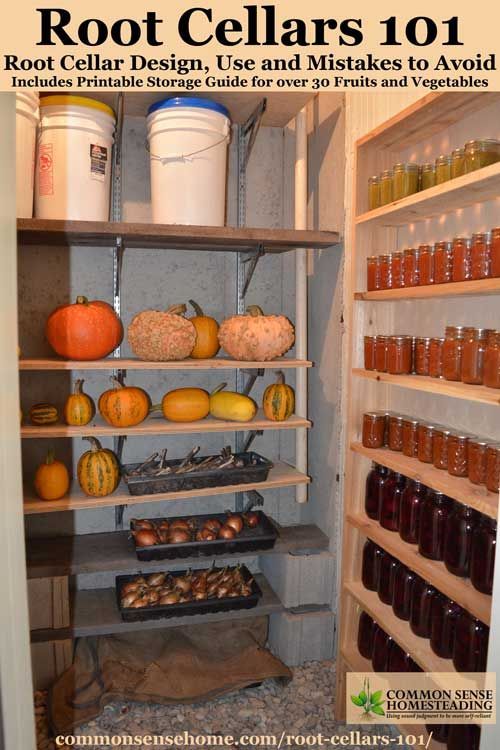
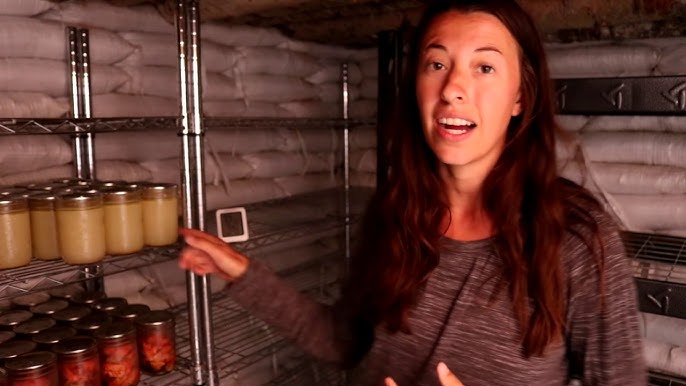
- Install shelves or bins for storing your produce.
- Use untreated wood for shelving to avoid contaminating your food.
- Consider adding a gravel floor for improved drainage and humidity regulation.
Step 8: The Entrance
- Build a sturdy door that seals tightly to prevent drafts and rodent entry.
- Insulate the door with foam or fiberglass insulation.
- Consider adding a second door or an airlock entry for added insulation in colder climates.
Optimal Storage Techniques for Different Types of Produce
Not all produce is created equal. Here’s how to store common crops for maximum longevity:
- Potatoes: Store in dark, cool (35-40°F), and humid conditions.
- Carrots: Store in damp sand or sawdust in a cool (32-40°F) environment.
- Apples: Store in a cool (30-32°F), humid environment, wrapped individually to prevent spoilage.
- Onions and Garlic: Store in a cool (32-36°F), dry and well-ventilated place. Hang them in mesh bags for airflow.
- Cabbage: Store in a cool (32-40°F), humid environment, wrapped in newspaper.
Common Challenges and Troubleshooting
Homesteading is rarely without its challenges. Here are some common issues you might encounter and how to address them:
- Rocky Soil: Remove large rocks during excavation and add topsoil to improve drainage.
- Poor Drainage: Install French drains to redirect water away from the root cellar.
- Rodent Infestations: Seal all cracks and openings, use wire mesh to cover ventilation pipes, and consider setting traps.
- High Humidity: Improve ventilation and add a layer of gravel to the floor.
- Low Humidity: Spray the floor with water periodically to increase humidity.
- Temperature Fluctuations: Add more insulation to the walls and roof.
The Rewards of Self-Reliance: A Taste of Homestead Independence
Building a DIY root cellar is an investment in your future. It's a step towards greater self-sufficiency, food security, and a healthier lifestyle. Imagine the satisfaction of harvesting your garden, storing your bounty in your own root cellar, and enjoying fresh, homegrown food throughout the winter months.
Beyond the practical benefits, a root cellar is a connection to our past, a testament to human ingenuity, and a symbol of self-reliance.
Now It's Your Turn!
Building a root cellar is a rewarding and empowering experience. We hope this guide has inspired you to embark on your own DIY project.
What are your biggest challenges in building a root cellar? Do you have any tips or tricks to share? Let us know in the comments below! We'd love to hear about your experiences and learn from your wisdom.
Don't wait another season! Take control of your food supply and unlock homestead independence with your very own DIY root cellar. Happy building!
