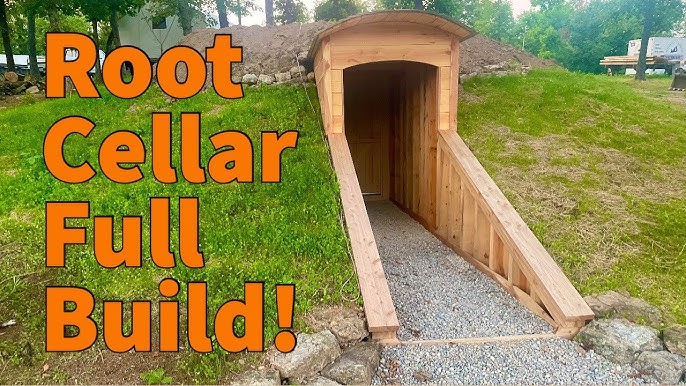
Unlock Homestead Independence: Build a DIY Root Cellar (Even on a Budget!)
Imagine biting into a crisp, garden-grown carrot in the dead of winter. Picture yourself whipping up a hearty potato stew with potatoes you harvested months ago. This isn't just a fantasy – it's the reality of homesteading with a root cellar! For Better Homes and Harvests readers looking to increase self-sufficiency and reduce reliance on grocery store produce, a DIY root cellar is the answer. It's a time-tested method of food preservation, allowing you to enjoy the fruits (and vegetables!) of your labor long after the growing season ends. And the best part? You can build a budget root cellar yourself, even if you're working with limited resources and space.
This post will guide you through building a small, partially underground root cellar – perfect for a backyard homestead. We'll focus on using primarily recycled materials and readily available options like repurposed pallets and cinder blocks, making it a truly budget-friendly root cellar project. Let's dive in and unlock your path to homestead independence!
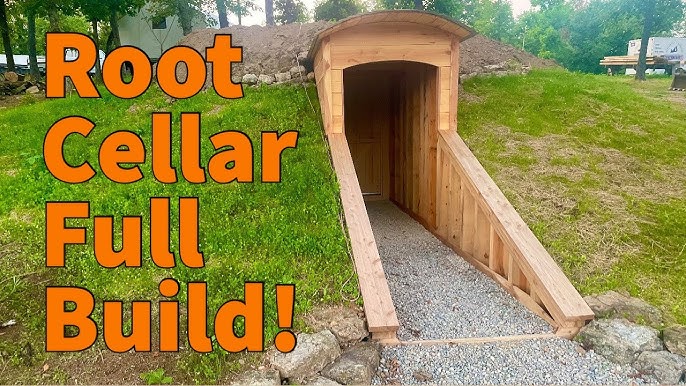
Why Build a Root Cellar? The Benefits of Winter Storage
Before we get our hands dirty, let's talk about why a DIY root cellar is such a valuable asset for any homesteader:
- Self-Sufficiency: A root cellar empowers you to take control of your food supply, reducing your dependence on grocery stores and industrial agriculture.
- Food Preservation: It's a natural and energy-efficient way to preserve your harvest, avoiding the need for electricity-guzzling freezers or complicated canning processes for many vegetables.
- Cost Savings: By storing your own produce, you can significantly reduce your grocery bills during the winter months. Imagine cutting your potato and onion budget by 75%!
- Improved Flavor and Nutrition: Root cellaring allows some vegetables, like carrots and beets, to actually improve in flavor and nutritional value over time. The cool, humid environment converts starches to sugars, resulting in a sweeter taste.
- Emergency Preparedness: In times of crisis, a well-stocked root cellar can provide a valuable source of food security for your family.
Planning Your Budget Root Cellar: Location, Size, and Materials
The first step in any successful DIY project is careful planning. Here's what you need to consider before you start digging:
1. Location:
- North-facing slope: This is ideal as it minimizes direct sunlight exposure, helping to maintain a cool temperature.
- Good drainage: Avoid areas prone to flooding or waterlogging. Proper drainage is crucial for preventing spoilage.
- Proximity to your garden: A location close to your garden makes harvesting and transporting your produce easier.
2. Size:
For a backyard homestead, a small root cellar measuring approximately 6ft x 8ft x 6ft (length x width x height) is often sufficient. This size can store a significant amount of produce for a family of four. Adjust the dimensions based on your specific needs and available space.
3. Materials:
This is where the "budget" aspect comes into play! We'll focus on using recycled and readily available materials:
- Repurposed Pallets: These can be used for framing the walls and roof. Source them from local businesses (ask politely!). Estimated Cost: Free - $5 per pallet
- Cinder Blocks: These are sturdy and relatively inexpensive, perfect for creating a foundation and reinforcing the walls. Estimated Cost: $1 - $2 per block
- Gravel: Essential for drainage beneath the floor. Estimated Cost: $50 - $100 (depending on quantity)
- Plastic Sheeting: Used as a moisture barrier. Estimated Cost: $20 - $40
- Dirt/Soil: To cover the root cellar, providing insulation. Estimated Cost: Free (from your property)
- Lumber: For framing the door and potentially reinforcing the roof. Estimated Cost: $50 - $100
- Insulation: Straw bales or recycled foam boards can provide additional insulation. Estimated Cost: $30 - $60
- Ventilation Pipes: PVC pipes for ventilation. Estimated Cost: $10 - $20
- Hardware: Nails, screws, hinges, etc. Estimated Cost: $20 - $30
Total Estimated Cost: $200 - $500 (depending on material availability and resourcefulness).
4. Tools:
You'll need basic DIY tools like a shovel, pickaxe, level, hammer, saw, drill, measuring tape, and safety glasses.
Step-by-Step Guide: Building Your DIY Root Cellar
Step 1: Excavation (Estimated Time: 1-2 days)
- Mark out the perimeter of your root cellar according to your chosen dimensions.
- Start digging! Aim for a depth of about 3-4 feet. This will ensure that the top of your root cellar is partially underground.
- Ensure the walls of the excavation are as vertical as possible.
- Why this is important: The depth provides consistent cool temperatures, while vertical walls provide structural stability for the root cellar.
Alt text: Image showing the excavation process for a partially underground root cellar, with a person using a shovel to remove dirt.
Step 2: Foundation (Estimated Time: 1 day)
- Lay down a layer of gravel (at least 6 inches thick) at the bottom of the excavation for drainage.
- Compact the gravel using a tamper.
- Lay cinder blocks on top of the gravel to create a level foundation for the walls.
- Why this is important: A solid foundation prevents the root cellar from settling and ensures proper drainage, preventing moisture buildup.
Step 3: Wall Construction (Estimated Time: 2-3 days)
- If using pallets, reinforce them as needed with extra lumber.
- Attach the pallets to the cinder block foundation, ensuring they are plumb and level.
- Consider using cinder blocks to reinforce the pallet walls, especially if the pallets are not particularly strong.
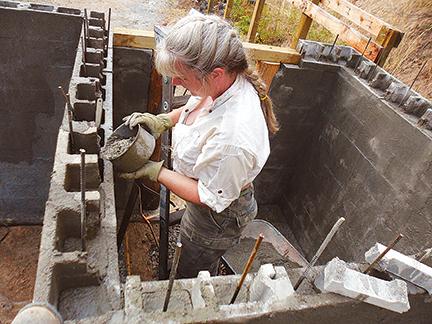
- If using primarily cinder blocks, stack them to the desired height, using mortar to bind them together.
- Leave openings for ventilation pipes.
- Why this is important: Strong walls provide structural support and protect your produce from the elements. Proper ventilation is crucial for maintaining the correct humidity levels.
Alt text: A partially constructed root cellar with a combination of cinder block and wood walls, showcasing a budget-friendly building approach.
Step 4: Roofing (Estimated Time: 1-2 days)
- Construct a roof frame using lumber. Ensure it is strong enough to support the weight of the soil covering.
- Attach the roof frame to the walls.
- Cover the roof frame with plywood or repurposed metal roofing sheets.
- Cover the roofing material with a layer of plastic sheeting to create a moisture barrier.
- Why this is important: A strong, waterproof roof is essential for protecting your produce from rain and snow.
Step 5: Ventilation (Estimated Time: 0.5 day)
- Install ventilation pipes to ensure proper air circulation. One pipe should be placed near the floor and another near the ceiling.
- Extend the pipes above ground level to allow for natural airflow.
- Cover the ends of the pipes with mesh to prevent rodents from entering.
- Why this is important: Proper ventilation prevents the buildup of moisture and ethylene gas (produced by ripening fruits and vegetables), which can cause spoilage.
Step 6: Insulation (Estimated Time: 1 day)
- Cover the walls and roof with a thick layer of soil (at least 1-2 feet). This provides excellent insulation, helping to maintain a consistent temperature.
- Consider adding additional insulation, such as straw bales or recycled foam boards, between the walls and the soil.
- Why this is important: Insulation helps to regulate the temperature inside the root cellar, keeping it cool in the summer and preventing it from freezing in the winter.
Step 7: Door and Entrance (Estimated Time: 1 day)
- Build a sturdy door using lumber. Insulate the door with foam or straw.
- Create an entranceway that slopes downward to help keep out warm air.
- Consider adding a second door or a curtain made of burlap to further insulate the entrance.
- Why this is important: A well-insulated door and entrance are crucial for preventing temperature fluctuations inside the root cellar.
Step 8: Interior Finishing (Estimated Time: 0.5 day)
- Build shelves or bins for storing your produce. Use untreated wood to avoid contaminating your food.
- Add a thermometer and a hygrometer to monitor the temperature and humidity inside the root cellar.
- Why this is important: Proper storage and monitoring help to maximize the shelf life of your produce.
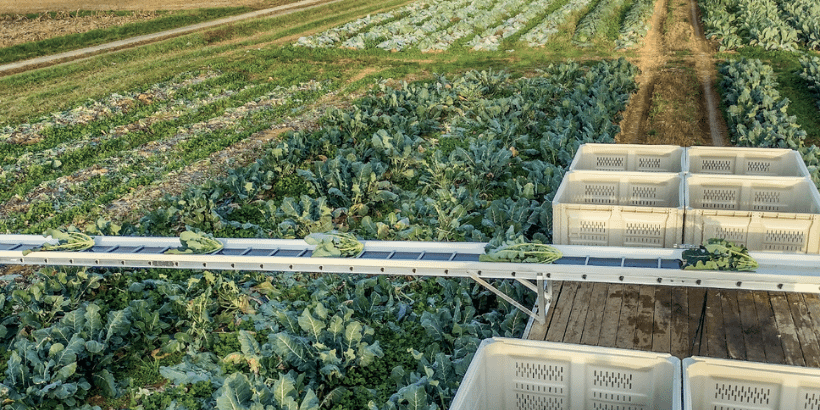
Alt text: Image showing the interior of a well-organized root cellar with shelves filled with various vegetables and fruits, demonstrating effective food storage.
My Root Cellar Journey: Lessons Learned
When I built my own DIY root cellar, I initially underestimated the importance of proper drainage. I ended up with a slightly damp floor, which led to some early spoilage. To fix this, I added extra gravel around the foundation and improved the ventilation. Another mistake I made was not insulating the door adequately. This resulted in temperature fluctuations that shortened the storage life of some of my vegetables. I later added a second door with insulation, which significantly improved the temperature control. Don't be afraid to learn from your mistakes! Homesteading is all about experimentation and continuous improvement.
Maximizing Your Harvest: What to Store and How
Once your root cellar is complete, it's time to fill it with your bounty! Here are some tips for storing common root vegetables and fruits:
- Potatoes: Store in a dark, cool, and humid environment (35-40°F, 90-95% humidity).
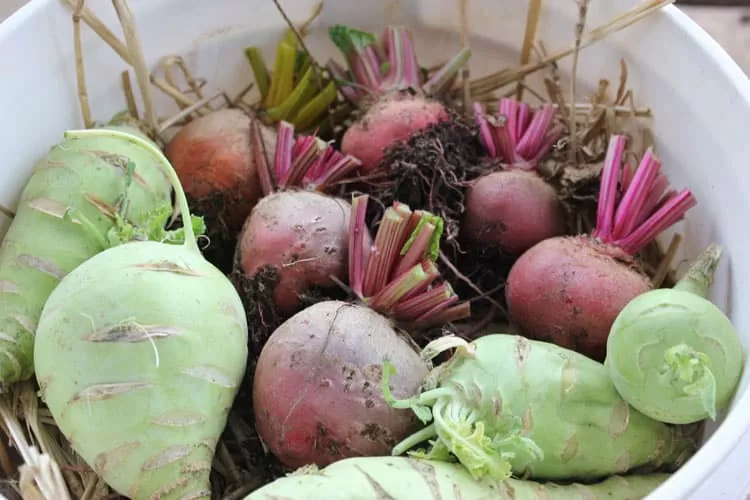
- Carrots: Store in a container filled with moist sand or sawdust (32-35°F, 90-95% humidity).
- Onions: Store in a cool, dry, and well-ventilated environment (30-32°F, 65-70% humidity).
- Apples: Store in a cool, humid environment (30-32°F, 90-95% humidity). Wrap individually to prevent the spread of rot.
- Cabbage: Hang upside down from the ceiling in a cool, humid environment (32-40°F, 85-95% humidity).
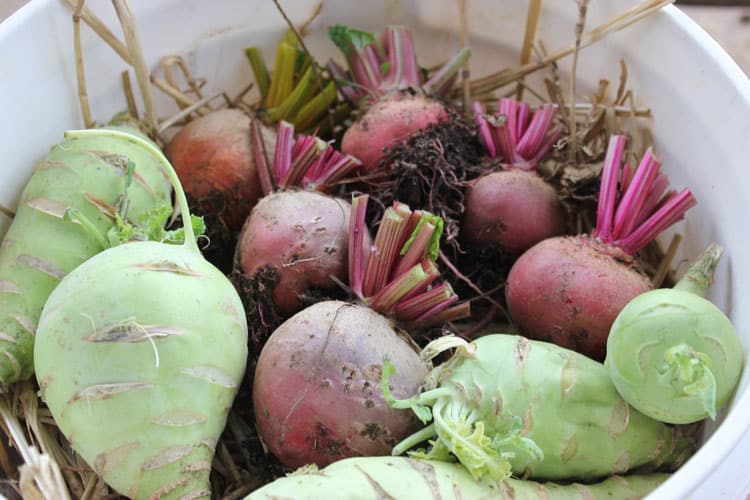
Alt text: A closer view of the interior of a root cellar with various vegetables stored on shelves.
Your Path to Homestead Independence Starts Now!
Building a DIY root cellar is a rewarding and empowering experience. It's a tangible step towards greater self-sufficiency, food security, and connection to the land. Don't be intimidated by the process. With careful planning, resourcefulness, and a little elbow grease, you can create a budget root cellar that will provide you with fresh, garden-grown produce all winter long. Imagine the feeling of satisfaction as you enjoy the fruits (and vegetables!) of your labor, knowing that you built it yourself.
Now it's your turn! Have you ever built a root cellar? What tips and tricks do you have to share? Ask your questions and share your experiences in the comments below. Let's learn from each other and build a stronger, more self-sufficient homesteading community! And don't forget to share this post with a fellow homesteader who dreams of fresh veggies all winter! For more food preservation tips check out our other articles on Better Homes and Harvests, such as Canning 101: The Beginner's Guide and Fermenting Vegetables: A Probiotic Powerhouse.