Unlock Farm-Fresh Savings: Build a Budget-Friendly, Compact Root Cellar This Weekend!
The scent of freshly picked apples and earthy potatoes is in the air! But how do you keep that harvest bounty fresh all winter long, without relying on expensive refrigerators or questionable grocery store produce? This isn't just about saving money; it's about embracing true self-sufficiency and connecting with the rhythm of the seasons. Building a DIY root cellar is a time-honored tradition that's making a comeback, and for good reason. It’s a fantastic way to practice food preservation and achieve greater self-sufficiency on your homesteading journey. Let's explore how you can build your own budget root cellar this weekend!
Why Build a Compact Root Cellar?
Modern conveniences often overshadow the simple, effective methods of the past. A root cellar offers a natural and energy-efficient way to store your garden's bounty. Here’s why it’s a great addition to any home, especially for those interested in homesteading and self-sufficiency:
- Reduced Energy Bills: Say goodbye to running an extra refrigerator just for your produce. A root cellar utilizes the earth's natural insulation to maintain a cool, stable temperature. Imagine cutting your electricity bill by $50-$100 each winter!
- Healthier Produce: Store-bought produce often travels long distances and sits on shelves, losing nutrients and flavor. With a root cellar, you can enjoy fresh, homegrown goodness all winter long, packed with vitamins and minerals.
- Cost Savings: Extend the life of your harvest and reduce trips to the grocery store. Over a year, this can translate to hundreds of dollars saved.
- Self-Sufficiency and Independence: Gain greater control over your food supply and reduce your reliance on external sources. It’s a deeply rewarding experience to eat food you’ve grown and preserved yourself.
- Environmentally Friendly: Reduce your carbon footprint by minimizing food miles and energy consumption.
Our Compact Root Cellar Design: The Buried Container
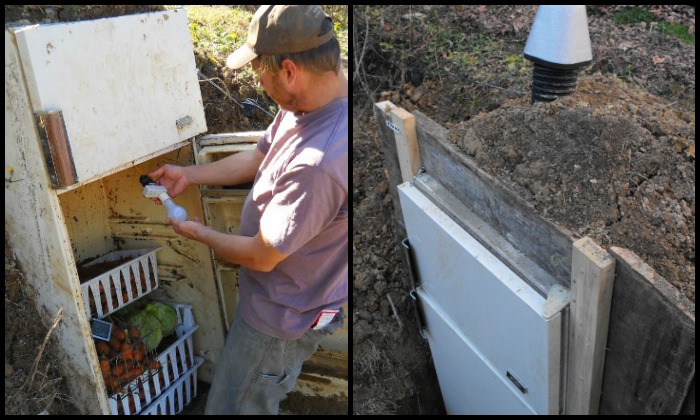
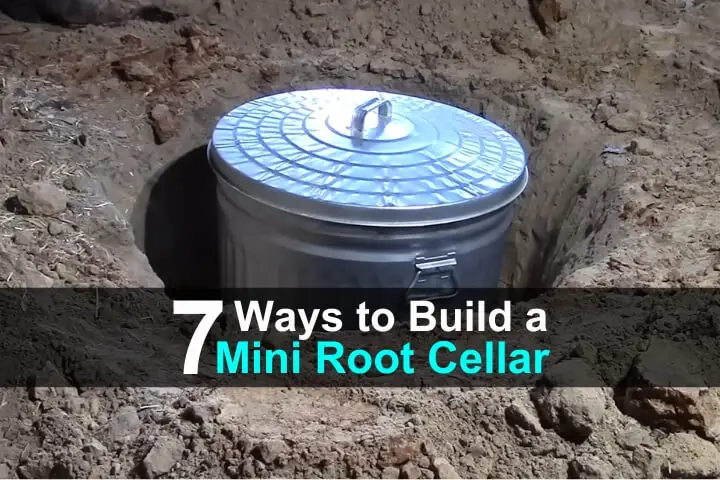
For this project, we'll focus on building a compact root cellar using a repurposed container. This is a simple, affordable, and manageable project perfect for beginners. This budget root cellar design is great for smaller backyards!
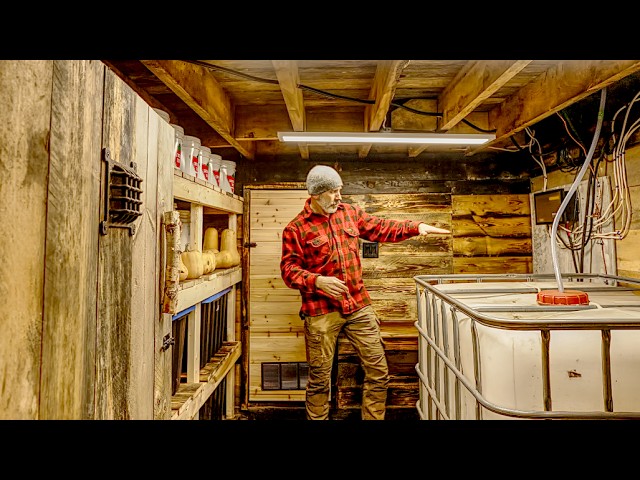
Benefits of a Buried Container Root Cellar:
- Easy to Build: Requires minimal construction skills.
- Affordable: Utilizes repurposed materials.
- Compact: Ideal for small spaces.
- Effective: Provides excellent temperature and humidity control.
Materials List: Your Shopping Guide for a Budget Root Cellar
Here's a detailed list of materials you'll need, with estimated costs and sourcing suggestions. Remember, prices may vary depending on your location and supplier.
- Large Plastic Container (Repurposed): A food-grade plastic container (e.g., IBC tote cut in half, large trash can with lid) - Cost: $0 - $50 (depending on whether you repurpose or buy new). Source: Local farms, recycling centers, online marketplaces (Facebook Marketplace, Craigslist).
- Lumber (for framing the lid and providing support): 2x4 lumber (approximately 20 feet) - Cost: $30 - $50. Source: Local lumber yard, home improvement store (Home Depot, Lowe's).
- Rigid Foam Insulation: 2-inch thick sheets - Cost: $40 - $60. Source: Home improvement store (Home Depot, Lowe's).
- Gravel or Crushed Stone: For drainage at the bottom of the hole - Cost: $10 - $20. Source: Local landscaping supply store, quarry.
- Hardware Cloth (for pest control): 1/4-inch mesh - Cost: $15 - $25. Source: Hardware store, farm supply store.
- Fasteners: Screws, nails, construction adhesive - Cost: $10 - $20. Source: Hardware store.
- Weather Stripping: To seal the lid - Cost: $5 - $10. Source: Hardware store.
- Paint (optional, for waterproofing the exterior of the container): Exterior-grade paint - Cost: $15 - $25. Source: Hardware store.
- Thermometer/Hygrometer: To monitor temperature and humidity - Cost: $10 - $20. Source: Amazon (https://www.amazon.com/Thermometer-Hygrometer-Humidity-Indicator-Greenhouse/dp/B075R6HYPK/)
Total Estimated Cost: $135 - $300
This project’s affordability makes it a great way to start food preservation!
Step-by-Step Instructions: Building Your Compact Root Cellar
Follow these detailed instructions to build your DIY root cellar this weekend.
Step 1: Prepare the Container
Clean the container thoroughly with soap and water. If using a repurposed container, ensure it's food-grade and free from harmful chemicals. If desired, paint the exterior with exterior-grade paint for added weather protection.
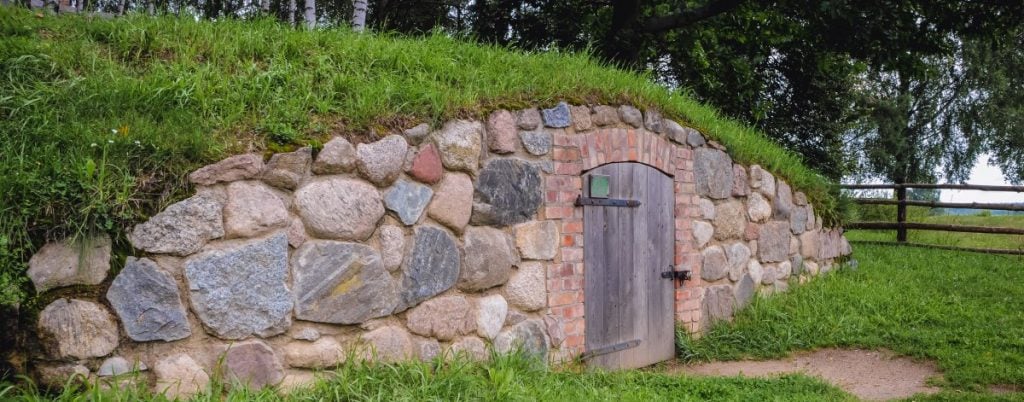
Step 2: Dig the Hole
Choose a location that is well-drained and shaded. Dig a hole slightly larger than the container. The top of the container should ideally be buried a few inches below the ground level for optimal insulation.
Step 3: Add Drainage
Pour a layer of gravel or crushed stone (6-12 inches) into the bottom of the hole to ensure good drainage. This will prevent water from accumulating in your root cellar.
Step 4: Place the Container
Carefully lower the container into the hole. Backfill around the container with soil, tamping it down firmly.
Step 5: Insulate the Container
Cut rigid foam insulation to fit the inside walls of the container. Attach the insulation using construction adhesive. This crucial step helps maintain a stable temperature within the root cellar.
Step 6: Build the Lid
Construct a lid using 2x4 lumber. The lid should be slightly larger than the opening of the container to provide a good seal. Insulate the underside of the lid with rigid foam insulation.
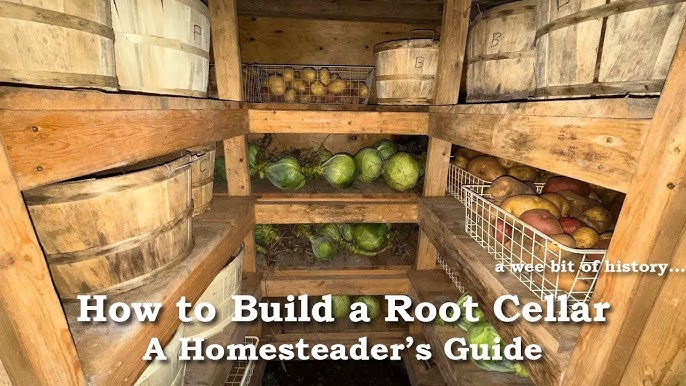
Step 7: Pest Control
Line the inside of the container, especially the bottom, with hardware cloth to prevent rodents from accessing your produce.
Step 8: Seal the Lid
Attach weather stripping around the perimeter of the lid to create an airtight seal.
Step 9: Add Shelving (Optional)
If desired, add shelving to the inside of the container to maximize storage space. Use untreated lumber or plastic shelving to avoid contaminating your produce.
Step 10: Monitor Temperature and Humidity
Place a thermometer/hygrometer inside the root cellar to monitor temperature and humidity levels. Ideal conditions are a temperature between 32-40°F and humidity levels around 80-90%.
Budget Breakdown
Here's a summary of the project's estimated costs:
- Container: $0 - $50
- Lumber: $30 - $50
- Insulation: $40 - $60
- Gravel: $10 - $20
- Hardware Cloth: $15 - $25
- Fasteners: $10 - $20
- Weather Stripping: $5 - $10
- Paint (Optional): $15 - $25
- Thermometer/Hygrometer: $10 - $20
Total Estimated Cost: $135 - $300
This budget root cellar allows you to practice food preservation for very little cost!
Tips, Tricks, and Common Pitfalls to Avoid
- Drainage is Key: Ensure proper drainage to prevent moisture buildup.
- Insulation is Crucial: Adequate insulation is essential for maintaining a stable temperature.
- Pest Control is a Must: Protect your produce from rodents and insects.
- Monitor Conditions: Regularly check temperature and humidity levels.
- Proper Ventilation: Although the container needs to be well-sealed, consider adding a small vent (covered with hardware cloth) if humidity becomes too high.
- Choosing the Right Location: Consider the amount of sun exposure and drainage when choosing a location.
What to Store in Your Root Cellar
A variety of fruits and vegetables can be successfully stored in a root cellar, including:
- Potatoes
- Carrots
- Beets
- Onions
- Garlic
- Apples
- Pears
- Cabbage
Embrace Self-Sufficiency Today!
Building a DIY root cellar is a rewarding project that offers numerous benefits, from saving money to enjoying healthier produce. This compact root cellar design is perfect for beginners and can be completed in a weekend with readily available materials. Embrace the principles of homesteading and self-sufficiency and unlock the farm-fresh savings that await you. So get started today!
Ready to create your own budget root cellar? We want to hear about your experiences! Share your tips, photos, and questions in the comments below. And don't forget to subscribe to the Better Homes and Harvests newsletter for more homesteading tips and tricks. Happy harvesting!
