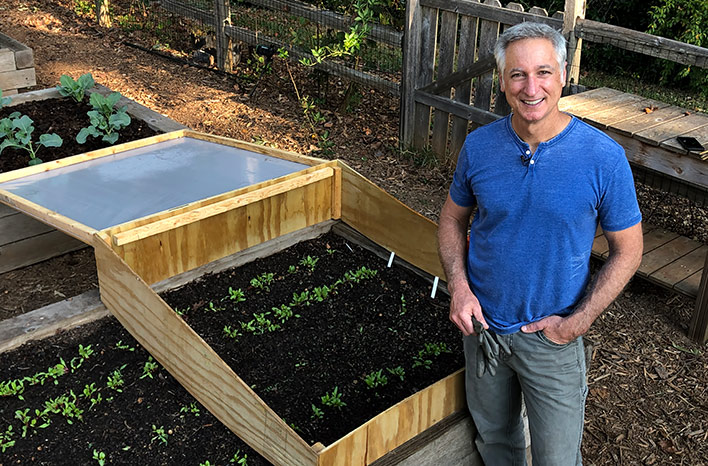
Unlock Early Harvests: Build a Simple DIY Cold Frame for an Extended Growing Season
As homesteaders, we all know the heartache of watching our precious plants succumb to the first frost. The promise of fresh tomatoes, crisp lettuce, and fragrant herbs can be cruelly snatched away by a sudden dip in temperature. I've been there, frantically covering plants with blankets, hoping against hope that they'll make it through the night. It's a constant battle against the elements, especially during those crucial shoulder seasons.
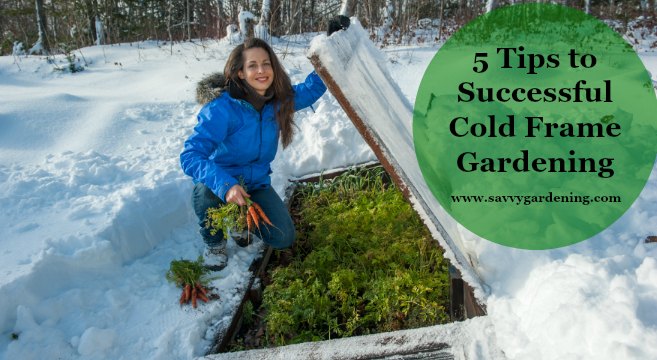
But what if you could extend your growing season, protect your plants from frost, and enjoy fresh produce for longer? That's where the humble cold frame comes in. Building a cold frame is a game-changer for any gardener looking to boost food security, save money on groceries, and savor the taste of homegrown goodness a little earlier and a little later in the year. This simple structure creates a microclimate that shields your plants from the harsh realities of early spring and late fall, allowing you to start seeds earlier, harden off seedlings, and even overwinter certain crops. And the best part? You can build one yourself using readily available and often repurposed materials.
This guide will walk you through the process of constructing a simple, budget-friendly cold frame, perfect for beginner homesteaders with basic woodworking skills and limited tools. Let's get started!
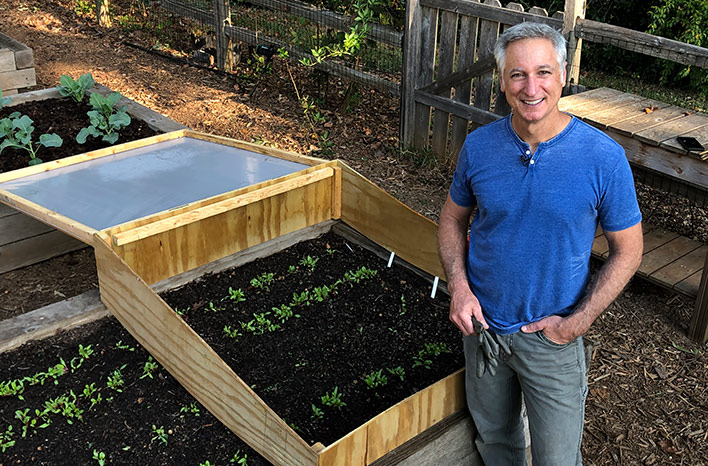
Why Build a Cold Frame? The Benefits of Season Extension
Before we dive into the construction process, let's quickly recap why building a cold frame is such a valuable investment for any homesteader:
- Extended Growing Season: Enjoy fresh produce for a longer period, both in early spring and late fall.
- Frost Protection: Shield your plants from damaging frosts and freezes.
- Early Seed Starting: Get a head start on your garden by starting seeds indoors or directly in the cold frame weeks before the last frost.
- Hardening Off Seedlings: Acclimate your seedlings to outdoor conditions before transplanting them into the garden.
- Overwintering Crops: Protect hardy plants and overwinter greens for a late-season harvest.
- Food Security: Increase your self-sufficiency and reduce your reliance on store-bought produce.
- Cost Savings: Save money on groceries by growing your own food for a longer period.
Gathering Your Materials: Repurposing for Savings
One of the best things about building a cold frame is that you can often use repurposed materials, saving you money and reducing waste. Here's a list of materials you'll need:
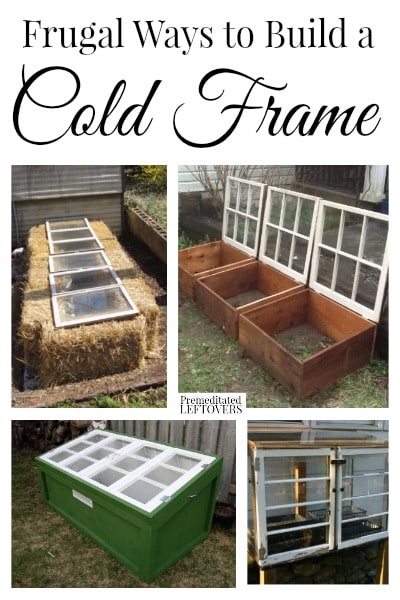
- Old Window(s): This will serve as the lid of your cold frame. Look for an old single-pane window at salvage yards, construction sites, or online marketplaces. The size will determine the overall dimensions of your cold frame. Estimated Cost: $0 - $20 (depending on availability and condition)
- Scrap Wood: Use untreated lumber for the frame. Pallet wood, reclaimed fencing, or leftover lumber from other projects are great options. You'll need enough wood to build a box-like structure. Estimated Cost: $0 - $30 (depending on availability and amount needed)
- Screws or Nails: For assembling the wooden frame. Estimated Cost: $5
- Hinges: To attach the window lid to the frame. Two hinges should suffice. Estimated Cost: $5 - $10
- Handles or Knobs (Optional): For easy opening and closing of the lid. Estimated Cost: $0 - $5
- Caulk (Optional): To seal any gaps and improve insulation. Estimated Cost: $5
Tools You'll Need:
- Saw: For cutting the wood to size. A handsaw or circular saw will work.
- Drill: For pre-drilling holes and driving screws.
- Screwdriver: If using screws.
- Hammer: If using nails.
- Measuring Tape: For accurate measurements.
- Pencil: For marking cuts.
- Safety Glasses: To protect your eyes.
- Gloves: To protect your hands.
Total Estimated Cost: $15 - $75 (depending on repurposed materials)
Step-by-Step Instructions: Building Your Cold Frame
Now, let's get to the fun part – building your cold frame!
Step 1: Prepare the Wood
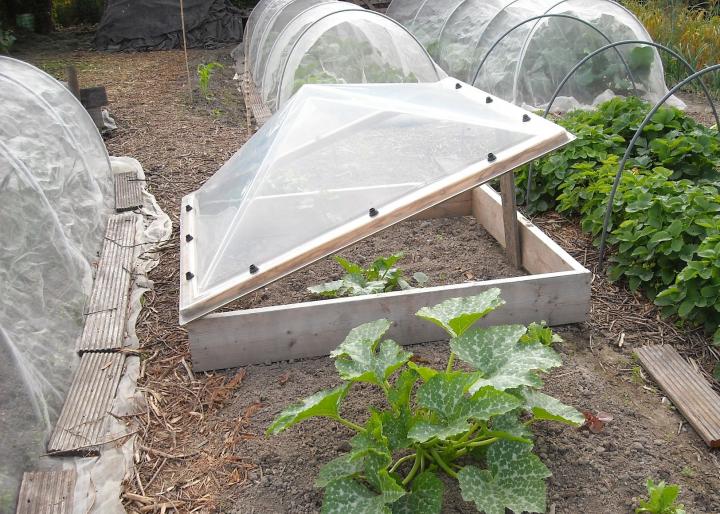
Measure and cut the wood pieces to the desired dimensions. The dimensions will depend on the size of your window. The back of the cold frame should be taller than the front to create a sloped surface that allows sunlight to enter at an optimal angle and allows rainwater to run off. A good rule of thumb is to make the back approximately 12-18 inches tall and the front 6-12 inches tall. The sides should be angled to connect the front and back pieces.
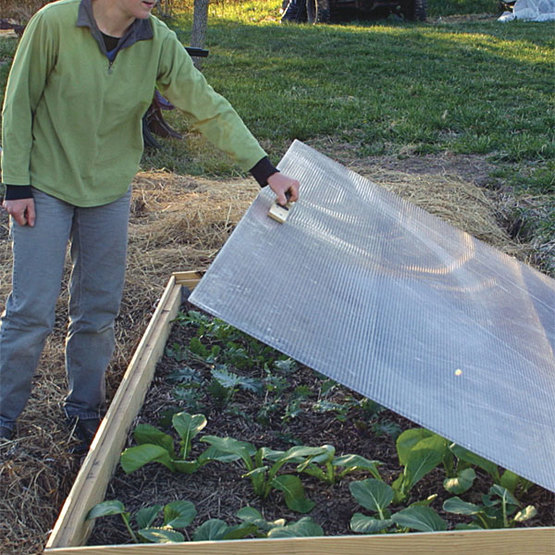
Safety First: Always wear safety glasses and gloves when cutting wood.
Step 2: Assemble the Frame
Assemble the wooden frame by attaching the side pieces to the front and back pieces using screws or nails. Ensure the frame is sturdy and square. Pre-drilling holes can help prevent the wood from splitting.
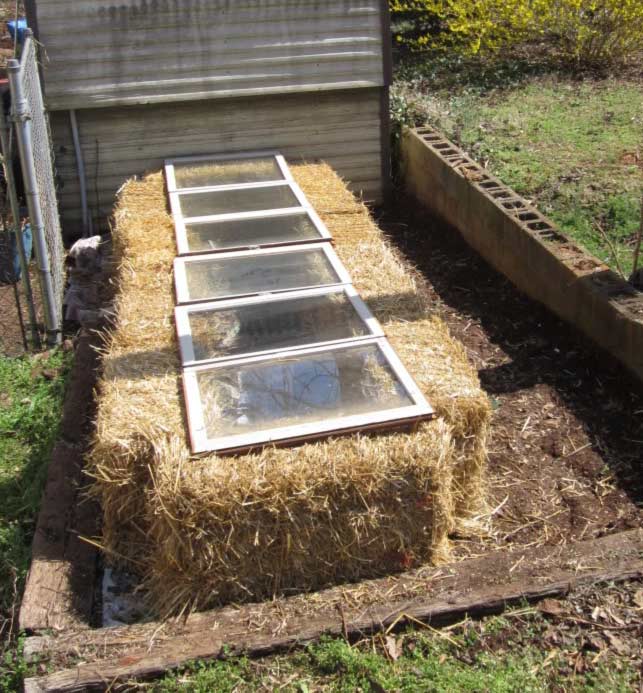
Step 3: Attach the Hinges
Attach the hinges to the top of the back frame piece and then to the bottom of the window. This will allow the window to open and close.
Step 4: Install Handles (Optional)
If desired, install handles or knobs on the window for easy opening and closing.
Step 5: Seal the Gaps (Optional)
If you want to improve insulation, caulk any gaps between the wood pieces.
Step 6: Position Your Cold Frame
Choose a sunny location in your garden that receives at least 6 hours of sunlight per day. A south-facing location is ideal.
Step 7: Prepare the Soil
Prepare the soil inside the cold frame by adding compost or other organic matter. This will provide nutrients for your plants.
Step 8: Start Planting!
You're now ready to start planting! Start seeds, harden off seedlings, or transplant existing plants into your cold frame.
Troubleshooting Tips: Common Challenges and Solutions
- Warping: To prevent warping, use treated lumber or seal the wood with a water-resistant coating.
- Overheating: To prevent overheating, provide adequate ventilation by opening the lid on warm days. You can also paint the inside of the cold frame white to reflect sunlight.
- Insufficient Sunlight: Ensure your cold frame is placed in a sunny location. If necessary, supplement with grow lights.
Maintenance Advice: Ensuring Longevity
- Regular Cleaning: Clean the window regularly to ensure maximum sunlight penetration.
- Ventilation: Provide adequate ventilation to prevent overheating and fungal diseases.
- Repair Damage: Repair any damage to the frame or window promptly to prevent further deterioration.
- Storage: During the off-season, store your cold frame in a dry place to protect it from the elements.
Taking it Further: More Cold Frame Designs
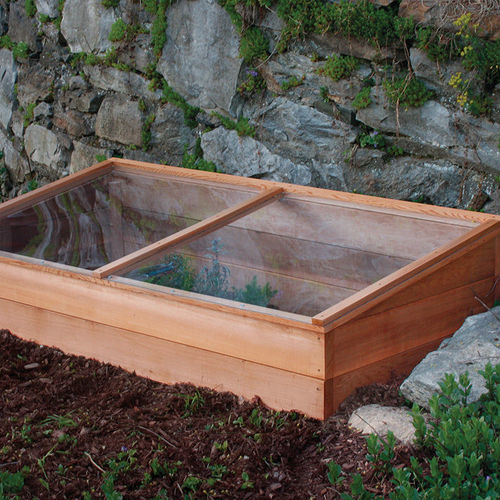
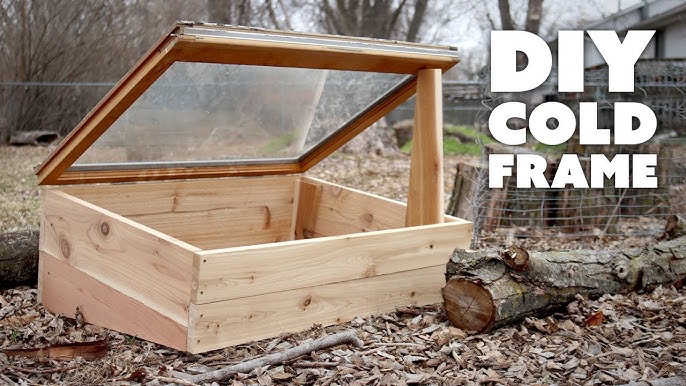
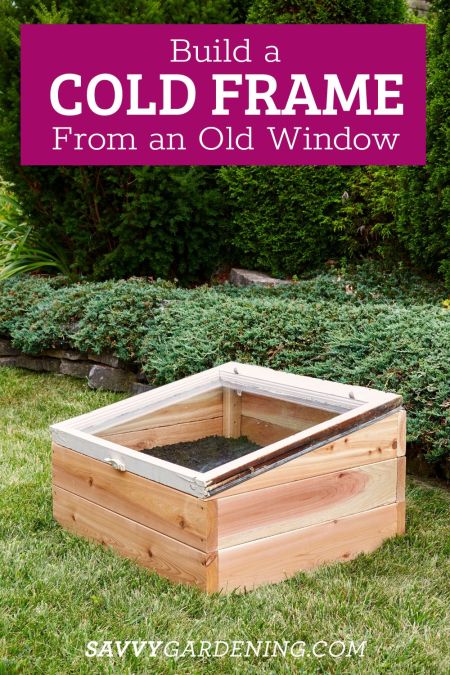
There are many different ways to build a cold frame, and you can adapt the design to suit your specific needs and resources.
Start Extending Your Season Today!
Building a cold frame is a rewarding project that will extend your growing season and provide you with fresh, homegrown produce for longer. With a little effort and some repurposed materials, you can create a valuable asset for your homestead garden. So, gather your materials, follow these instructions, and start building your own cold frame today!
Now, we want to hear from you! Have you ever built a cold frame? What tips and tricks do you have to share? Ask your questions or post your cold frame building successes and pictures in the comments section below. Let’s learn and grow together!