Unlock a Longer Harvest: Building a Budget-Friendly Cold Frame from Scraps
For years, I’d watch the growing season dwindle, green turning to brown, just as I felt like I was hitting my stride in the garden. The last frost always seemed to come too late, and the first one, devastatingly early. I yearned for a way to extend the bounty, to protect my precious seedlings, and to thumb my nose at Jack Frost for a little longer. That's when I decided to tackle a homesteading project that would not only boost my self-sufficiency but also give me a huge sense of accomplishment: building a cold frame from repurposed materials. This isn't just about gardening; it’s about resilience, resourcefulness, and reaping the rewards of your own hard work. Join me on this journey to a longer, more fruitful harvest!
Why a Cold Frame? And Why DIY?
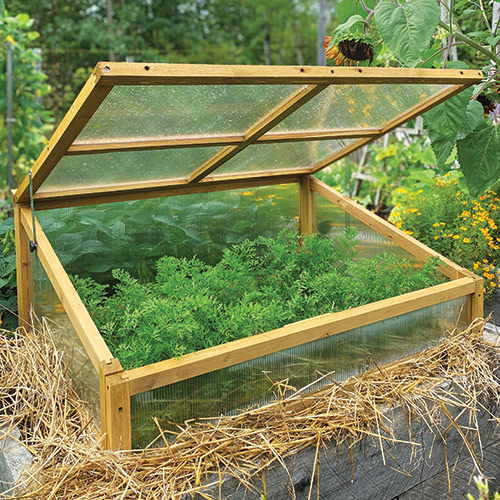
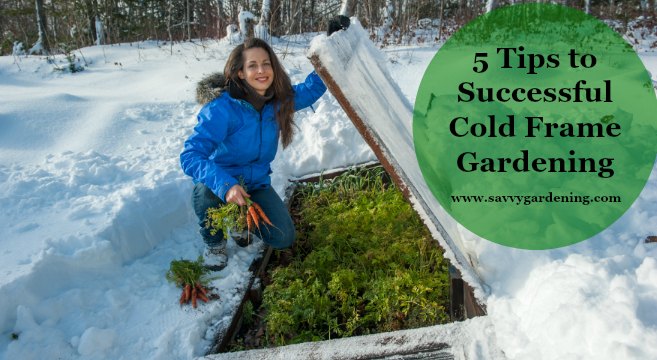
A cold frame is essentially a miniature greenhouse. It's a simple, unheated structure that protects plants from harsh weather, extends the growing season, and provides a controlled environment for starting seeds. Building your own cold frame, especially from recycled materials, offers several advantages:
- Cost-Effectiveness: Save money by repurposing materials that would otherwise end up in landfills.
- Sustainability: Reduce your environmental footprint by using reclaimed lumber and other recycled items.
- Customization: Tailor the size and design to fit your specific needs and garden space.
- Self-Sufficiency: Gain a deeper understanding of gardening and construction, empowering you to tackle future projects.
- Extended Growing Season: That's the BIG win, enabling you to grow cool-season crops well into the winter and get a head start on spring planting.
For me, it was about more than just saving money. It was about the challenge, the satisfaction of building something with my own two hands, and the feeling of independence that comes with growing my own food. And, selfishly, I wanted fresh lettuce in December!
The Plan: A 4ft x 6ft Repurposed Cold Frame
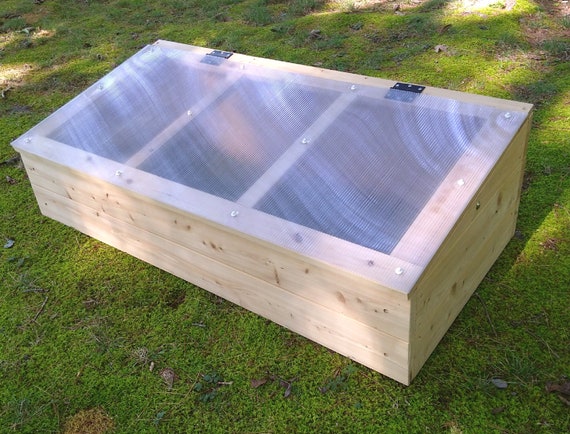
Our goal is to construct a sturdy and efficient cold frame measuring 4ft x 6ft, ideally positioned against a south-facing wall or fence to maximize sunlight exposure. This size provides ample space for starting seeds, hardening off seedlings, or overwintering cool-season crops. Let's dive into the construction process!
Gathering Your Resources: The Materials List
The beauty of this project lies in its reliance on repurposed materials. Here’s what I used for my cold frame, along with estimated costs (your mileage may vary, depending on what you can scrounge up!):
- Reclaimed Lumber (Pallets): For the frame's walls. Cost: Free (sourced from local businesses). Pallets are often readily available, just be sure to avoid those treated with chemicals (look for the "HT" stamp for heat-treated).
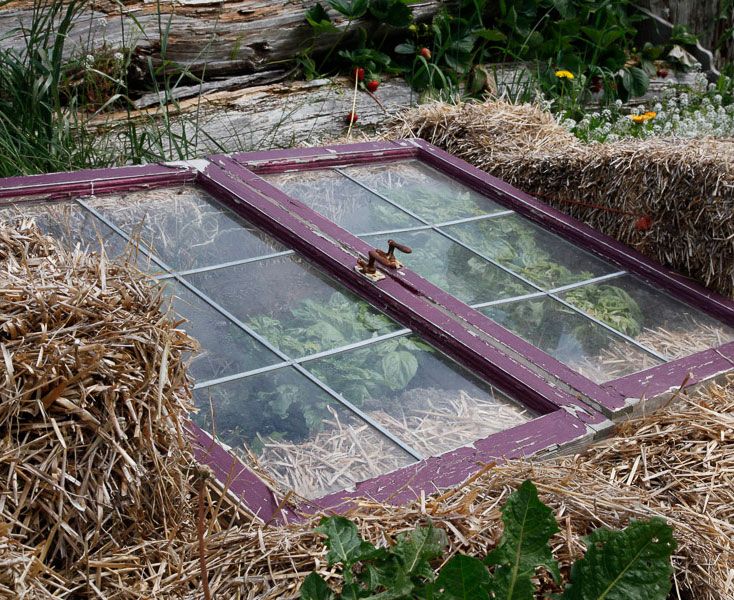
- Old Windows (or Plexiglass): For the glazing (the transparent top). Cost: Free (found on online marketplace). You might also find them at salvage yards or through local construction sites. Plexiglass is a durable alternative if windows are unavailable.
- Scrap Hardware: Hinges, screws, nails, latches. Cost: $5 (already had on hand). Check your garage or visit a hardware store for odds and ends.
- Exterior Wood Screws: For secure assembly. Cost: $10. Invest in quality screws that can withstand the elements.
- Optional: Landscape Fabric: To line the inside of the frame and prevent weed growth. Cost: $8 (already had some).
- Optional: Paint or Wood Preservative: To protect the wood from rot and decay. Cost: $15 (already had some).
Total Estimated Cost: $38 (or even less if you're resourceful!)
Tools of the Trade: What You'll Need
Having the right tools makes the job much easier and safer. Here's a list of essentials:
- Safety Glasses: Crucial for protecting your eyes.
- Work Gloves: To prevent splinters and protect your hands.
- Measuring Tape: For accurate cuts and assembly.
- Pencil: For marking measurements.
- Saw (Circular Saw or Hand Saw): For cutting lumber to size. (SAFETY TIP: Always wear safety glasses and follow the manufacturer's instructions when using a saw.)
- Drill/Driver: For pre-drilling holes and driving screws. (SAFETY TIP: Use the correct drill bit size and avoid over-tightening screws.)
- Screwdriver: For manual screw driving (if preferred).
- Hammer: For driving nails (if needed).
- Level: To ensure the frame is square and level.
- Square: To create accurate corners.
- Clamps: To hold pieces together while assembling.
- Optional: Sandpaper: To smooth rough edges.
- Optional: Staple Gun: For attaching landscape fabric.
Step-by-Step Construction Guide: Building Your Cold Frame
Okay, let’s get building! Follow these steps to create your own 4ft x 6ft cold frame:
Prepare the Lumber: Carefully disassemble the pallets, removing nails and staples. (SAFETY TIP: Wear gloves to protect your hands from splinters and sharp objects.) Select the best pieces of lumber and cut them to the following lengths:
- Two pieces at 6 feet (for the front and back).
- Two pieces at 4 feet (for the sides).
- Four corner supports (approximately 12 inches long each).
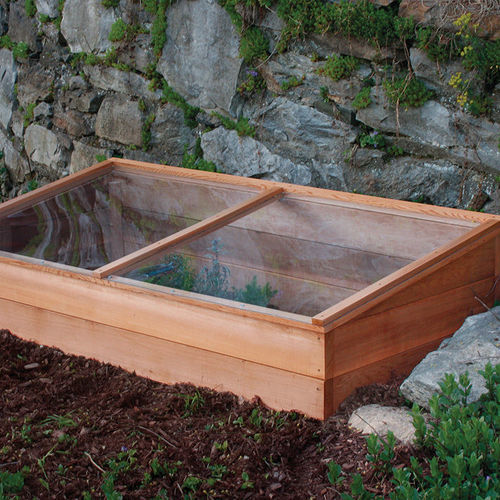
Assemble the Frame: Create a rectangular frame by attaching the lumber pieces together using screws. Pre-drill holes to prevent the wood from splitting. Ensure the frame is square and level. Attach the corner supports inside the frame for added strength.
- Why this step is important: A strong, square frame is the foundation of your cold frame. Taking the time to do it right will prevent problems later on.
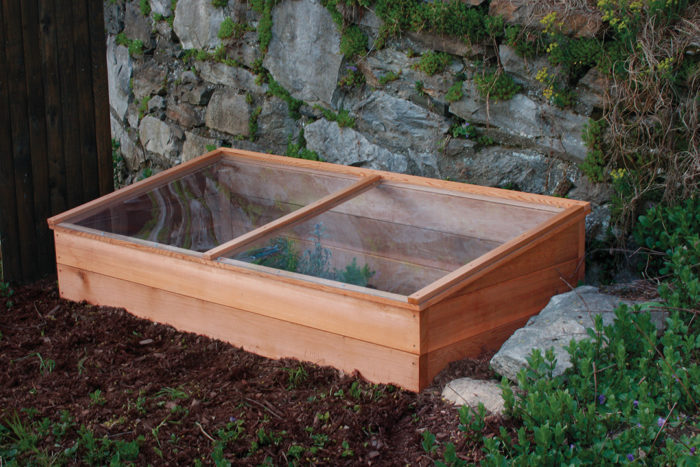
Build the Back Wall Higher: To create a sloped glazing surface for optimal sunlight capture, the back wall needs to be higher than the front wall. I made my back wall 12 inches higher than the front. Cut two additional pieces of lumber to this height and attach them to the back corners of the frame. Then attach a 6 foot piece between them to create the top of the back wall.
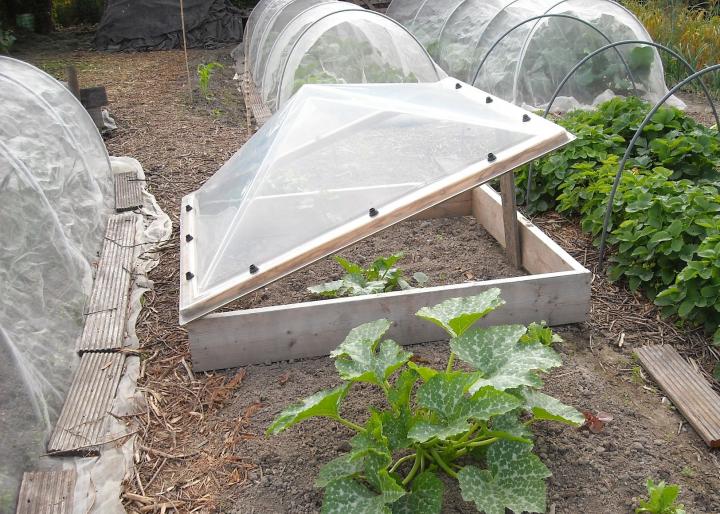
Attach the Glazing (Windows): Position the window(s) on top of the frame, ensuring they overhang slightly on all sides. Attach hinges along the back edge of the window(s) to allow them to be opened and closed. Use screws to secure the hinges to both the window and the frame.
- Why hinges? Hinges are crucial for ventilation. Cold frames can overheat quickly on sunny days, so being able to open the windows is essential to prevent your plants from cooking!
Install a Latch (Optional): Install a latch on the front of the cold frame to secure the window(s) when closed. This will prevent them from being blown open by the wind.
Add Finishing Touches (Optional): Sand any rough edges to prevent splinters. Paint or apply a wood preservative to protect the wood from the elements. Line the inside of the frame with landscape fabric to prevent weed growth.
My Cold Frame Story: Challenges and Triumphs
The biggest challenge I faced was finding suitable windows. After a few fruitless trips to salvage yards, I finally found a listing for free windows on a local online marketplace. They were a little rough around the edges, but with a bit of cleaning and repair, they worked perfectly.
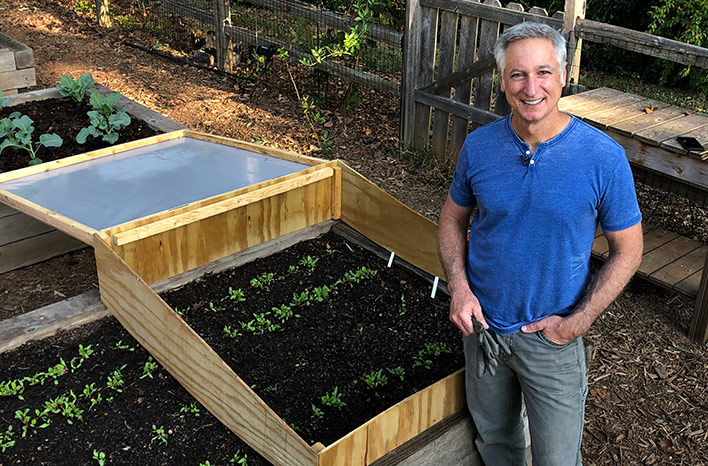
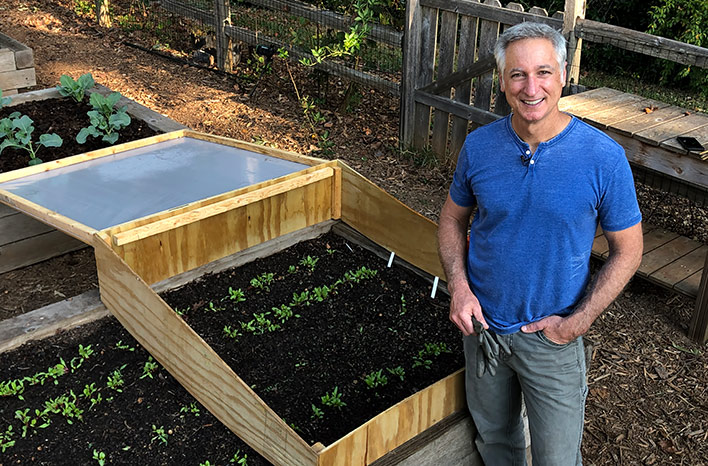
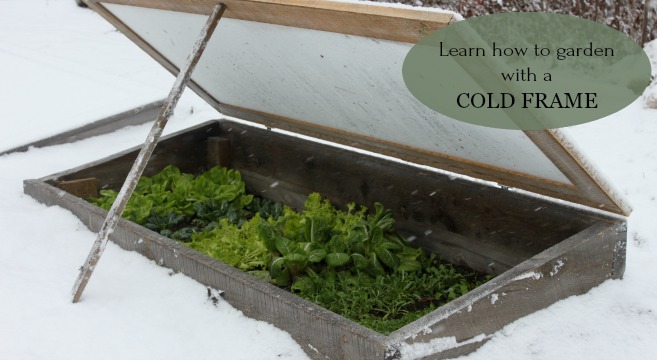
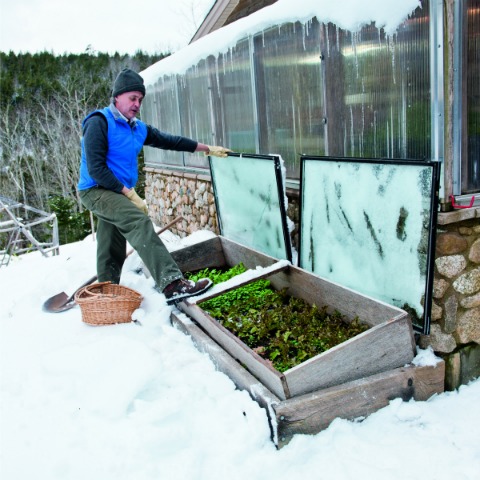
Once the cold frame was built, the real fun began. I started my first batch of spinach and lettuce seedlings in late summer, and by the time the first frost hit, they were thriving in their protected environment. I was amazed at how much warmer it was inside the cold frame compared to the outside air. I even harvested fresh lettuce in December!
The emotional reward of seeing my plants flourish in the cold frame was immense. It was a tangible demonstration of my ability to provide for myself and my family, even in the face of challenging conditions. The satisfaction of growing my own food, coupled with the knowledge that I built the structure myself, was truly empowering.
Beyond the Build: Tips for Cold Frame Success
- Ventilation is Key: Open the windows on sunny days to prevent overheating.
- Watering: Water plants regularly, but be careful not to overwater, especially in cold weather.
- Sunlight: Ensure the cold frame receives at least 6 hours of sunlight per day.
- Insulation: On very cold nights, cover the cold frame with blankets or straw to provide extra insulation.
- Pest Control: Monitor plants regularly for pests and diseases.
- Soil Temperature: Use a soil thermometer to monitor the soil temperature inside the cold frame.
What's Growing Now: Extending the Harvest
My cold frame is currently home to a variety of cool-season crops, including spinach, lettuce, kale, and radishes. I also started some early spring seedlings, such as tomatoes and peppers, to get a head start on the growing season. The possibilities are endless!
Join the Movement: Grow Your Own!
Building a cold frame from repurposed materials is a rewarding and empowering project that can significantly boost your self-sufficiency and resilience. It's a testament to the power of resourcefulness, creativity, and a desire to connect with nature. I encourage you to give it a try!
Now it's your turn! Share your own cold frame building experiences or adaptations in the comments section below. What materials did you use? What challenges did you face? What do you plan to grow in your new cold frame? Let's inspire each other to create a more sustainable and resilient future, one garden at a time.
Further Reading:
- [Companion Planting Guide](Example Better Homes and Harvests Link Placeholder)
- [Seed Starting 101](Example Better Homes and Harvests Link Placeholder)
Let's extend our growing season together!
