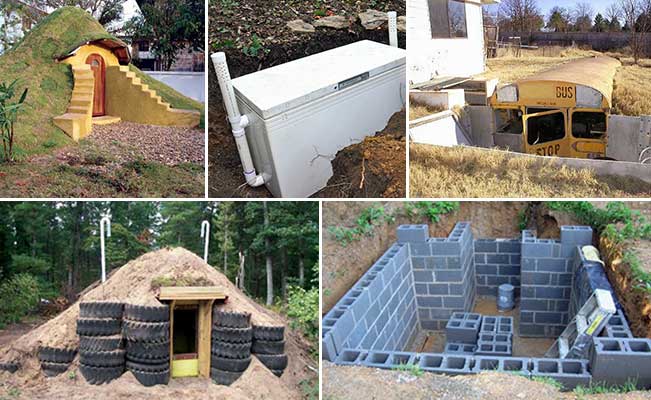
Unleash Your Inner Pioneer: Build a Budget-Friendly Root Cellar and Extend Your Harvest!
Here at Better Homes and Harvests, we're passionate about empowering homesteaders like you to maximize your garden's bounty and minimize food waste. Imagine enjoying fresh, homegrown vegetables all winter long! It's not just a dream – it's achievable with a simple, cost-effective DIY root cellar. This weekend, take the first step towards food independence and build your own backyard storage haven.
This guide will walk you through every stage of the process, from selecting the ideal location and gathering affordable materials to construction techniques and optimal storage conditions. We'll focus on a small-scale, partially underground root cellar perfect for a typical backyard homestead, achievable with basic DIY skills over a weekend. Let’s dig in!
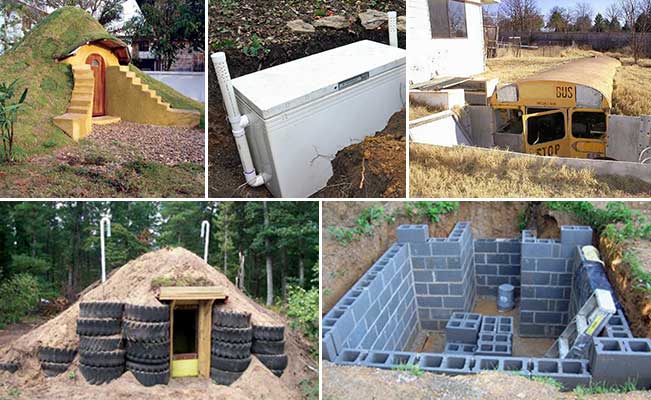
Why Build a Root Cellar?
Before we dive into the construction, let's quickly recap why a root cellar is a game-changer for any homesteader:
- Extends Your Harvest: Store your late-season crops like potatoes, carrots, onions, squash, and apples well into winter.
- Reduces Food Waste: Prevent spoilage and make the most of your hard-earned harvest.
- Saves Money: Reduce your grocery bills by relying on your own stored produce.
- Promotes Sustainability: Embrace a more self-sufficient and eco-friendly lifestyle.
- Better Taste & Nutrition: Properly stored vegetables retain more flavor and nutrients compared to store-bought alternatives.
Step 1: Planning & Location, Location, Location!
The first step is choosing the perfect spot for your root cellar. Consider these factors:
- Shade: A north-facing slope is ideal to minimize sun exposure and maintain a cool temperature.
- Drainage: Good drainage is crucial to prevent flooding. Avoid low-lying areas where water tends to accumulate.
- Proximity: Choose a location that's easily accessible from your house and garden.
- Soil Type: Well-draining soil is best. If you have heavy clay soil, you may need to amend it with sand or gravel to improve drainage.
- Building Codes: Check your local building codes and regulations before starting construction.
My own root cellar is tucked into a small hillside behind my garage, utilizing the existing slope for natural insulation. I learned the hard way about drainage! The first year, I had a bit of flooding after a heavy rain, so I added a French drain to redirect water away from the cellar. Lesson learned!
Step 2: Gathering Your Budget-Friendly Materials
One of the best things about building a root cellar is that you can do it on a tight budget by utilizing reclaimed and repurposed materials. Here’s what you'll need:
- Reclaimed Wood or Pallets: For framing and walls. (Free - $50)
- Reclaimed Metal Roofing or Tarps: For the roof. (Free - $30)
- Locally Sourced Clay: For insulation and moisture regulation. (Free - $20)
- Gravel or Crushed Stone: For drainage. ($10 - $30)
- Sand: For leveling and drainage. ($5 - $15)
- Plastic Sheeting: For a moisture barrier. ($10 - $20)
- Ventilation Pipe: PVC pipe will work. ($5 - $10)
- Door: Reclaimed door or plywood. ($0 - $20)
- Hardware: Nails, screws, hinges, etc. ($10 - $20)
Total Estimated Cost: $0 - $215
Where to Source Materials Affordably:
- Local Construction Sites: Ask for discarded wood or pallets.
- Online Marketplaces: Craigslist, Facebook Marketplace, and Freecycle groups are great sources for reclaimed materials.
- Habitat for Humanity ReStore: Offers discounted building materials.
- Your Own Property: Utilize existing resources like clay or rocks.
Step 3: Construction – A Weekend Warrior Project
Here's a step-by-step guide to building your small-scale, partially underground root cellar:
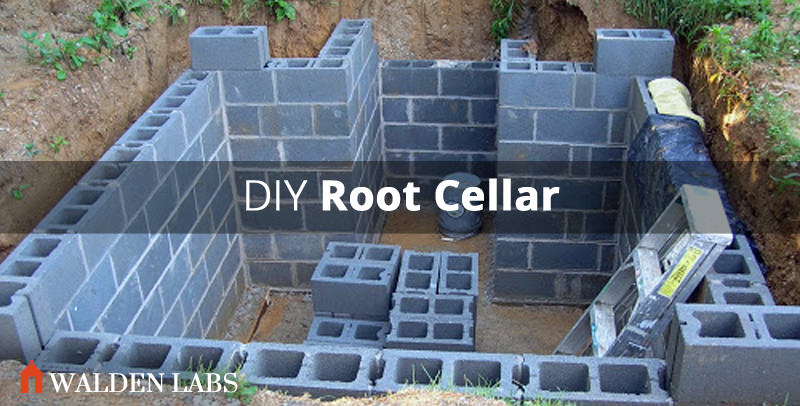
- Excavate the Site: Dig a rectangular pit approximately 4ft wide, 6ft long, and 3ft deep. The exact dimensions will depend on your needs and the available space. Remember to slope the sides slightly for stability.
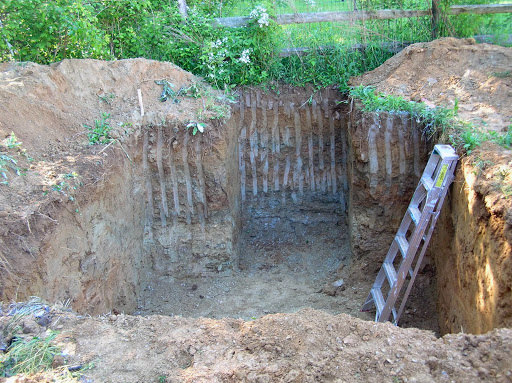
- Install Drainage: Add a layer of gravel or crushed stone to the bottom of the pit for drainage. Consider installing a French drain if your site is prone to flooding.
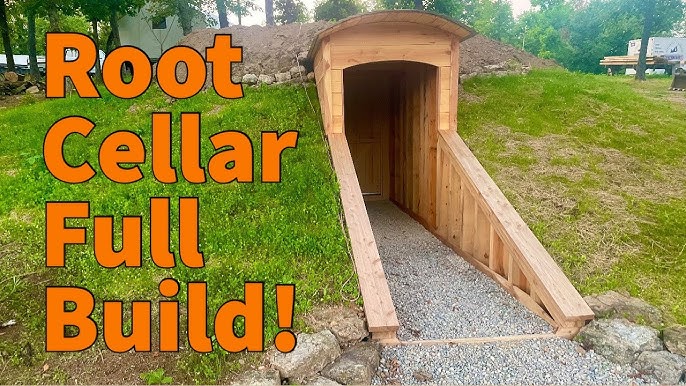
- Build the Frame: Construct a rectangular frame using reclaimed wood or pallets. The frame should fit snugly inside the excavated pit.
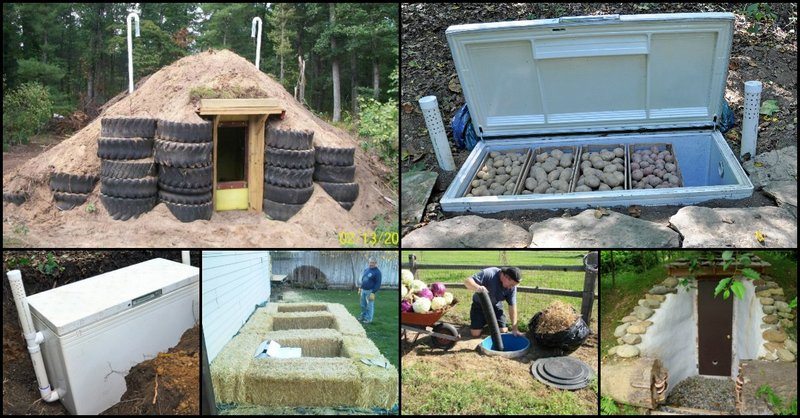
- Line the Walls: Line the inside of the frame with plastic sheeting to create a moisture barrier. This will help prevent moisture from seeping into the root cellar.
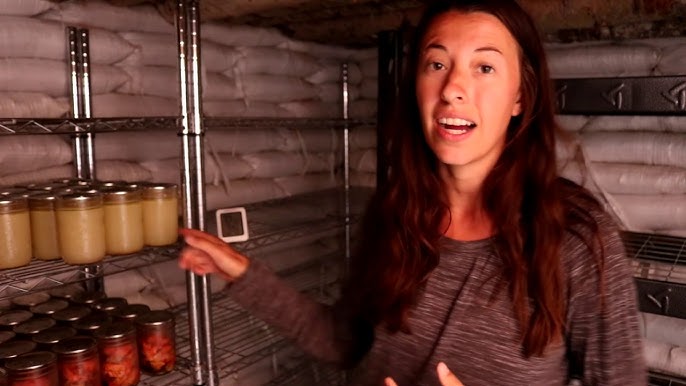
Insulate with Clay: Pack the space between the frame and the excavated pit with locally sourced clay. This will provide insulation and help regulate moisture. You can also use straw bales for insulation if clay isn't readily available.
Build the Roof: Construct a simple roof using reclaimed wood or metal roofing. The roof should be sloped to allow for water runoff. Cover the roof with a layer of plastic sheeting for added protection. You can even cover the roof with soil and plant grass or other vegetation for added insulation and camouflage.
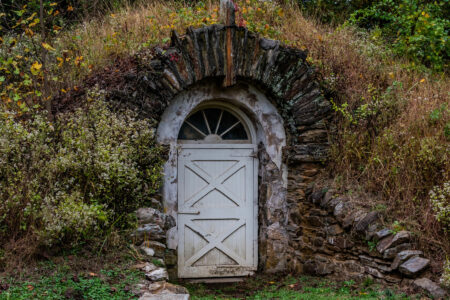
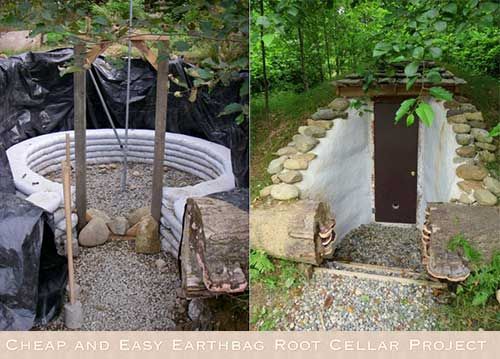
Install Ventilation: Install a ventilation pipe to allow for air circulation. This will help prevent the buildup of moisture and gases. The pipe should extend above the ground surface.
Install the Door: Install a reclaimed door or build a simple door using plywood. The door should fit snugly to prevent drafts.
Step 4: Creating Optimal Storage Conditions
Maintaining the right temperature and humidity is crucial for successful root cellar storage.
- Temperature: Ideally, the temperature should be between 32°F and 40°F (0°C and 4°C).
- Humidity: Aim for a humidity level of 85-95%.
- Ventilation: Ensure adequate ventilation to prevent the buildup of moisture and gases.
- Organization: Store vegetables in separate containers or crates to prevent cross-contamination.
- Monitoring: Use a thermometer and hygrometer to monitor temperature and humidity levels.
To regulate humidity, I sometimes place a bucket of water inside the root cellar. If it gets too humid, I open the ventilation pipe a bit more. It’s all about finding the right balance!
Problem-Solving: Common Challenges and Solutions
- Drainage Issues: Install a French drain or amend the soil with sand and gravel.
- Pest Control: Use diatomaceous earth to control pests. Inspect vegetables regularly and remove any that are damaged or diseased.
- Temperature Regulation: Add more insulation or adjust ventilation as needed.
- Mold Growth: Improve ventilation and reduce humidity.
Personal Touch: My Root Cellar Journey
Building my root cellar was a challenging but incredibly rewarding experience. I learned so much about sustainable living, problem-solving, and the importance of connecting with the land. One thing I would do differently next time is to invest in a sturdier door. The reclaimed door I used warped a bit over time, so I eventually had to replace it. Despite the challenges, I wouldn't trade the experience for anything. There's nothing quite like enjoying fresh, homegrown vegetables in the middle of winter, knowing that you grew them yourself and stored them sustainably.
Conclusion: Take Control of Your Food Supply
Building a budget-friendly DIY root cellar is a fantastic way to extend your harvest, reduce food waste, and embrace a more sustainable lifestyle. With a little planning, effort, and creativity, you can create your own backyard storage haven and enjoy fresh, homegrown vegetables all winter long. Don't be afraid to experiment and adapt the design to your specific needs and resources.
Now it's your turn! We'd love to hear about your root cellar projects or answer any questions you may have in the comments section below. Share your experiences, tips, and challenges with the Better Homes and Harvests community! Let's all unleash our inner pioneers and take control of our food supply! Also, be sure to check out our other articles on [gardening tips](insert link to relevant gardening article) and [preserving techniques](insert link to relevant preserving techniques article) here on Better Homes and Harvests!