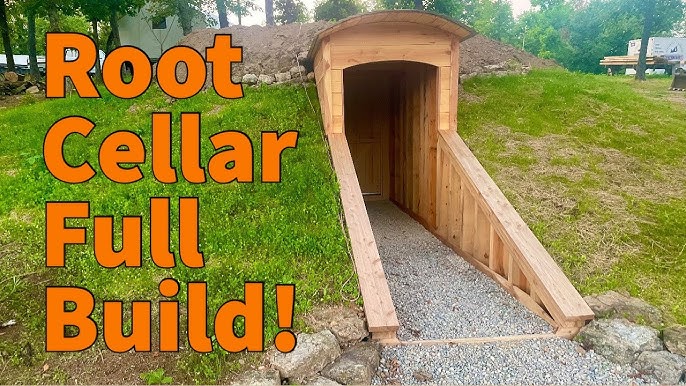
Unleash Your Inner Homesteading Hero: The Underground Walk-In Root Cellar - A Step-by-Step Guide to Radical Self-Sufficiency
The crisp scent of wood shavings, the satisfying thud of a hammer, the pride of creating something with your own two hands… That's the spirit of Better Homes and Harvests. And today, we're diving headfirst into a game-changing project that will level up your homesteading game: building an Underground Walk-In Root Cellar to store your bounty through the winter.
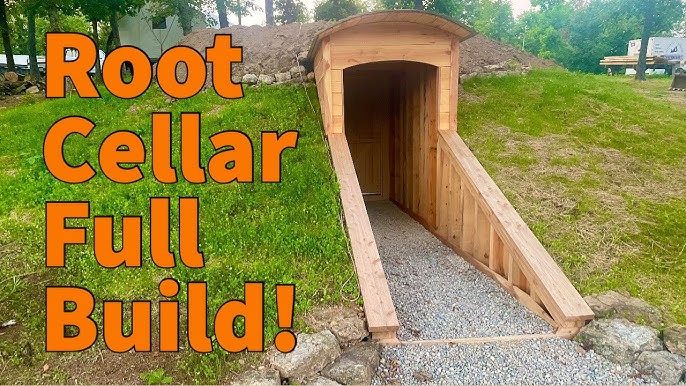
Imagine enjoying your harvest all winter long with your new root cellar.
We all know the struggle: precious garden harvests rotting away before you can enjoy them. Traditional refrigeration sucks energy and doesn't always preserve the taste. But what if you could create a naturally cool, stable environment right in your backyard, a haven for your pumpkins, potatoes, and carrots?
In this comprehensive guide, we'll walk you through every step of building an Underground Walk-In Root Cellar from planning and excavation to ventilation and final touches. Get ready to unleash your inner homesteading hero!
Step-by-Step Instructions: Building Your Underground Walk-In Root Cellar
1. Planning & Site Selection
Choosing the perfect location is crucial for the success of your root cellar. Consider these factors:
- Location: Ideally, your root cellar should be built on the north side of your home or a stand of trees to minimize sun exposure. This helps keep it cool.
- Soil Conditions: Well-drained soil is essential to prevent flooding. Avoid areas with a high water table or heavy clay soil that retains moisture.
- Accessibility: Think about how easily you'll be able to access your root cellar, especially during the winter months.
- Size: Determine the size of your root cellar based on your storage needs. Consider your current garden yield and potential future growth.
Common Pitfalls: Drainage issues are a common problem. Before you start digging, perform a percolation test to assess how well your soil drains. You can do this by digging a hole and filling it with water, then monitoring how quickly it drains. Addressing drainage issues before you build can save you a lot of headaches down the road.
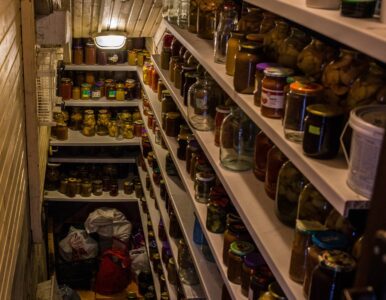
Careful planning and site selection can prevent future issues with moisture and temperature control.
2. Gathering Materials
Creating a detailed material list ensures you have everything you need before you begin construction. Here's a sample list:
- Wood: Pressure-treated lumber for the foundation and framing. Consider using reclaimed lumber for the walls and roof for a more sustainable and budget-friendly option. (Example reclaimed lumber source)
- Concrete: For the foundation walls or floor (if desired).
- Insulation: Rigid foam insulation boards or other natural insulation materials like straw bales or recycled denim. (Example Insulation Board)
- Gravel: For drainage around the foundation.
- Ventilation Pipes: PVC pipes or metal ducts for airflow.
- Hardware: Nails, screws, bolts, and other fasteners.
- Door: A sturdy, insulated door to maintain temperature and keep pests out. (Example Insulated Door)
- Shelving Materials: Wood, metal, or plastic shelving units for storing produce.
Having all your materials ready before you begin construction will save you time and effort.
Prioritize sustainable and budget-friendly choices whenever possible. Reclaimed materials not only save you money but also reduce your environmental impact.
3. Excavation & Foundation
Excavation is the most physically demanding part of the project. Renting equipment like a mini-excavator can make the job easier, but it's also possible to do it by hand.
- Digging: Excavate the area to the desired depth, ensuring the walls are straight and the bottom is level.
- Drainage: Install a drainage system around the foundation to prevent water from seeping into the root cellar. This may involve laying perforated pipes surrounded by gravel.
- Foundation: Pour a concrete foundation or build a foundation using cinder blocks or pressure-treated lumber. Ensure the foundation is level and properly compacted.
Addressing Rocky Soil: If you encounter rocky soil, you may need to rent a rock breaker or use a pickaxe to remove the larger rocks. Consider incorporating smaller rocks into the drainage system.
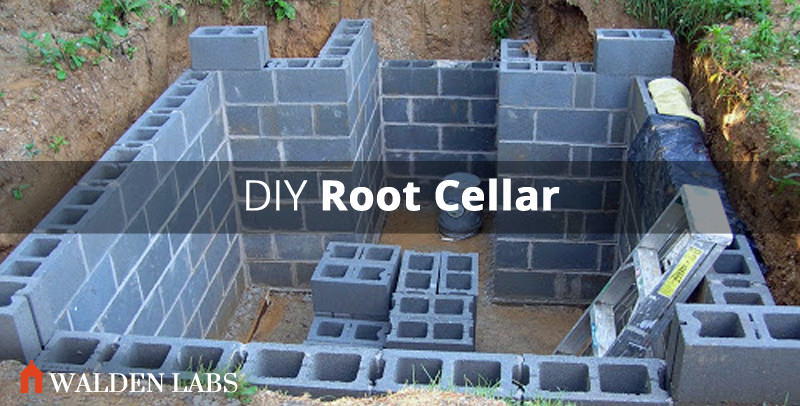
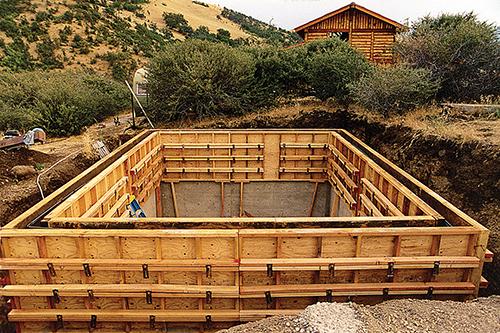
Excavation and foundation laying are crucial steps for a strong and durable root cellar.
4. Building the Walls & Roof
The walls and roof are what will provide insulation and protection from the elements.
- Walls: Frame the walls using pressure-treated lumber. Insulate the walls with rigid foam insulation boards or other insulation materials. Cover the insulation with a vapor barrier to prevent moisture from entering the root cellar.
- Roof: Build a sturdy roof that can support the weight of the soil. Consider using a layer of plastic sheeting between the roof and soil to prevent water from seeping in. Cover the roof with soil for added insulation.
Reclaimed Materials: Consider using reclaimed wood for the walls and roof to reduce costs and environmental impact. Reclaimed wood adds character and charm to your root cellar.

Proper wall construction and insulation are essential for maintaining a stable temperature.
5. Ventilation & Temperature Control
Proper ventilation is crucial for maintaining the right temperature and humidity levels in your root cellar.
- Ventilation Pipes: Install two ventilation pipes: one near the floor to bring in cool air and one near the ceiling to exhaust warm air.
- Adjustable Vents: Use adjustable vents to control the airflow. In the winter, you may need to close the vents to prevent freezing.
- Location: Position the vents on opposite sides of the root cellar to promote cross-ventilation.
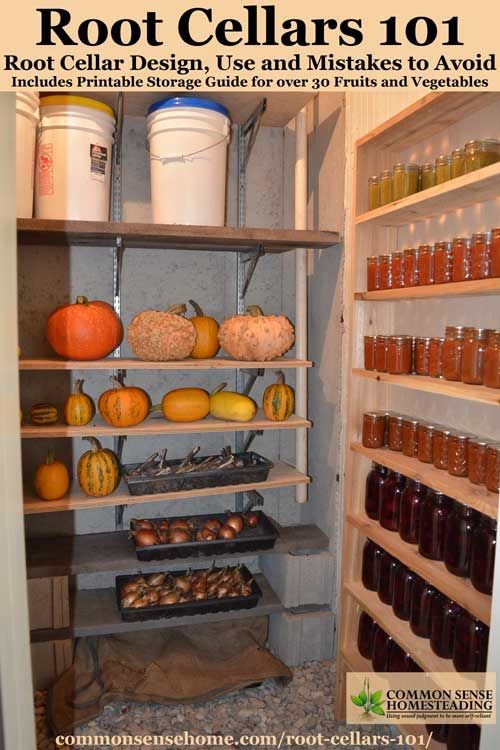
A properly designed ventilation system will regulate temperature and humidity naturally.
6. Finishing Touches & Storage Solutions
Adding shelves, racks, and other organizational elements will maximize storage capacity and create a functional space.
- Shelving: Build shelves along the walls to store produce in crates or baskets.
- Racks: Install racks for hanging onions, garlic, and other produce.
- Organization: Label your shelves and racks to easily find what you're looking for.
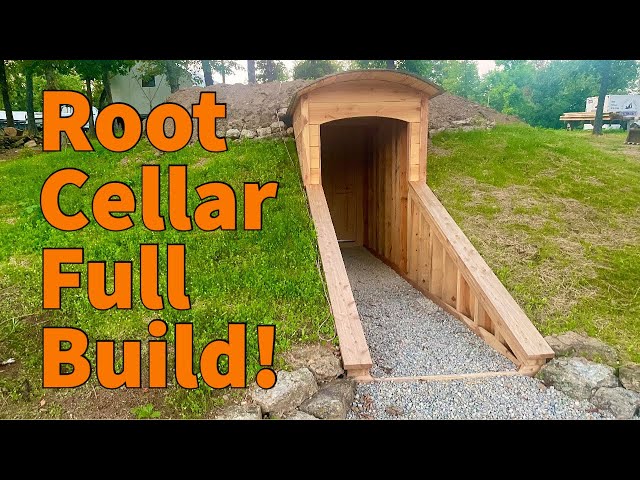
Well-organized storage solutions will maximize space and keep your produce fresh.
7. Troubleshooting Common Problems
Even with careful planning, you may encounter problems during construction or after your root cellar is finished.
- Water Leaks: Seal any cracks or gaps in the walls and roof. Ensure the drainage system is working properly.
- Pests: Seal any openings where pests could enter. Use traps or natural repellents to keep pests out.
- Temperature Fluctuations: Adjust the ventilation vents to regulate the temperature. Add more insulation if necessary.
8. First Harvest & Ongoing Maintenance
Once your root cellar is complete, it's time to start storing your harvest!
- Curing: Cure certain vegetables, like onions and garlic, before storing them in the root cellar. This helps them last longer.
- Storage: Store different types of produce at different temperatures and humidity levels.
- Maintenance: Regularly check the temperature and humidity levels in your root cellar. Clean the shelves and racks to prevent mold and mildew.
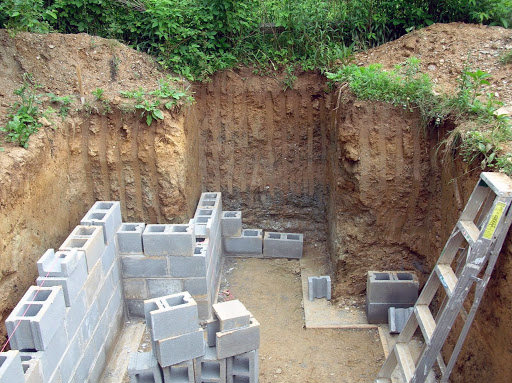
Curing and proper storage techniques will help your harvest last throughout the winter.
The Rewards
Imagine the satisfaction of enjoying fresh, locally grown produce all winter long, knowing you built the system that made it possible. Not only are you saving money and reducing your reliance on the grid, but you're also deepening your connection to the land and embracing the true spirit of homesteading.
Call to Action
Ready to get your hands dirty? Share your progress photos with us on social media using #BetterHomesAndHarvestsRootCellar and tag us @BetterHomesAndHarvests. Got questions or tips of your own? Let us know in the comments below!
For more homesteading tips check out these articles: