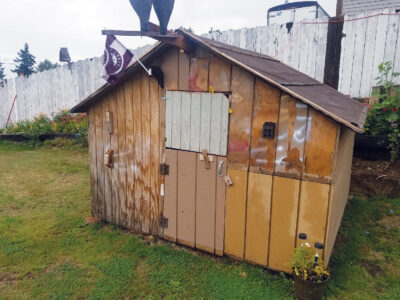
Unleash Your Inner Homesteader: Building a DIY Rainwater Harvesting System for a Thriving Garden
Are you dreaming of a more self-sufficient life, connected to the rhythm of the land? Homesteading, whether on a sprawling farm or a small urban lot, is about reclaiming control over your resources and reducing your reliance on external systems. It's about creating, building, and nurturing with your own two hands. And while the journey may seem daunting, every little step towards independence is a victory worth celebrating.
At Better Homes and Harvests, we're passionate about empowering you to achieve your homesteading dreams. That's why we're sharing a project that can significantly contribute to a more sustainable and joyful life: building a DIY rainwater harvesting system.
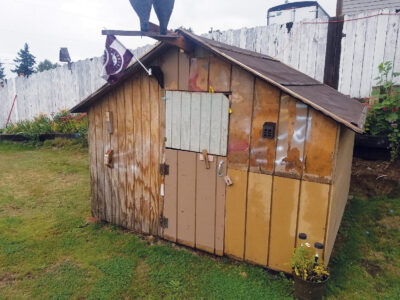
Rainwater harvesting is a simple yet powerful step towards a more self-sufficient homestead.
My "Why": Embracing Water Wisdom
I embarked on this rainwater harvesting adventure because I was tired of watching precious rainwater run off my roof and down the drain. My garden, a source of immense joy and fresh produce, was constantly thirsty, especially during the dry summer months. Tapping into the free and abundant resource falling from the sky felt like a natural and responsible solution. Plus, city water bills were getting a bit scary.
The Project: A Simple & Effective Rainwater Harvesting System
This project focuses on setting up a straightforward, gravity-fed rainwater harvesting system perfect for irrigating a garden. We'll be using a readily available IBC (Intermediate Bulk Container) tote, gutter modifications, and basic plumbing supplies. It's designed for intermediate DIYers with some basic tool skills.
The Joy Factor: The satisfaction of watering my garden with collected rainwater is immense. Knowing I'm conserving a valuable resource and reducing my reliance on municipal water gives me a deep sense of accomplishment. And watching my plants thrive from this natural, untreated water? Pure homesteading bliss!
Before We Begin: Safety First!
- Always disconnect from power sources when working near electrical systems.
- Wear safety glasses when cutting or drilling.
- Use gloves when handling potentially dirty materials.
- Work with a helper when lifting heavy objects like the IBC tote.
- Ensure your system is installed on a stable and level surface.
Step-by-Step Guide: Building Your Rainwater Harvesting System
Materials List (with approximate costs):
- IBC Tote (275 gallons) - $80-$150 (check local listings or agricultural suppliers)
- Gutter Downspout Extension - $15-$30
- Flex Spout Downspout Extension - $10-20
- First Flush Diverter Kit - $30-$50 (optional, but highly recommended)
- 2" Hole Saw Attachment For Drill - $10-$20
- 2" Uniseal Tank Adapter - $15-$20
- 2" PVC Ball Valve - $10-$15
- 2" PVC Pipe (short length) - $5
- PVC Primer and Cement - $10
- Screen Mesh (for covering openings) - $5-$10
- Zip Ties or Clamps - $5
- Level
- Drill
- Safety Glasses
- Gloves
Step 1: Preparing the IBC Tote
The IBC tote is the heart of your system. Before you start, thoroughly clean the tote with soap and water. Even if it looks clean, it might have contained non-food-grade materials previously. Rinse it thoroughly.

An IBC tote, thoroughly cleaned, forms the foundation of the rainwater harvesting system.
Step 2: Installing the Outlet Valve
We need to install an outlet valve for easy access to the collected water.
- Decide where you want the outlet to be located on the tote. Typically, this is near the bottom.
- Using the 2" hole saw attachment, carefully drill a 2" hole into the tote wall.
- Insert the Uniseal Tank Adapter into the hole.
- Use PVC primer and cement to attach the short length of 2" PVC pipe to the tank adapter
- Use PVC primer and cement to attach the 2" Ball Valve to the short length of 2" PVC pipe.
Step 3: Setting up the Gutter Downspout
This is where you'll divert rainwater from your gutter into the tote.
- Locate the downspout closest to your desired tote location.
- Cut the downspout at a height that allows the downspout extension to reach the tote opening and create a slight decline.
- Attach the gutter downspout extension to the existing downspout using screws or rivets.
Step 4: Implementing a First Flush Diverter (Highly Recommended)
A first flush diverter prevents the initial, often dirty, rainwater from entering your tank. This significantly improves the water quality. You can purchase a pre-made kit, or DIY one using PVC pipes and a collection chamber. The first few minutes of rainfall washes away accumulated debris, pollutants, and bird droppings from your roof. Diverting this initial flow keeps your stored water cleaner.
Step 5: Connecting the Downspout to the Tote
- Attach the flex spout downspout extension to the gutter downspout.
- Position the flex spout downspout extension so that it feeds into the top opening of the IBC tote.
Step 6: Covering the Opening and Overflow
To prevent mosquitoes and debris from entering the tank, cover the top opening with screen mesh. Secure it with zip ties or clamps. Also, ensure your system has an overflow mechanism. Drill a hole near the top of the tote and attach a short length of pipe to direct excess water away from the foundation.
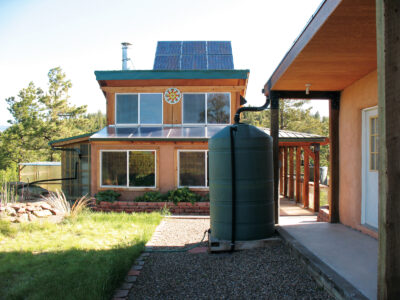
Connect your downspout, implement a first flush diverter, and cover openings with mesh to keep your rainwater clean.
Step 7: Leveling and Stabilizing the Tote
Place the tote on a level surface. Use shims if necessary. A full IBC tote weighs over 2,000 pounds, so a stable base is crucial.
Step 8: The Finishing Touches
Inspect all connections for leaks. Reinforce any weak points. Consider painting the tote a dark color to inhibit algae growth.
Embracing Sustainability: Reclaimed and Recycled Materials
One of the most rewarding aspects of this project is the opportunity to use reclaimed and recycled materials. Search for used IBC totes in your area. Many businesses sell them after using them for non-toxic materials. Salvaged lumber can be used to build a stand for the tote. Get creative and resourceful!
Challenges and Triumphs
My biggest challenge was finding a reasonably priced IBC tote. After searching online marketplaces and contacting local businesses, I finally found one at a farm supply store. Lifting the empty tote into place required some serious muscle (and a helpful neighbor!). But seeing the first rain fill the tank was a moment of pure triumph.
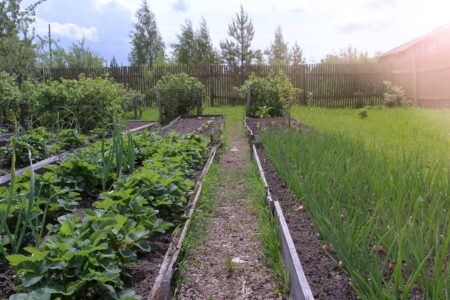
Starting a homestead can feel daunting, but every small step, like building this rainwater harvesting system, brings you closer to self-sufficiency.
Beyond the Basics: Expanding Your System
This simple system is just the beginning. You can add multiple totes for increased storage, connect it to a drip irrigation system, or even integrate a filtration system for potable water (requires significant additional steps and expert consultation).
Maintenance Matters
Regular maintenance is key to keeping your system running smoothly. Clean your gutters regularly. Inspect the screen mesh and replace it if damaged. Periodically drain and clean the tote to remove sediment buildup.
The Sweet Reward: A Thriving Garden
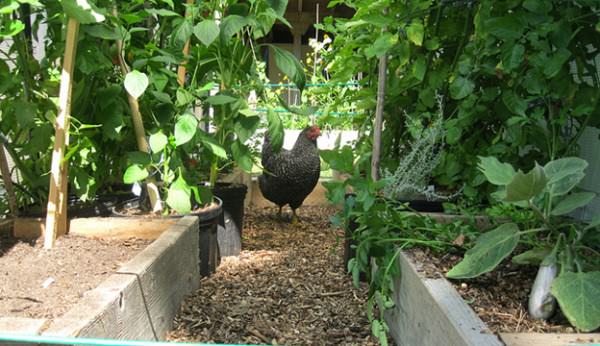
A thriving garden, watered with harvested rainwater, is a testament to the power of sustainable homesteading practices.
The true reward of this project is a flourishing garden, nourished by the gift of rainwater. My plants are healthier, more vibrant, and more productive. And I have the satisfaction of knowing that I'm doing my part to conserve water and create a more sustainable future.
Join the Better Homes and Harvests Community
We encourage you to embark on your own DIY rainwater harvesting adventure. Share your experiences, challenges, and successes with the Better Homes and Harvests community. Together, we can learn, grow, and create a more self-sufficient and joyful world. Share your photos and videos using #BetterHomesAndHarvestsDIY.
Unleash Your Inner Homesteader!
This rainwater harvesting project is more than just a DIY endeavor. It's a step towards greater independence, a deeper connection to the land, and a more sustainable way of life. So, gather your tools, embrace your inner homesteader, and start building! The satisfaction of creating something useful with your own hands is a reward that will last a lifetime. You can find more inspiration and guidance on building a self-reliant lifestyle in podcasts and books!
Learn more about self-reliance and homesteading through various resources.
Remember, the journey to self-sufficiency is a marathon, not a sprint. Start small, learn as you go, and celebrate every victory along the way. Happy harvesting!