Unleash Your Homestead's Potential: Build a High-Efficiency Three-Bin Compost System and Transform Your Waste into Garden Gold!
Are you ready to unlock the hidden potential in your kitchen scraps and yard waste? Composting is a cornerstone of self-sufficient homesteading, a way to reduce waste, enrich your soil, and grow healthier, more abundant gardens. And it all starts with the right compost bin. In this comprehensive guide, we'll show you how to build a high-efficiency three-bin compost system that will transform your waste into precious “garden gold” – nutrient-rich compost that will revitalize your soil and supercharge your plants. Even if you're new to composting, don't worry! We'll break down the process step-by-step, ensuring success for homesteaders of all skill levels.
Why a Three-Bin Compost System?
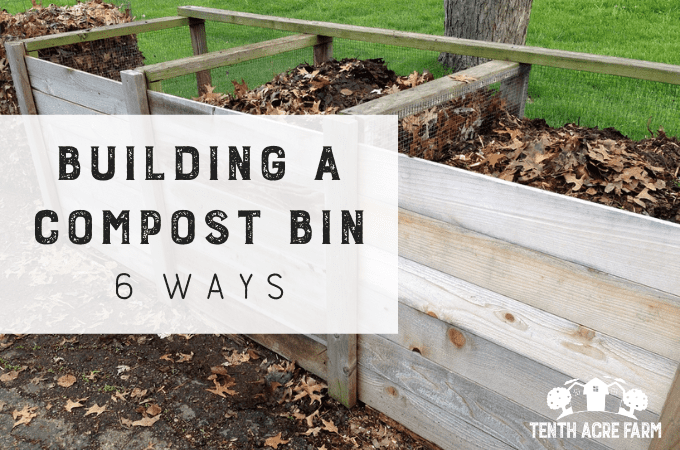
Before we dive into the construction, let's talk about why a three-bin system is ideal for efficient composting. This design allows for continuous composting:
- Bin 1 (Active): This is where you add your fresh kitchen scraps and yard waste.
- Bin 2 (Maturing): Once Bin 1 is full, you transfer the contents to Bin 2 to continue decomposing.
- Bin 3 (Curing): This bin holds the finished compost, allowing it to cure and further stabilize before you use it in your garden.
This system provides a steady supply of compost, minimizes odors, and maximizes decomposition efficiency, making it perfect for the demands of a productive homestead. Plus, using a three bin system is an excellent way to embrace homestead waste management principles and divert valuable organic material from landfills.
Materials List & Estimated Cost
Here's what you'll need to build your own three-bin compost system. Prices are approximate and may vary depending on your location.
Lumber:
- (12) 2" x 4" x 8' pressure-treated lumber: $80
- (6) 1" x 6" x 8' pressure-treated lumber (for front slats): $60
- (6) 4"x4" x 8' pressure-treated lumber (corner posts): $90
Hardware:
- 3" exterior screws: $20
- 2" exterior screws: $15
- Heavy-duty hinges (6): $30
- Latches (3): $15
Tools:
- Saw (circular saw or hand saw)
- Drill with driver bits
- Measuring tape
- Level
- Safety glasses
- Gloves
Optional:
- Stain or sealant (for weather protection): $30
Estimated Total Cost: $340 (This is just an estimate; costs will vary)
Step-by-Step Guide to Building Your Compost Bin
Follow these instructions carefully to build a sturdy and efficient three-bin compost system.
Step 1: Planning and Site Preparation
- Choose a level location for your compost bin. Ideally, it should be in a partially shaded area to prevent the compost from drying out too quickly.
- Consider proximity to your garden and kitchen for easy access.
- Clear the area of any vegetation or debris.
Step 2: Cutting the Lumber
- Cut the 4"x4" posts into 3-foot lengths. These are your corner posts.
- Cut the 2"x4" lumber into the following lengths:
- (12) pieces at 3 feet (for the vertical supports)
- (12) pieces at 4 feet (for the horizontal supports - front and back)
- (6) pieces at 4 feet (for the horizontal supports - sides)
Step 3: Assembling the Frames
- Create three identical frames for the back of each bin. Each frame should be 4 feet wide and 3 feet tall.
- Attach the 4-foot horizontal supports to the 3-foot vertical supports using 3" exterior screws. Ensure the frame is square.
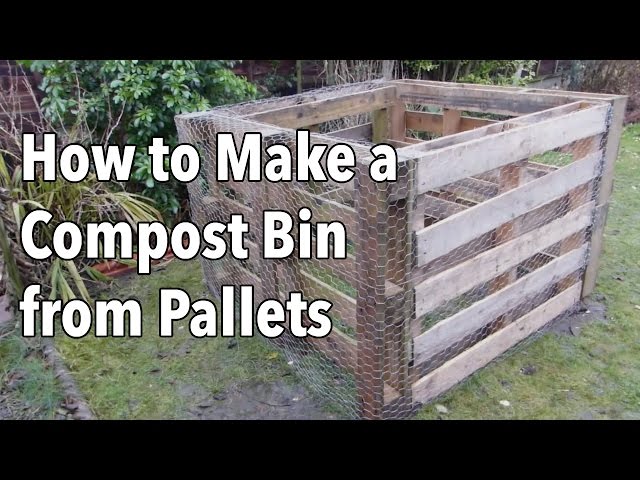
Step 4: Attaching the Corner Posts
- Attach the 4"x4" corner posts to the inside of each frame using 3" exterior screws. Make sure the posts are flush with the top and bottom of the frame.
Step 5: Connecting the Bins
- Stand the three frames side-by-side.
- Connect them using the remaining 2"x4" lumber. You'll need to create side walls for each bin, connecting the front posts to the back posts.
- Use 3" exterior screws to secure the side walls to the posts.
Step 6: Building the Front Slats
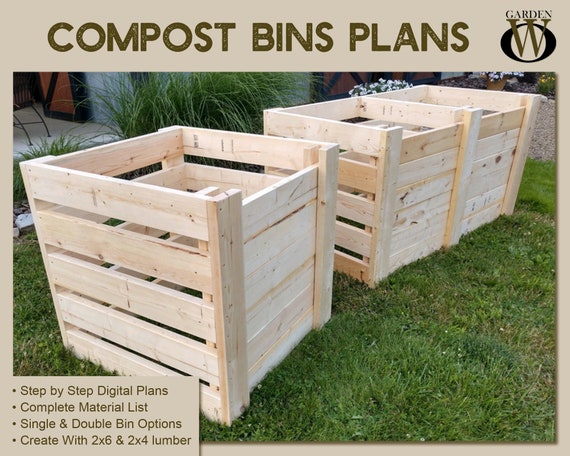
- Cut the 1"x6" lumber into slats. The length of the slats should be slightly shorter than the width of each bin opening (approximately 47").
- Attach hinges to three slats for each bin, then attach the slats to the frame so they can swing open and closed for access. Space the remaining slats evenly across the front of each bin, leaving gaps for aeration. Secure them with 2" exterior screws.
Step 7: Adding Latches (Optional)
- Install latches on the swinging slats to keep them securely closed, especially if you have animals that might be tempted to investigate your compost.
Step 8: Finishing Touches
- Sand any rough edges to prevent splinters.
- Apply stain or sealant to protect the wood from the elements and prolong the life of your compost bin.
Step 9: Using Your Compost Bin
- Start by adding a layer of "browns" (carbon-rich materials like dried leaves, shredded paper, or cardboard) to the bottom of Bin 1.
- Then, add a layer of "greens" (nitrogen-rich materials like kitchen scraps, grass clippings, or coffee grounds).
- Continue layering browns and greens, ensuring a good mix.
- Turn the compost regularly to aerate it.
- Keep the compost moist, like a wrung-out sponge.
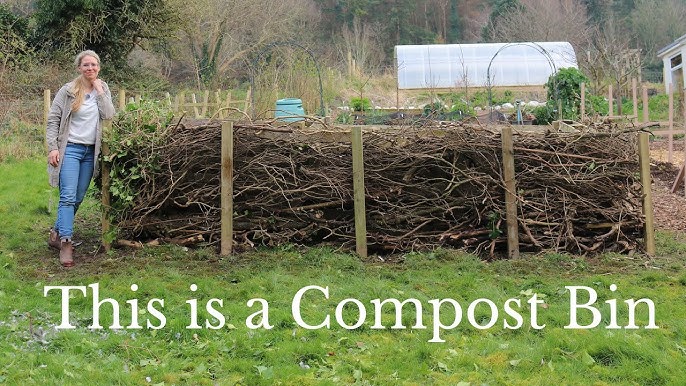
Composting Tips for Success
- Maintain the right ratio: Aim for a 2:1 or 3:1 ratio of browns to greens.
- Chop materials: Smaller pieces decompose faster.
- Aerate regularly: Turning the compost provides oxygen for the microbes.
- Monitor moisture: Keep the compost moist but not soggy.
- Avoid composting: Meat, dairy, oily foods, and diseased plants.
Troubleshooting Common Composting Problems
- Odor: Usually caused by too much nitrogen or lack of aeration. Add more browns and turn the compost more frequently.
- Pests: Cover food scraps with a layer of browns. Ensure the bin is properly sealed.
- Slow decomposition: Could be due to lack of moisture, aeration, or the wrong balance of browns and greens. Adjust accordingly.
From Waste to Wonder: Using Your Compost
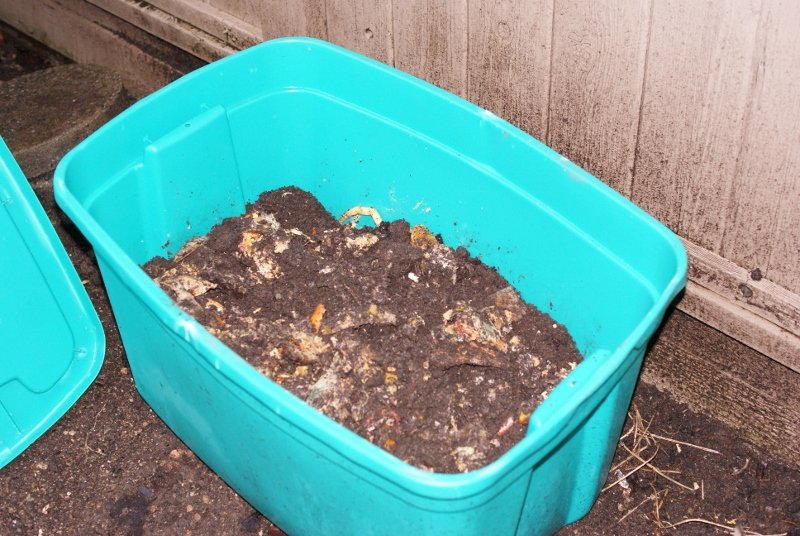
Once your compost is finished (it should be dark, crumbly, and smell earthy), it's time to put it to use! Here are a few ways to incorporate your "garden gold" into your homestead:
- Soil amendment: Mix compost into garden beds to improve soil structure, drainage, and fertility.
- Potting mix: Add compost to your homemade potting mix for healthier seedlings and container plants.
- Top dressing: Spread a thin layer of compost around existing plants to provide a slow-release source of nutrients.
- Compost tea: Brew compost tea to create a liquid fertilizer for your plants.
Beyond the Basics: Exploring Other Composting Methods
While this guide focuses on a three-bin system, there are other composting methods worth exploring:
- Vermicomposting: Using worms to break down organic matter. Great for small spaces.
- Bokashi: An anaerobic fermentation process that can compost all types of food waste, including meat and dairy.
Embrace the Homesteading Spirit
Building a high-efficiency compost bin is more than just a DIY project; it's an investment in your homestead's future. By reducing waste, improving soil health, and increasing self-sufficiency, you're embracing the core values of homesteading. So, gather your materials, roll up your sleeves, and get ready to transform your waste into garden gold!
We hope this guide has inspired you to take control of your composting process. Now it’s your turn! Share your own composting experiences, ask questions in the comments below, and share photos of your completed compost bins. For more information on soil testing, organic gardening, and other homesteading topics, visit the Better Homes and Harvests website at betterhomesandharvests.com. Happy composting!