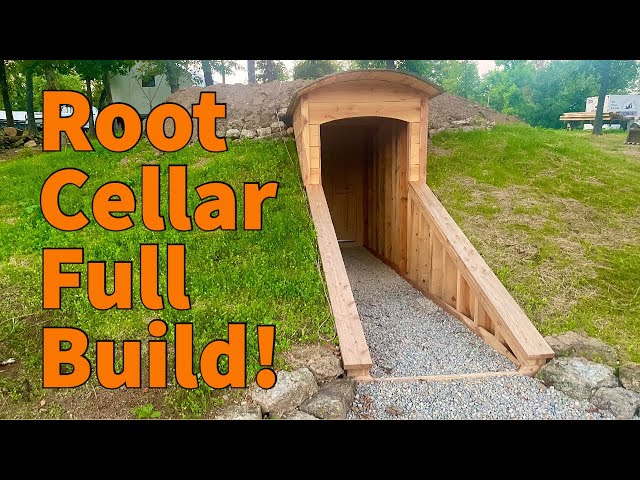
Unleash Your Homesteading Dreams: Build a Budget-Friendly Potato Root Cellar This Weekend!
Tired of store-bought potatoes that sprout before you can even blink? Yearning for that farm-fresh flavor all winter long? "Better Homes and Harvests" is here to help! We believe self-sufficiency should be accessible to everyone, and what's more satisfying than harvesting your own potatoes and storing them for months in a root cellar you built yourself? This weekend, ditch the Netflix binge and embark on a rewarding project: building a budget-friendly potato root cellar! Don't worry; we'll guide you every step of the way, even if the most advanced thing you've built so far is a sandwich. Let's dive in!
Why a Potato Root Cellar?
Before we get our hands dirty, let’s talk about why a root cellar is a homesteader’s best friend. Potatoes need cool, dark, and humid conditions to stay fresh for extended periods. A root cellar mimics these conditions, allowing you to enjoy your harvest long after the growing season ends. Storing potatoes properly prevents sprouting, rotting, and loss of flavor. Plus, it's a sustainable and cost-effective way to preserve your hard-earned bounty. A root cellar is a game-changer for homesteading food storage.
Choosing Your Root Cellar Design: The "Potato Palace" Possibilities
We're focusing on a simple, small-scale root cellar that anyone can build. Forget about complex construction; we're aiming for practical and affordable. Here are a few design options to consider:
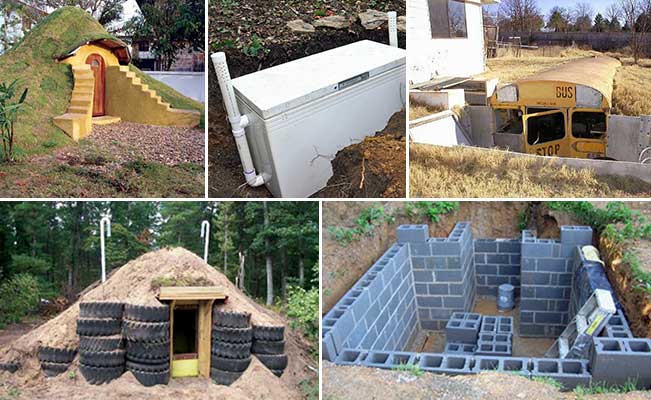
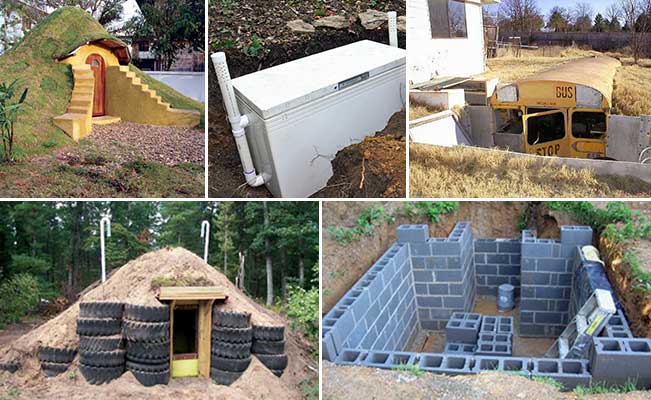
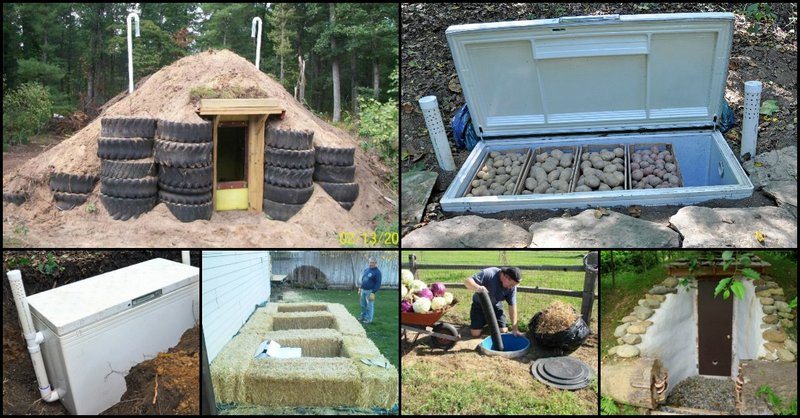
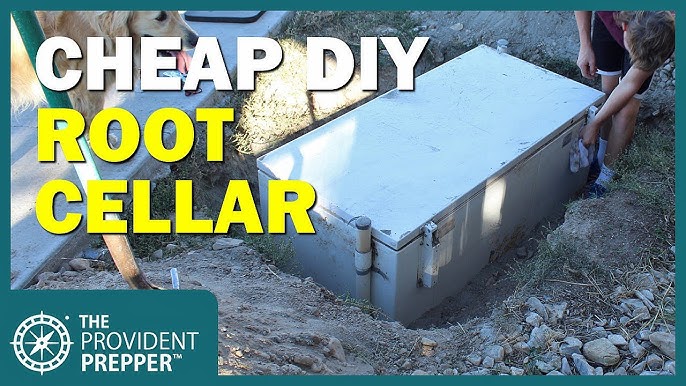
- The Buried Barrel: This involves burying a large plastic barrel (food-grade, of course!) or a sturdy metal drum horizontally in the ground. Cover it with soil and insulation for temperature control. This is a great option for small spaces.
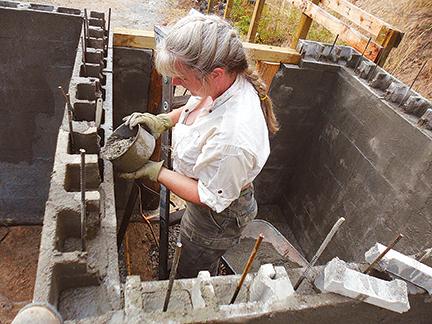
- The Concrete Block Pit: This is a slightly more involved option where you dig a pit and line it with concrete blocks, creating a rectangular or square storage space. A wooden lid provides access and insulation.
- The Repurposed Refrigerator (Above Ground): Believe it or not, an old refrigerator (dethroned from the kitchen, naturally) can be transformed into a functional, above-ground root cellar! Insulation is already built-in!
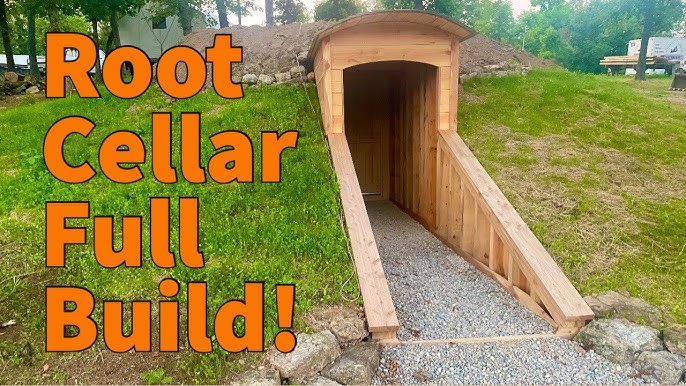
For this guide, we'll focus on the Concrete Block Pit option. It’s relatively easy to build, offers good storage capacity, and can be adapted to various yard sizes.
Building Your Concrete Block Potato Root Cellar: A Step-by-Step Guide
Alright, let's get building! Grab your tools, put on your work gloves, and prepare to unleash your inner homesteader. Remember, safety first!
Step 1: Planning and Site Selection (Estimated Time: 1-2 hours)
- Choose a Location: Select a spot that's cool, shady, and well-drained. A north-facing slope is ideal. Avoid areas prone to flooding or excessive sunlight.
- Determine Size: Consider how many potatoes you need to store. A 4ft x 4ft pit is a good starting point for a small family.
- Check Local Regulations: Before you start digging, check with your local authorities to ensure you don't need any permits.
Step 2: Digging the Pit (Estimated Time: 4-6 hours)
- Mark the Area: Use stakes and string to mark the perimeter of your root cellar.
- Start Digging: Dig a pit to the desired dimensions. The depth should be at least 3-4 feet. Ensure the walls are straight and the bottom is level.
- Pro Tip: Enlist a friend (bribe them with promises of potato dishes later) to help speed up the digging process. This will save time and effort.
Step 3: Laying the Concrete Blocks (Estimated Time: 4-6 hours)
- Prepare the Base: Add a layer of gravel or crushed stone to the bottom of the pit for drainage.
- Lay the First Course: Start laying the concrete blocks around the perimeter of the pit. Use a level to ensure they are even.
- Stack the Blocks: Continue stacking the blocks, creating the walls of your root cellar. You can use mortar to bind the blocks together for added stability, but it's not strictly necessary for a small, budget-friendly cellar. Stagger the joints between the rows for extra strength.
- Troubleshooting: If the ground is too rocky, remove the rocks and replace them with compacted soil or gravel.
Step 4: Building the Lid (Estimated Time: 2-4 hours)
- Measure the Opening: Measure the dimensions of the opening of your root cellar.
- Build a Frame: Construct a wooden frame slightly larger than the opening. Use sturdy lumber.
- Add a Lid: Attach plywood or planks to the frame to create a lid.
- Insulate: Insulate the lid with straw bales, rigid foam insulation, or old blankets.
Step 5: Ventilation (Estimated Time: 1 hour)
- Ventilation is Key: Proper ventilation is crucial to prevent moisture buildup and keep your potatoes fresh.
- Install a Vent Pipe: Install a PVC pipe or a similar ventilation system to allow air to circulate. The pipe should extend above ground level.
Step 6: Finishing Touches (Estimated Time: 1-2 hours)
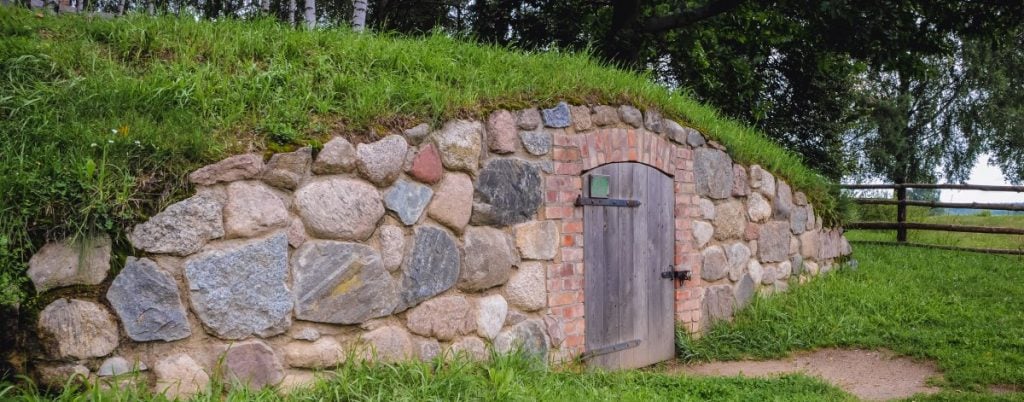
- Cover the Cellar: Cover the outside of the concrete blocks with soil to provide additional insulation.
- Camouflage: Consider camouflaging your root cellar with plants or rocks to blend it into the landscape.
Budget Breakdown: From Humble Beginnings to Potato Paradise
Here's a rough estimate of the costs involved. Remember, you can significantly reduce these costs by using recycled or repurposed materials.
- Concrete Blocks: $50 - $100 (depending on quantity)
- Lumber for Lid: $30 - $50
- Insulation (Straw Bales, Foam, Blankets): $0 - $40 (depending on choice and availability)
- Gravel or Crushed Stone: $20 - $40
- Vent Pipe: $10 - $20
- Total Estimated Cost: $110 - $250

Saving Money Tips:
- Repurpose Materials: Use reclaimed lumber, old blankets, or recycled concrete blocks.
- Free Gravel: Ask local construction companies if they have excess gravel they're willing to give away.
- Straw Bales: Source straw bales from local farmers.
Troubleshooting Tips: Conquering Common Root Cellar Challenges
- Excessive Moisture: If the cellar is too damp, improve ventilation by adding more vent pipes or using a dehumidifier. Ensure proper drainage around the cellar.
- Temperature Fluctuations: Add more insulation to the lid and walls to stabilize the temperature.
- Pest Problems: Inspect your potatoes regularly for signs of pests. Use natural pest control methods if necessary.
Storing Your Potatoes: The Grand Finale
- Curing: Before storing, cure your potatoes by letting them sit in a cool, dark, and humid place for about a week. This helps to toughen the skin and heal any cuts or bruises.
- Layering: Store your potatoes in layers in wooden crates or cardboard boxes.
- Don't Wash: Do not wash your potatoes before storing them.
- Check Regularly: Check your potatoes regularly for signs of spoilage. Remove any rotten potatoes to prevent them from affecting the rest of the crop.

Beyond Potatoes: Expanding Your Root Cellar Horizons
While this guide focuses on potatoes, your root cellar can also be used to store other root vegetables like carrots, beets, turnips, and parsnips. Just ensure each vegetable has its specific storage needs met.
The Sweet Taste of Self-Sufficiency
Building a potato root cellar is more than just a weekend project; it's an investment in self-sufficiency and a connection to the land. Imagine the satisfaction of harvesting your own potatoes and enjoying them throughout the winter, knowing you built the very structure that keeps them fresh. So, what are you waiting for? Get building!
Ready to take your homesteading to the next level?
Check out these related articles on Better Homes and Harvests:
- Beginner's Guide to Homesteading (Replace with a real link)
- Best Vegetables for Winter Storage (Replace with a real link)
- DIY Gardening Tips and Tricks (Replace with a real link)
For further information, consult your local university extension program. They offer invaluable resources for gardening and food preservation.
Your Turn!
Have you built a root cellar? What tips and tricks do you have to share? Leave a comment below and let us know! Share your photos on social media using #BHHRootCellar. We can't wait to see your creations! Let’s build a community of self-sufficient homesteaders together!
