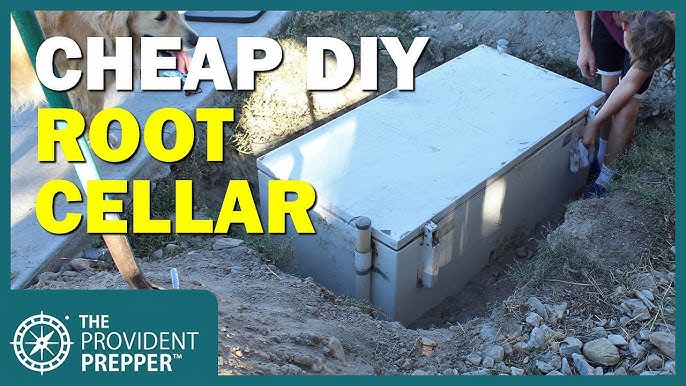
Unearthing Self-Sufficiency: Building Your Own DIY Root Cellar
Hey fellow homesteaders! It's your pal, Maggie, from down the holler. Today, I'm letting you in on a secret that’s been a game-changer for my family’s self-sufficiency: building our very own DIY root cellar. With rising grocery costs and unpredictable weather patterns, knowing how to preserve your harvest long-term is more crucial than ever. A root cellar provides a natural, energy-free way to keep those precious fruits and vegetables fresh throughout the winter months, reducing food waste and bolstering your food security. This isn't just about saving money; it's about taking control of our food supply and living more sustainably. So, gather 'round, grab a cup of coffee, and let's get digging!
The Pain Point: Food Waste and Reliance on External Sources
Let's be honest: store-bought produce, especially in the off-season, can be expensive and lack flavor. And who among us hasn't experienced the heartbreak of seeing a crisper drawer full of veggies turn into a mushy mess? The need for a reliable, affordable, and sustainable food storage solution is a common pain point for homesteaders, one that a root cellar directly addresses. By creating a stable environment with the right temperature and humidity, a root cellar dramatically extends the shelf life of many fruits and vegetables, allowing you to enjoy the fruits (and veggies!) of your labor well into the colder months. This significantly cuts down on food waste and lessens your dependence on grocery stores, especially during times of economic uncertainty.
Why a Root Cellar? The Benefits Beyond Fresh Produce
A DIY root cellar offers more than just fresh produce in the winter. It's an investment in self-sufficiency, resilience, and a connection to traditional practices. Think about it: no electricity needed! You're harnessing the earth's natural cooling and insulating properties. Plus, it's a project that connects you to the land and deepens your understanding of how to work with nature, not against it. Storing food in a root cellar preserves nutrients, reduces reliance on canning (though that's still valuable!), and contributes to a more sustainable lifestyle.
Planning Your Root Cellar: Location, Location, Location!
Before you grab your shovel, careful planning is essential. The ideal location for your DIY root cellar will depend on your property and climate, so understanding root cellar design is essential. Aim for a spot that's:
- Naturally Cool: Look for a north-facing slope or a shaded area that doesn’t get direct sunlight, especially in summer.
- Well-Drained: Avoid areas prone to flooding or with a high water table. Proper drainage is crucial to prevent spoilage.
- Accessible: Consider how easily you can access the root cellar in all types of weather, especially during winter months when you might be carrying heavy loads of produce.
- Away from Tree Roots: Tree roots can damage the structure and compromise its integrity over time.
Types of Root Cellars:
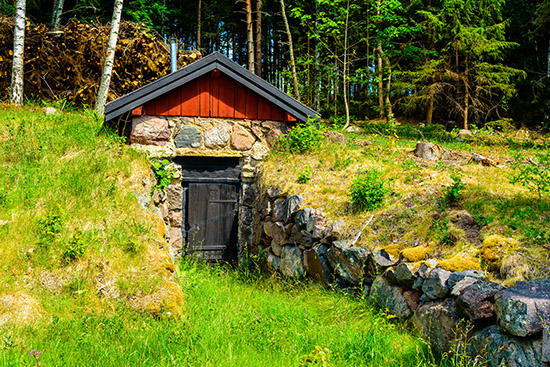
- Underground: The most traditional type, offering the best temperature stability. This involves digging into a hillside or creating a completely buried structure.
- Basement: Utilizing a portion of your existing basement, if suitable. This is often the easiest option if you have a cool, damp basement.
- Above-Ground (Earth-Sheltered): A structure built above ground and then covered with earth for insulation. This can be a good option if your soil isn't ideal for digging.
- Shipping Container Root Cellar: Consider converting a used shipping container into a root cellar! This can be an affordable and durable option.
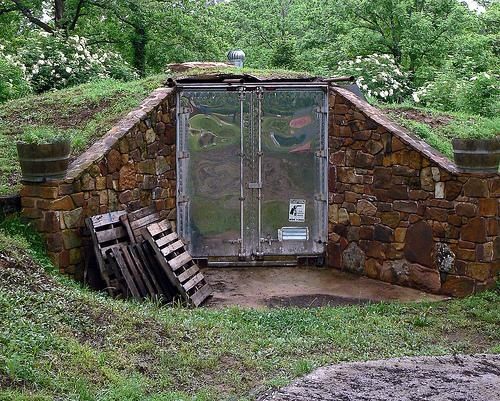
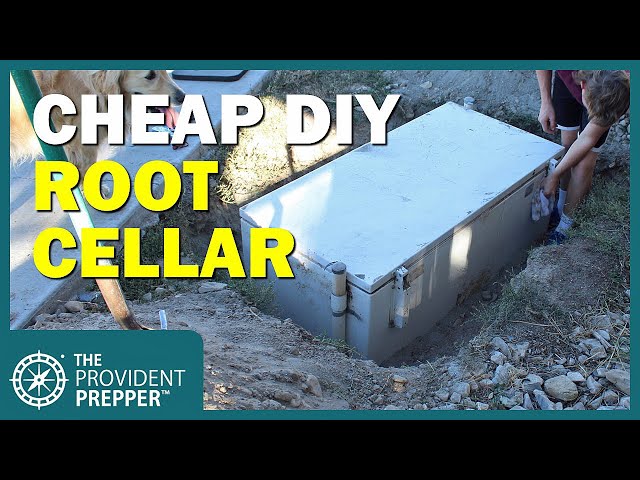
For my project, I opted for a partial underground root cellar dug into a small hillside behind our barn. It offered a good balance of temperature stability, drainage, and accessibility.
Step-by-Step Guide: Building Your DIY Root Cellar
Alright, let's get our hands dirty! This is where the root cellar construction really begins. Here's a breakdown of the steps involved in building a basic underground root cellar:
Step 1: Excavation
- Mark out the dimensions of your root cellar. I went with an 8' x 10' footprint, which is plenty of space for our family’s needs.
- Dig! This is the most labor-intensive part, so enlist some help if you can. Aim for a depth of at least 6-8 feet to maintain a consistent temperature.
- Ensure the walls are slightly angled outwards for added stability.
Step 2: Foundation and Walls
- Pour a concrete foundation for drainage and stability. A simple slab will do.
- Build the walls. You can use cinder blocks, poured concrete, or even treated lumber. I chose cinder blocks for their affordability and ease of use. Ensure you leave openings for ventilation.
- Consider reinforcing the walls with rebar for added strength, especially if you live in an area with unstable soil.
Step 3: Roofing and Insulation
- Construct a sturdy roof that can support the weight of the soil. I used treated lumber for the rafters and covered them with plywood.
- Waterproof the roof with roofing felt or a similar material to prevent leaks.
- Insulate the roof with rigid foam insulation to further regulate temperature.
- Cover the roof with a layer of plastic sheeting before backfilling with soil.
Step 4: Backfilling and Earth Covering
- Carefully backfill around the walls and over the roof with soil. The more soil coverage, the better the insulation.
- Consider planting grass or other vegetation on top of the root cellar to further stabilize the soil and improve insulation.
Step 5: Ventilation
- Install ventilation pipes to allow for air circulation. One pipe should extend near the floor, and another near the ceiling, to facilitate airflow.
- Cover the ends of the pipes with screens to keep out rodents and insects.
- Adjust the airflow as needed to maintain the proper temperature and humidity levels.
Step 6: Interior Finishing
- Install shelves for storing your produce. Use untreated wood to avoid contaminating your food.
- Add a gravel floor for drainage.
- Include a thermometer and hygrometer to monitor temperature and humidity levels.
Step 7: The Door
- Build an insulated door! This is important so all your hard work of insulating the cellar is not wasted.
The Unexpected Challenges and How We Overcame Them
No DIY project is without its hiccups, and our root cellar was no exception.
- Water Drainage: Initially, we had some water seepage. We solved this by installing a French drain around the perimeter of the root cellar to divert water away from the structure.
- Rodents: Mice were a persistent problem. We addressed this by sealing any cracks or openings and using traps (humanely, of course!).
- Humidity Control: Maintaining the right humidity levels can be tricky. We found that adjusting the ventilation and adding a bucket of water helped to regulate the humidity.
The key is to be adaptable and persistent. Don't be afraid to troubleshoot and make adjustments as needed.
Maintaining Your Root Cellar: A Few Tips
Once your root cellar is built, here are a few tips for maintaining it:
- Monitor Temperature and Humidity: Aim for a temperature between 32-40°F (0-4°C) and a humidity level of 80-90%.
- Ventilate Regularly: Open the ventilation pipes to allow for airflow, especially on cool nights.
- Check for Spoiled Produce: Remove any spoiled fruits or vegetables promptly to prevent them from affecting the rest of your harvest.
- Store Produce Properly: Different fruits and vegetables have different storage requirements. Research the best storage methods for each type of produce.
What to Store in Your Root Cellar
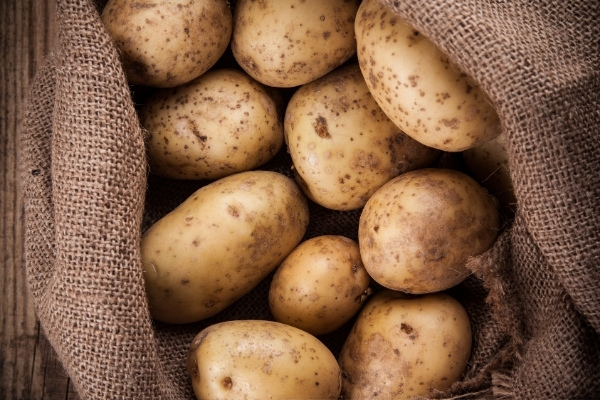
Many fruits and vegetables thrive in a root cellar environment, including:
- Potatoes
- Carrots
- Beets
- Onions
- Garlic
- Apples
- Cabbage
- Winter Squash
Remember to harvest your produce at its peak ripeness and handle it carefully to avoid bruising or damage.
Conclusion: A Step Towards a More Secure and Sustainable Future
Building a DIY root cellar is an investment in your homestead's self-sufficiency and resilience. It's a project that empowers you to take control of your food supply, reduce waste, and live more sustainably. Yes, it requires some effort and planning, but the rewards are well worth it. Imagine enjoying fresh, homegrown produce all winter long, knowing that you're less dependent on external sources and contributing to a more secure and sustainable future for yourself and your family. So, what are you waiting for? Grab your shovel and start digging! You might just unearth a whole new level of self-sufficiency. Happy homesteading!