Unearthing Self-Sufficiency: Building a Root Cellar Under Your Porch Stairs
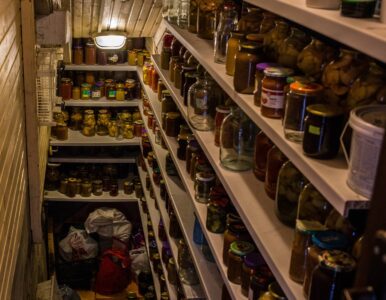
There's a certain magic in autumn. The air turns crisp, the leaves blaze with color, and the garden gifts us with its final bounty. But for homesteaders, fall isn't just about pretty scenery; it's about preparing for the long winter ahead. I remember watching my grandmother each autumn. As the days grew shorter, she would spend hours carefully storing away her garden treasures – carrots, potatoes, beets, and apples. She didn't have fancy refrigeration; she had a root cellar. It was more than just a storage space; it was a lifeline. A place to keep the harvest fresh and families fed throughout the cold months. Today, I want to share how you can tap into that same magic by building a simple, effective root cellar under your porch stairs. This project is a game-changer for self-sufficiency, allowing you to enjoy the fruits (and vegetables!) of your labor year-round.
1. Planning & Prep: Laying the Foundation for Success
Before you grab a shovel, careful planning is crucial for building a successful DIY root cellar. A well-planned root cellar offers the ideal environment to keep your harvest fresh, avoiding spoilage and loss.
Location, Location, Location: Underneath your porch stairs is an ideal spot, offering natural insulation from the surrounding earth and protection from direct sunlight. Choose an area that is easily accessible but remains shaded, ensuring that the temperature remains constant.
Sketch it Out: Start with a detailed sketch of your proposed root cellar. Measure the available space under your porch stairs carefully. Consider the height, width, and depth.
Material List: Aim for affordability and repurposing. Here’s what I used for my under porch root cellar:
- Reclaimed lumber for framing
- Concrete blocks (salvaged from a local construction site)
- Gravel for drainage
- Insulation (rigid foam insulation boards – leftover from a previous project)
- Ventilation pipes (PVC pipes)
- Hardware (screws, nails, etc.)
- Door (repurposed solid core door)
Site Preparation:
- Digging: Excavate the area under your porch stairs to the desired depth. Remember to factor in the thickness of the gravel base and concrete blocks.
- Drainage: Proper drainage is paramount! Lay a thick layer of gravel at the bottom of the excavated area. This will prevent water from pooling and creating a damp, mold-prone environment.
- Temperature Regulation: Earth provides natural insulation, but you can enhance it by lining the walls with rigid foam insulation boards. This will help maintain a consistent temperature inside the root cellar.
- Airflow is Key: Good ventilation is essential for preventing moisture buildup and mold growth. Install two ventilation pipes: one near the floor for cool air intake and one near the ceiling for warm air exhaust. The difference in height will encourage natural airflow.
Dimension and Airflow Diagram:
[Diagram: Insert Hand-drawn diagram here. The diagram should show a side view of the under-porch root cellar. Include these elements: Dimensions (Length, Width, Height), Gravel Base, Concrete Block Walls, Insulation, Ventilation Pipes (Inlet and Outlet, labeled), Door Placement, and shelving.]
2. Construction: Building Your Underground Oasis
Now comes the fun part: bringing your vision to life! Safety first – wear appropriate safety gear, including gloves and eye protection.
Step 1: Laying the Foundation: Start by laying the concrete blocks for the walls. Ensure they are level and secure. Use mortar to bind the blocks together for added stability.

Pro Tip: A spirit level is your best friend here. Take your time and ensure each block is perfectly level before moving on.
Step 2: Framing the Doorway: Build a sturdy frame for the doorway using reclaimed lumber. Make sure the frame is square and securely attached to the concrete block walls.
Step 3: Insulating the Walls: Attach rigid foam insulation boards to the inside of the concrete block walls. Use construction adhesive and screws to secure the boards in place. Seal any gaps or cracks with caulk to prevent air leaks.
Common Pitfall: Don’t skimp on insulation! Proper insulation is crucial for maintaining a stable temperature.
Step 4: Installing Ventilation: Install the ventilation pipes. One pipe should be positioned near the floor to draw in cool air, and the other near the ceiling to exhaust warm air. Ensure the pipes are properly screened to prevent rodents from entering.
Step 5: Installing the Door: Install the repurposed solid core door. Make sure the door fits snugly in the frame to prevent drafts. Weather stripping can help create a tight seal.
Step 6: Reinforcing the Structure (if necessary): Depending on the soil conditions and the load-bearing capacity of your porch stairs, you may need to reinforce the roof of the root cellar. This can be done by adding additional lumber supports or pouring a concrete slab.
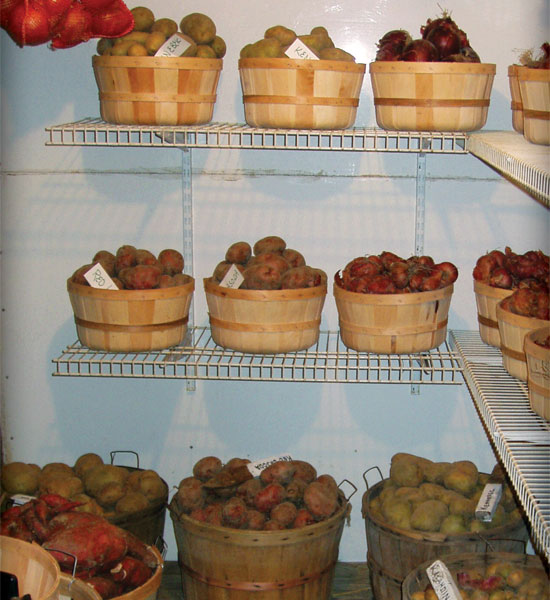
3. Organization & Storage: Creating a Functional Space
A well-organized root cellar maximizes storage capacity and makes it easy to find what you need.
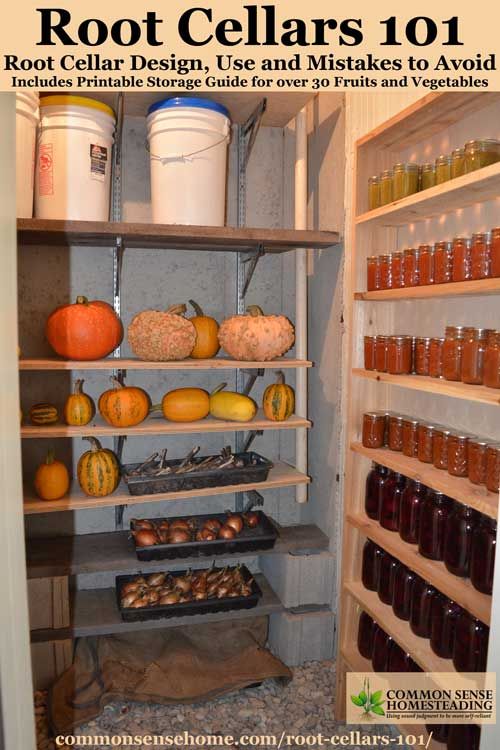
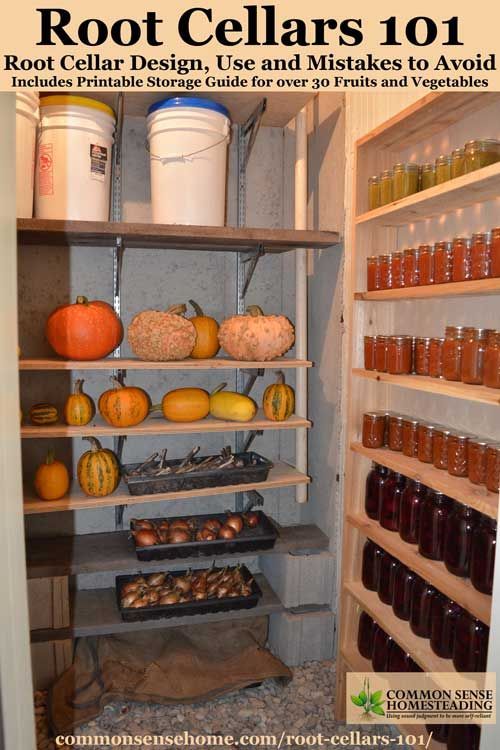
Shelving: Install sturdy shelving along the walls. I used reclaimed lumber to build my shelves, but you can also use metal shelving units. Space the shelves according to the size of the produce you plan to store.
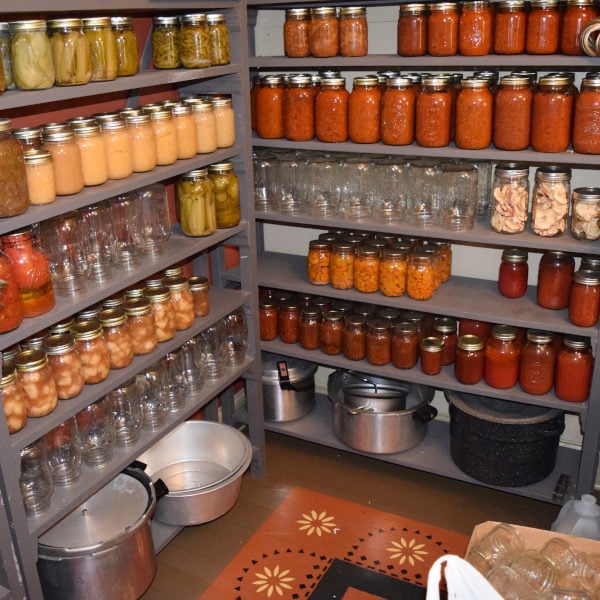
Containers: Use a variety of containers to store your produce. Wooden crates, baskets, and plastic bins all work well. Line containers with newspaper or straw to absorb moisture.

Storage Techniques:
- Potatoes: Store potatoes in burlap sacks or wooden crates in a dark, cool, and humid place.
- Carrots & Beets: Pack carrots and beets in damp sand to prevent them from drying out.
- Apples: Store apples in a single layer in wooden crates. Check them regularly and remove any that are rotting to prevent the spread of spoilage.
- Onions & Garlic: Hang onions and garlic in mesh bags to ensure good air circulation.
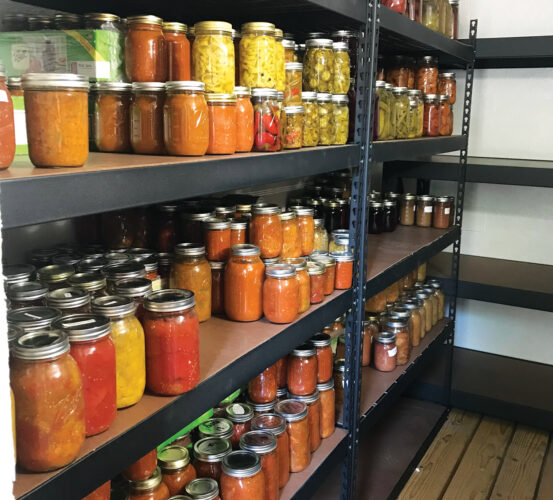
Label Everything: Clearly label each container with the type of produce and the date it was stored.
4. Troubleshooting & Lessons Learned: Learning from Experience
No DIY project is without its challenges! Here are a few lessons I learned along the way:
- Moisture Control: Initially, I struggled with excess moisture in my root cellar. I added an extra ventilation pipe, which helped to improve airflow and reduce humidity.
- Rodent Protection: Despite my best efforts, rodents managed to find their way into my root cellar. I sealed any cracks or openings with caulk and installed wire mesh over the ventilation pipes.
- Temperature Fluctuations: During extreme cold spells, the temperature inside my root cellar would drop too low. I added an extra layer of insulation to the walls and covered the door with a heavy blanket.
- Organization is Key: At first, my root cellar was a mess. Investing in proper shelving and labeling made a HUGE difference.
Impact & Results: The Sweet Rewards of Self-Sufficiency
Building my DIY root cellar has been one of the most rewarding projects I've undertaken on my homestead.
- Cost Savings: I estimate that I save hundreds of dollars each year by storing my own produce instead of buying it from the grocery store.
- Fresher Produce: The taste and quality of my home-stored produce are far superior to anything I can buy in a store.
- Improved Diet: Having a ready supply of fresh vegetables encourages my family to eat healthier.
- Increased Self-Sufficiency: Knowing that I can provide for my family even during the winter months gives me a sense of security and independence.
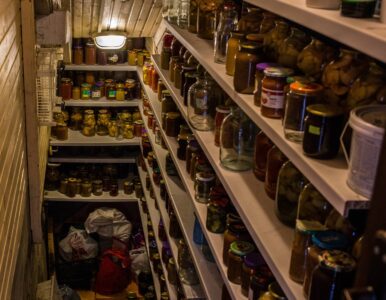
My family is healthier and happier. The feeling of opening that door and seeing rows of colorful, perfectly preserved produce ready to nourish my family throughout the winter is beyond words.
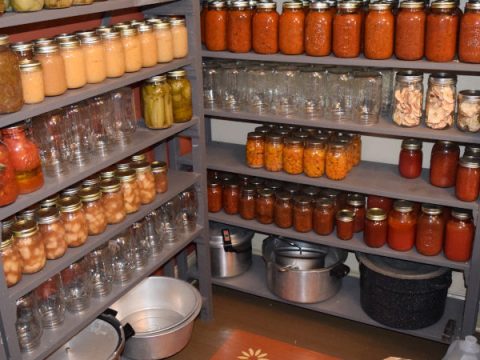
Ready to embark on your own root cellar adventure? Don’t be intimidated! Start small, be resourceful, and learn from your mistakes. The rewards of self-sufficiency are well worth the effort.
Now, I want to hear from you! Have you built a root cellar? What tips and tricks do you have to share? Leave a comment below and let's start a conversation. Don't forget to tag me in your social media posts with #BetterHomesRootCellar – I can’t wait to see your amazing creations!