Unearth Your Homestead's Hidden Potential: A Step-by-Step Guide to Building a Budget-Friendly Root Cellar (Even if You're a Beginner)
Are you dreaming of fresh, homegrown vegetables gracing your table long after the last harvest? Do you envision a pantry stocked with the fruits (and vegetables!) of your labor, reducing your dependence on grocery store produce? If so, you've come to the right place! Building a root cellar might seem like a daunting task, but with this guide, you’ll discover how surprisingly achievable it can be, even if you're a complete beginner with limited resources. We'll show you how to create a small, entry-level root cellar that's perfect for preserving your late-season harvest in climates with mild to moderate winters. Get ready to unlock your homestead's potential and savor the taste of self-sufficiency!
Why Build a Root Cellar? The Benefits of Traditional Food Preservation
Before we dive into the nitty-gritty of construction, let's talk about why you should consider building a DIY root cellar. Beyond the obvious benefit of fresh produce in the off-season, root cellars offer numerous advantages:
- Reduced Grocery Bills: Extend your harvest and minimize your reliance on expensive store-bought produce.
- Healthier Eating: Enjoy nutrient-rich, homegrown vegetables even in the winter months.
- Self-Sufficiency: Gain a deeper connection to your food and reduce your dependence on external systems.
- Environmentally Friendly: Minimize food waste and reduce your carbon footprint by storing your harvest naturally.
- Preserve Flavor & Nutrients: Unlike canning or freezing, root cellaring often preserves the original flavor and texture of your vegetables.
Planning Your Budget-Friendly Root Cellar
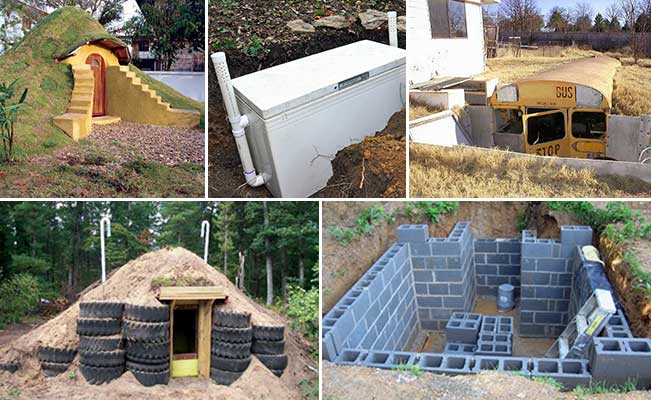
This project focuses on building a small, outdoor root cellar using readily available and inexpensive materials. Think "rustic charm" rather than "high-tech bunker." Our goal is an achievable project for beginners, using materials like cinder blocks and straw bales.
Location, Location, Location:
Choose a location that is:
- Cool and Shady: A north-facing slope or an area shaded by trees is ideal.
- Well-Drained: Avoid areas prone to flooding or standing water.
- Accessible: Consider proximity to your garden and home.
- Legal: Check local building codes and regulations before you start digging.
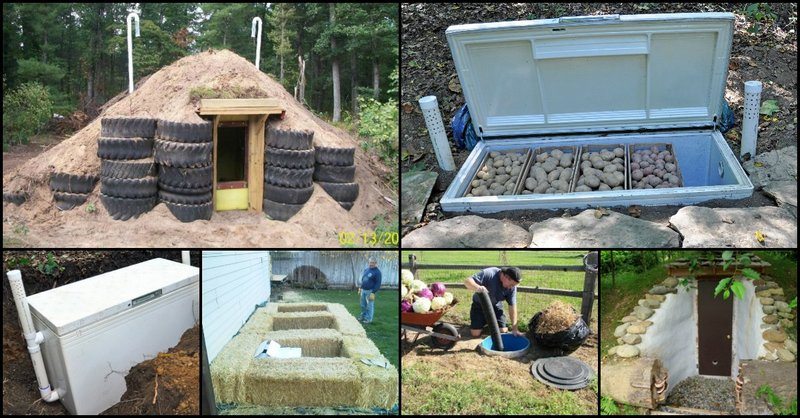
Design Considerations:
For beginners, a simple, partially underground design is best. We'll focus on a cinder block and straw bale structure, roughly 4'x6' in size, which is large enough to store a decent amount of produce for a small family. This size is manageable for a DIY project and keeps costs down.
- Size: 4'x6' is a good starting point. Adjust based on your needs and available space.
- Depth: Dig down 2-3 feet to take advantage of the earth's natural insulation.
- Ventilation: Essential for maintaining proper temperature and humidity. We'll incorporate a simple ventilation pipe.
- Entrance: Keep it simple! A sturdy wooden door or a heavy-duty tarp will suffice.
Step-by-Step Guide to Building Your DIY Root Cellar (for Beginners)
Step 1: Gather Your Materials (Estimated Time: 1 Day)
Scour your local classifieds, salvage yards, and ask friends for repurposed materials! This is where you can truly save money.
- Cinder Blocks: Approximately 50-75 depending on your design. (New: $1-2 each, Repurposed: Free - $1 each)
- Straw Bales: 10-15 bales, depending on your design. ($5-10 each)
- Lumber: For the door frame, shelves, and roof support (Repurposed lumber is your best friend here!).
- Roofing Material: Corrugated metal, reclaimed wood, or heavy-duty tarp (Look for free or discounted options).
- Ventilation Pipe: 4-inch PVC pipe (Leftover from another project? Score!).
- Gravel: For drainage (Check with local landscaping companies for discounted or free gravel).
- Door: Reclaimed door or materials to build one.
- Tools: Shovel, level, wheelbarrow, measuring tape, hammer, saw, drill, gloves, safety glasses.
Budget Breakdown (Estimated):
- Cinder Blocks: $50 - $150
- Straw Bales: $50 - $150
- Lumber: $20 - $100 (highly dependent on repurposing)
- Roofing: $0 - $50 (depending on repurposed options)
- Gravel: $0 - $30
- Ventilation Pipe: $0 - $10
- Door: $0 - $50
Total Estimated Cost: $120 - $540
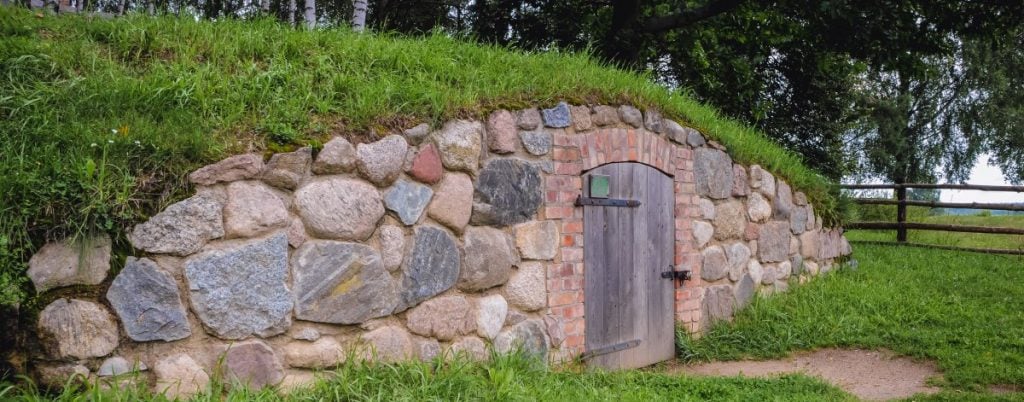
Step 2: Excavation (Estimated Time: 2-3 Days)
This is the most physically demanding part. Recruit a friend (or bribe them with future root cellar bounty!).
- Mark out your 4'x6' area.
- Dig down 2-3 feet, keeping the walls as straight as possible.
- Slope the floor slightly towards the back for drainage.
- Add a layer of gravel to the floor for drainage.
Safety First: Wear gloves and safety glasses. Be mindful of underground utilities. Call 811 before you dig!
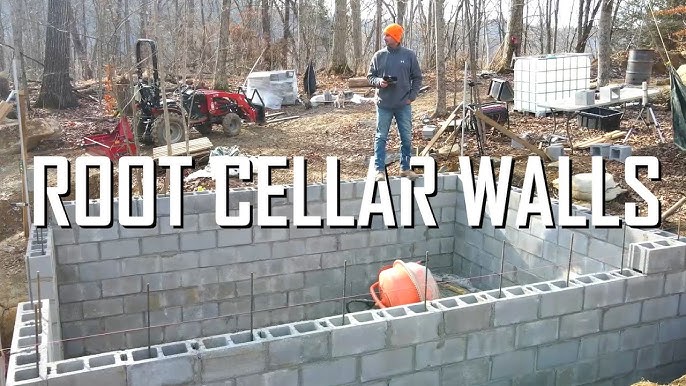
Step 3: Building the Walls (Estimated Time: 2-3 Days)
- Lay the first course of cinder blocks, ensuring they are level.
- Stagger the joints for added strength.
- Continue laying courses, using mortar to bind the blocks together (optional, but recommended for stability).
- Leave an opening for the ventilation pipe near the top of the wall.
- Build the walls to a height of about 4 feet above ground level.
Tip: Use a level frequently to ensure the walls are straight and plumb. A crooked root cellar is no fun!
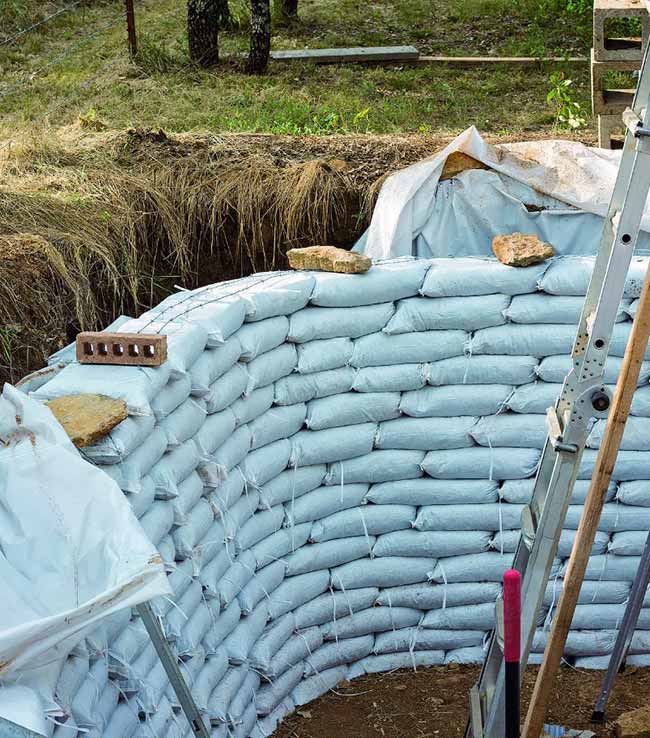
Step 4: Framing the Door (Estimated Time: 1 Day)
- Build a simple door frame from lumber, ensuring it fits snugly against the cinder block wall.
- Attach the frame to the wall using masonry screws or construction adhesive.
Step 5: Constructing the Roof (Estimated Time: 2-3 Days)
This step requires some creativity, especially if you're using repurposed materials.
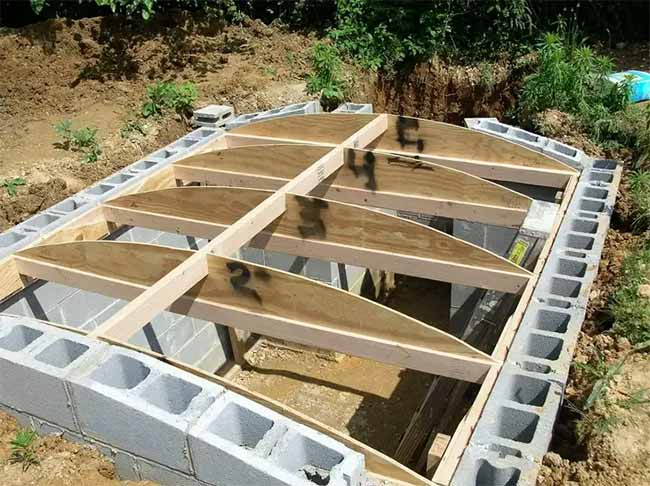
- Create a simple roof support structure using lumber.
- Angle the roof slightly to allow for water runoff.
- Attach your roofing material (corrugated metal, reclaimed wood, or tarp) to the frame. Ensure it's watertight!
- Cover the roof with a layer of soil and straw bales for added insulation.
Step 6: Ventilation (Estimated Time: 1 Hour)
- Insert the PVC ventilation pipe through the opening in the wall.
- Extend the pipe a few feet above the roofline to allow for proper airflow.
- Cover the end of the pipe with mesh to prevent pests from entering.
Step 7: Adding the Door (Estimated Time: 1 Day)
- Attach hinges to the door frame and the door.
- Hang the door and ensure it swings freely.
- Install a latch or locking mechanism to keep critters out.
Step 8: Interior Finishing (Estimated Time: 1 Day)
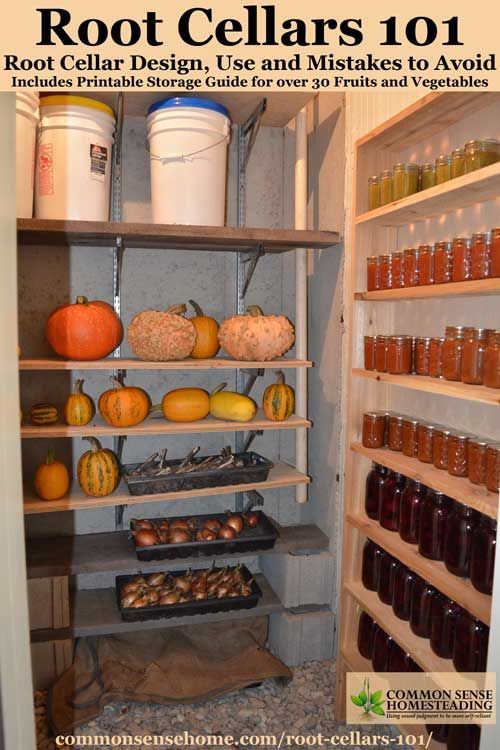
- Build simple shelves from lumber to store your produce.
- Consider adding a layer of gravel to the floor for added drainage.
- Add a thermometer and hygrometer to monitor temperature and humidity.
Climate Considerations for Mild Winters
This design is best suited for climates with mild to moderate winters where the ground doesn't freeze solid for extended periods. In colder regions, you'll need to insulate the root cellar more thoroughly and possibly bury it deeper. Consider adding a thick layer of insulation (straw bales, rigid foam) to the walls and roof. An earth-bermed or fully underground root cellar would be a better option for colder climates.
Storing Your Harvest: Tips for Success
Not all vegetables are created equal when it comes to root cellaring. Here's a guide to properly preparing and storing common garden vegetables:
- Potatoes: Cure potatoes for 1-2 weeks in a dark, humid place before storing them in bins or baskets. Aim for a temperature of 38-42°F.
- Carrots: Store carrots in boxes or bins filled with damp sand or sawdust. Aim for a temperature of 32-36°F and high humidity.
- Onions: Cure onions for 2-3 weeks in a dry, well-ventilated place before storing them in mesh bags or crates. Aim for a temperature of 32-36°F and low humidity.
- Apples: Store apples in single layers in trays or boxes. Aim for a temperature of 32-40°F and high humidity.
- Cabbage: Hang cabbages upside down from the ceiling or store them in bins filled with damp sand. Aim for a temperature of 32-40°F and high humidity.
Key to successful root cellaring: Consistent temperature and humidity. Monitor your root cellar regularly and adjust ventilation as needed.
Troubleshooting Common Problems
- Mold: Increase ventilation and remove any affected produce.
- Rodents: Seal any cracks or holes and consider using traps.
- Temperature Fluctuations: Add more insulation or adjust ventilation.
- Excessive Humidity: Add a desiccant or increase ventilation.
Recommended Resources for Further Learning
- "Root Cellaring: Natural Cold Storage of Fruits & Vegetables" by Mike and Nancy Bubel
- Your Local Extension Office: They often offer workshops and resources on food preservation.
- Online Homesteading Forums: Connect with other homesteaders and share tips and advice.
Ready to Get Started?
Building a DIY root cellar is a rewarding project that can significantly enhance your homesteading lifestyle. Don't be afraid to experiment, adapt, and learn along the way. Remember, the goal is not perfection, but self-sufficiency. With a little planning, elbow grease, and resourcefulness, you can create a functional and budget-friendly root cellar that will provide you with fresh, homegrown produce throughout the year.
Now it's your turn! Share your own root cellar plans, ask questions in the comments below, and share photos of your progress on social media using #BetterHomesAndHarvestsRootCellars. We can't wait to see what you create! Happy homesteading!
