Unearth the Secrets to a Warmer Winter: DIY Window Insulation for the Thrifty Homesteader
The wind howled outside, rattling the old farmhouse windows like skeletal fingers. Inside, despite the woodstove burning steadily, a chill snaked along the floor, finding its way into our bones. Last winter was particularly brutal. The price of propane, which fueled our backup heating system, had skyrocketed, leaving us with a difficult choice: stay warm or feed the livestock. That's when I knew we needed to find a better, more sustainable solution. We needed to winterize. We needed a homesteading hack. And we needed it fast. If you're feeling the pinch of rising energy costs and dreading the thought of another drafty winter, you've come to the right place. Today, we're diving into a simple, cost-effective DIY project that can dramatically reduce your heating bills and increase your home's resilience: window insulation using shrink wrap plastic film.

This project is perfect for beginner homesteaders, young families, or anyone on a fixed income looking to maximize their savings. It requires minimal DIY skills, a few inexpensive materials, and a can-do attitude. Let’s get started on this easy DIY window insulation for winter!
Why DIY Window Insulation? The Homesteading Advantage
Before we jump into the how-to, let's talk about the why. As homesteaders, we value self-sufficiency, resourcefulness, and sustainability. Relying solely on fossil fuels for heating leaves us vulnerable to price fluctuations and supply chain disruptions. DIY window insulation offers several key advantages:
- Reduced Energy Consumption: By creating an airtight barrier, window insulation film prevents heat from escaping and cold air from entering, reducing your reliance on your primary heating system.
- Lower Heating Bills: Less energy consumption translates directly to lower heating bills. You could potentially save 10-20% on your heating costs, depending on the number of windows you insulate and the severity of your local climate. Saving even $50-$100 a month during the peak winter months can make a huge difference for a thrifty homesteader.
- Increased Home Resilience: In the event of a power outage, a well-insulated home will retain heat for longer, providing a crucial buffer against the cold.
- Comfort and Coziness: Say goodbye to chilly drafts and hello to a warmer, more comfortable living space.
- Eco-Friendly: By reducing your energy consumption, you're also reducing your carbon footprint and contributing to a more sustainable future. DIY home insulation is a win-win!
Project Overview: Shrink Wrap Window Insulation
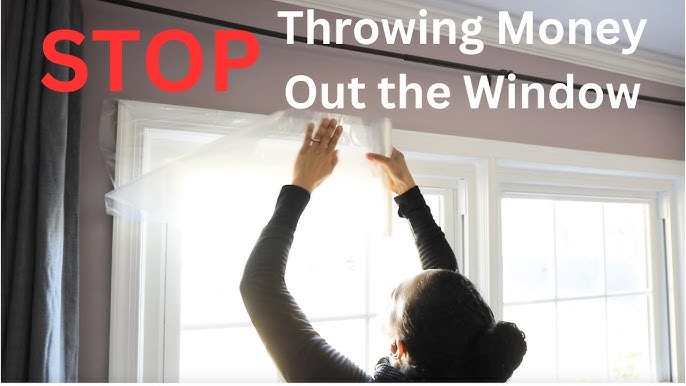
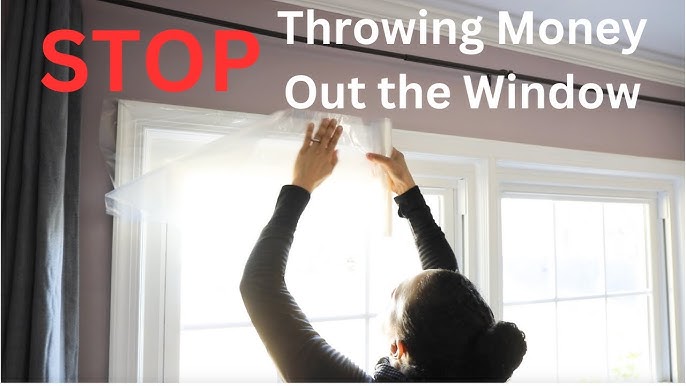
We'll be using a shrink wrap window insulation kit, which consists of a thin plastic film and double-sided tape. The film is applied to the inside of your window frame and then heated with a hairdryer to shrink it tight, creating an airtight seal. This method is inexpensive, easy to install, and surprisingly effective. This is a great, cheap window insulation project!
Step-by-Step Guide: Insulating Your Windows Like a Pro
Here's a detailed guide to help you insulate your windows with shrink wrap film. Don't worry if you've never done this before. We'll walk you through each step.
Tools and Materials:
- Window Insulation Kit: (Includes plastic film and double-sided tape). Available at most hardware stores or online. Expect to pay around $10-$20 per kit, depending on the size and brand.
- Scissors or Utility Knife: For cutting the film.
- Measuring Tape: For measuring your windows.
- Hair Dryer: To shrink the film.
- Cleaning Supplies: (Window cleaner and a cloth).
- Optional: Ladder (for high windows).
- Estimated Cost: $1-$3 per window, depending on size.
Step 1: Prepare Your Windows

Clean the window frame thoroughly with window cleaner and a cloth. Remove any dirt, dust, or debris that could prevent the tape from sticking properly. A clean surface is crucial for a good seal. Allow the frame to dry completely before proceeding.
Step 2: Measure Your Windows
Use a measuring tape to measure the inside dimensions of your window frame (width and height). Add a few extra inches (approximately 2-3 inches or 5-8 cm) to each measurement to ensure you have enough film to work with. It's always better to have too much than not enough! Write down these measurements.
Step 3: Apply the Double-Sided Tape

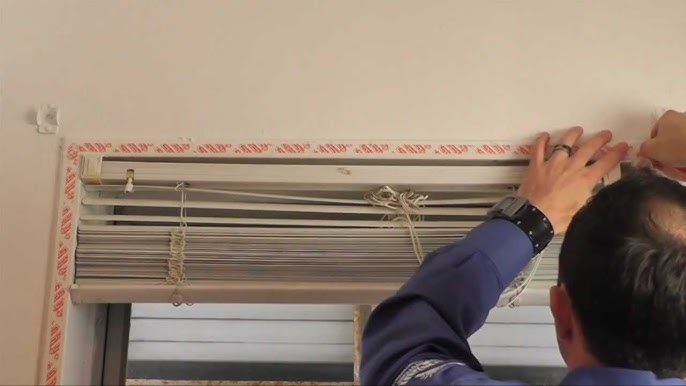
Apply the double-sided tape around the entire perimeter of the inside of the window frame. Make sure the tape is applied smoothly and securely. Press firmly to ensure good adhesion. This tape is the foundation of your airtight seal, so take your time and do it right.
Step 4: Cut the Plastic Film
Using your measurements from Step 2, cut a piece of plastic film that is slightly larger than the window frame. It's better to err on the side of caution and cut it a little too big. You can always trim off any excess later. Lay the film flat on a clean surface before cutting.
Step 5: Attach the Film to the Tape
Carefully peel off the backing from the double-sided tape, exposing the adhesive. Starting at the top of the window, gently attach the plastic film to the tape. Work your way down and around the entire frame, smoothing out any wrinkles or air bubbles as you go. The goal is to get the film as taut as possible before shrinking it.
Step 6: Shrink the Film with a Hair Dryer

Plug in your hair dryer and set it to a medium heat setting. Hold the hair dryer a few inches away from the film and move it slowly and evenly across the surface. You'll see the film begin to shrink and tighten as it heats up. Continue shrinking the film until it is smooth, taut, and wrinkle-free. Be careful not to overheat any one spot, as this could damage the film.
Step 7: Trim Excess Film (Optional)
If there is any excess film around the edges of the window frame, carefully trim it off with scissors or a utility knife. Be careful not to cut into the tape or damage the window frame.
Step 8: Admire Your Work!
Step back and admire your handiwork! You've just successfully insulated your window and taken a significant step towards a warmer, more energy-efficient home. Compare this window to one without the film -- feel the difference!
Troubleshooting Tips
- Tape Not Sticking? Make sure the window frame is clean and dry. You can also try wiping the frame with rubbing alcohol to remove any lingering residue.
- Wrinkles in the Film? Reheat the wrinkled area with the hair dryer and gently smooth it out with your hand.
- Film Tearing? You may be overheating the film or pulling it too tight. Reduce the heat setting on your hair dryer and be more gentle when applying the film.
- Condensation Between the Film and Window? This indicates that the seal is not airtight. Double-check that the tape is applied securely and that the film is properly shrunk. You may need to reapply the film.
Estimated Savings and Return on Investment
The exact amount you'll save on your heating bills will depend on several factors, including the size and number of windows you insulate, the severity of your climate, and the efficiency of your existing heating system. However, as mentioned earlier, you can typically expect to save 10-20% on your heating costs. For a homesteader spending $500-$1000 on heating fuel each winter, that could translate to savings of $50-$200! With a project cost of only $1-$3 per window, the return on investment is excellent. Plus, the added comfort and peace of mind are priceless.
Beyond Windows: Other Homesteading Energy-Saving Tips
While window insulation is a great starting point, there are many other ways to improve your home's energy efficiency. Consider these additional homesteading tips:
- Seal Drafty Doors: Use weather stripping to seal gaps around doors.
- Insulate Your Attic: Proper attic insulation can significantly reduce heat loss.
- Use Heavy Curtains or Blinds: These can help to block out cold air at night and sunlight during the day.
- Close Off Unused Rooms: Reduce the amount of space you need to heat.
- Maintain Your Heating System: Regularly clean and service your woodstove or furnace to ensure it's running efficiently.
Ready to Get Started?
DIY window insulation is a simple, affordable, and effective way to reduce your heating bills and increase your home's resilience. It's a perfect project for thrifty homesteaders looking to embrace self-sufficiency and sustainability. So, gather your supplies, follow our step-by-step guide, and get ready to enjoy a warmer, cozier, and more affordable winter. Now that you know how to winterize windows for homesteaders, what are you waiting for?
What are your favorite window insulation tips and tricks? Share your experiences in the comments below! Don't forget to subscribe to the Better Homes and Harvests newsletter for more homesteading advice and stay tuned for related articles on other energy-saving projects like DIY door draft stoppers and efficient wood burning techniques. Start saving money with this DIY window insulation this winter!