Unearth the Secrets to a Cool, Sustainable Summer: Share Your DIY Root Cellar Build!
For generations, the root cellar has been a cornerstone of self-sufficiency and food preservation. The ability to store the bounty of your garden through the winter months is not only practical but incredibly rewarding. Here at Better Homes and Harvests, we're passionate about empowering our readers to embrace a more sustainable lifestyle. That's why I'm excited to share my personal journey of building a DIY root cellar! It was a challenging but ultimately fulfilling project that has dramatically changed how my family approaches food storage.
This isn't just a how-to guide; it's a story of overcoming obstacles, learning new skills, and connecting more deeply with the food we eat. Come along as I walk you through the entire process, from initial planning to the joy of pulling that first perfectly preserved potato from the cool, dark depths of our very own root cellar.
Why Build a Root Cellar? My Personal Motivation
Before diving into the nuts and bolts, let's talk about why. Why dedicate time, energy, and resources to building a root cellar in the age of refrigerators and freezers? For me, it was about several things: reducing our reliance on store-bought produce, minimizing food waste, and embracing a more sustainable way of life. There's a certain satisfaction that comes from knowing you're eating food you grew yourself, preserved naturally, without the need for electricity. Plus, the taste and texture of vegetables stored properly in a root cellar are simply superior. Imagine biting into a crisp apple in January that tastes like it was just picked from the tree!
Planning and Site Selection: Laying the Groundwork
Building a root cellar starts long before you dig the first shovelful of dirt. Careful planning and site selection are crucial for success.
- Location, Location, Location: The ideal location is a north-facing slope, which provides natural shade and helps maintain a cooler temperature. Avoid low-lying areas prone to flooding or areas with a high water table. We learned this the hard way! Our first chosen spot, while conveniently close to the garden, turned out to be surprisingly damp. A soil test revealed a higher water table than anticipated. We had to relocate about 50 feet uphill.
- Accessibility: Consider how easily you'll be able to access your root cellar, especially during the winter months. You don't want to be trekking through deep snow just to grab some potatoes!
- Size: Think about how much storage space you need. Factor in your garden's yield, your family's consumption habits, and the types of vegetables you plan to store. We opted for an 8x10 foot cellar, which seems perfect for our needs.
- Building Codes and Permits: Check with your local authorities to see if any permits are required for building a root cellar on your property.
Digging Deep: Excavation and Foundation
This is where the real work begins!
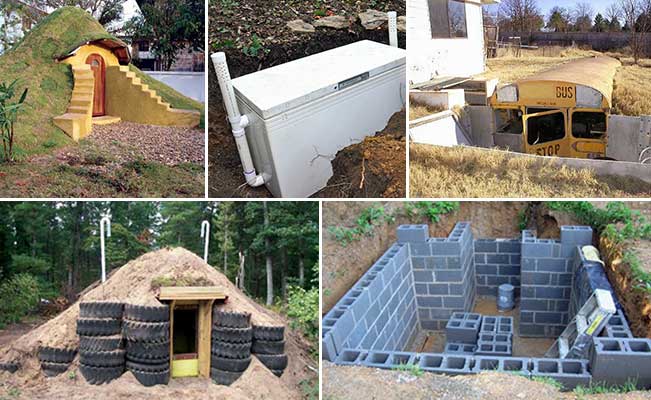
- Tools and Equipment: You'll need shovels, picks, wheelbarrows, levels, measuring tapes, and potentially a backhoe or excavator depending on the size and scope of your project. We rented a small excavator, which saved us a considerable amount of time and back pain.
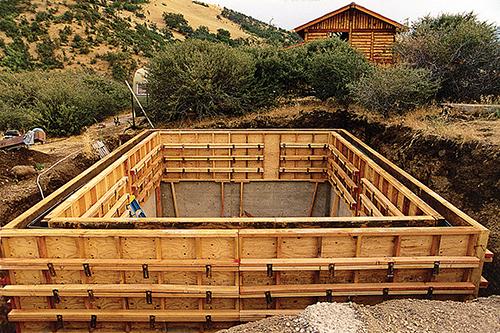
- Excavation: Carefully excavate the area, ensuring the walls are stable and the floor is level. This is particularly important if you're building a partially or fully underground cellar.
- Foundation: A solid foundation is essential to prevent settling and water infiltration. We opted for a concrete slab foundation, which provides a durable and waterproof base. Ensure proper drainage around the foundation to prevent water from pooling.
Walls, Roof, and Insulation: Creating a Stable Environment
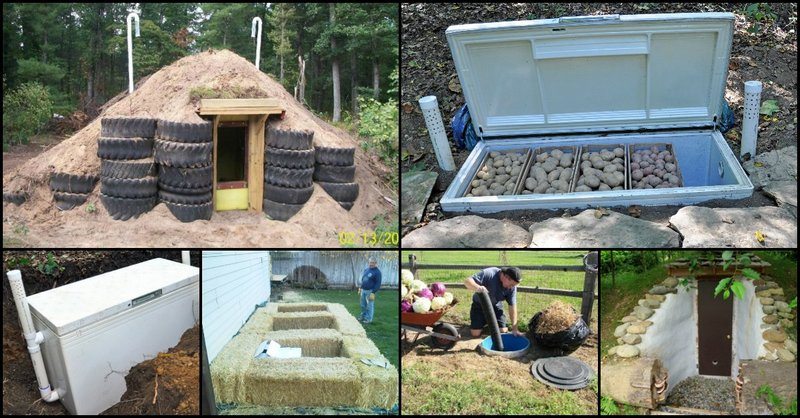
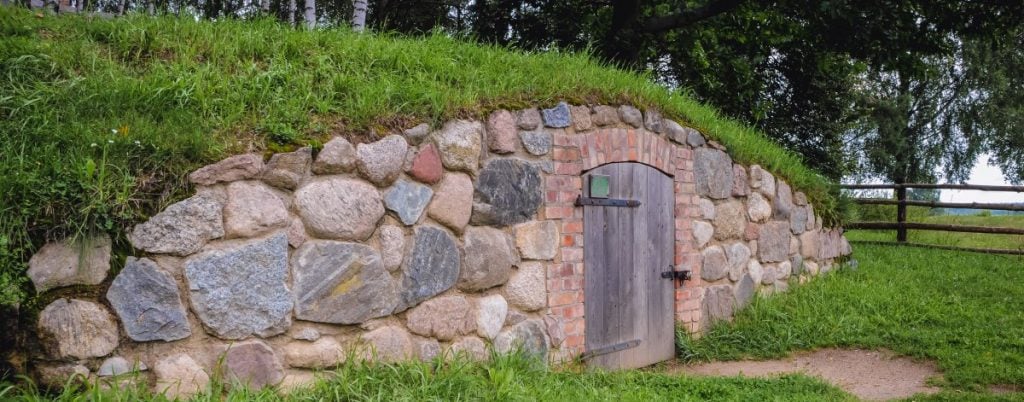
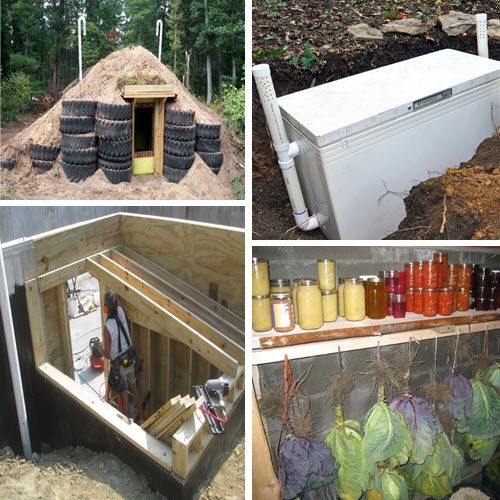
- Wall Construction: There are several options for wall construction, including concrete blocks, poured concrete, or even repurposed materials like tires filled with earth. We chose concrete blocks for their durability and ease of installation. Make sure to stagger the joints for added strength.
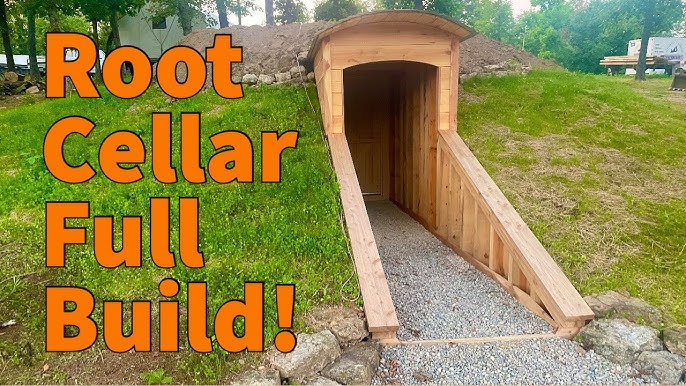
- Roofing: The roof is crucial for keeping out rain and snow. We built a simple, sloped roof using pressure-treated lumber and covered it with a waterproof membrane. Consider adding a layer of soil on top of the roof for added insulation and to blend the root cellar into the landscape. This practice is known as earth sheltering.
- Insulation: Proper insulation is key to maintaining a consistent temperature inside the root cellar. We used rigid foam insulation on the walls and roof, ensuring all seams were sealed to prevent air leaks.
Ventilation and Humidity Control: The Secret to Long-Term Storage
- Ventilation: Adequate ventilation is essential for removing excess moisture and preventing mold growth. We installed two ventilation pipes: one near the floor to draw in cool air and one near the ceiling to exhaust warm, moist air. Adjustable dampers allow us to control the airflow.
- Humidity: Maintaining the right humidity level is crucial for preserving different types of produce. Root crops like potatoes and carrots require high humidity, while onions and garlic prefer a drier environment. We use a simple hygrometer to monitor the humidity and adjust the ventilation accordingly.
Shelving and Storage: Organizing Your Harvest
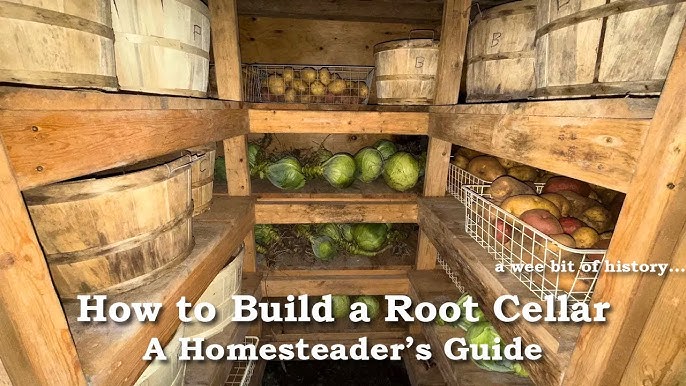
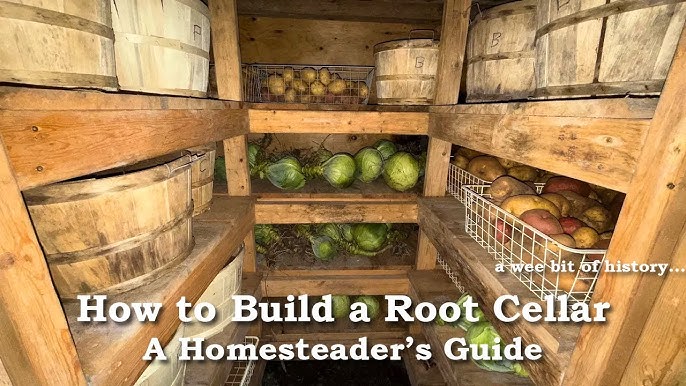
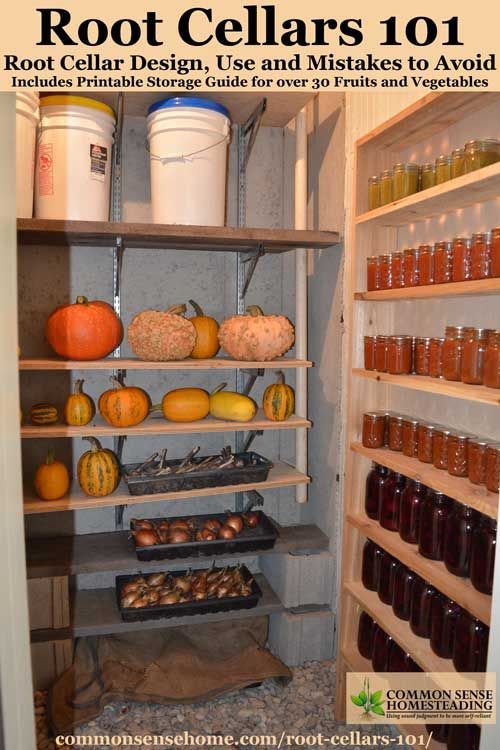
- Shelving: Install sturdy shelving to maximize storage space. We built our shelves using untreated lumber, as treated lumber can leach chemicals into your produce.
- Storage Containers: Use appropriate storage containers for different types of vegetables. Wooden crates, baskets, and even burlap sacks can be used to store root crops. Onions and garlic can be hung in mesh bags.
Finishing Touches and Pest Control: Protecting Your Investment
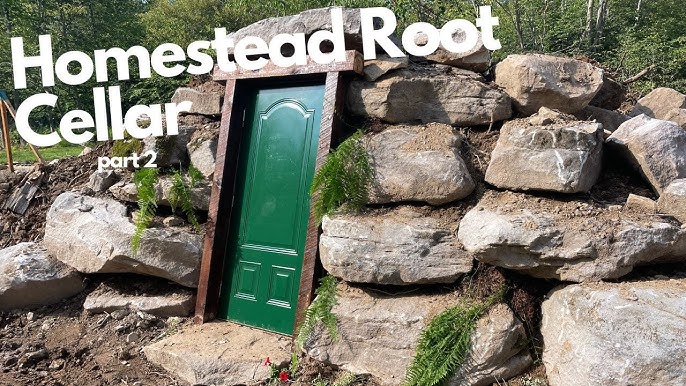
- Entrance: Build a sturdy door with a tight seal to keep out pests and maintain a consistent temperature. We added a second, insulated door for added protection during the coldest months.
- Pest Control: Take steps to prevent rodents and insects from entering your root cellar. Seal any cracks or openings, and consider using traps or natural repellents.
- Organization: Label your shelves and storage containers to easily find what you're looking for. Keep a record of what you've stored and when, so you can track your inventory.
Cost and Time Commitment: A Realistic Estimate
Building a DIY root cellar is a significant investment of time and money. The cost can vary depending on the size, materials used, and whether you rent equipment. We estimate that our root cellar cost around $2,000 in materials and took about six weeks of part-time work to complete. This figure excludes the value of our own labor, of course.
The time commitment will vary based on your construction skills and available help.
Expected Temperature and Humidity Ranges: What to Store
Our root cellar maintains a temperature range of 35-45°F (2-7°C) and a humidity level of 80-90% during the winter months. These conditions are ideal for storing root crops like potatoes, carrots, beets, and turnips. Apples, pears, and cabbage also store well in these conditions. Onions and garlic prefer a cooler, drier environment, so we store them in a separate, well-ventilated area.
The Reward: Savoring the Taste of Self-Sufficiency
There's nothing quite like the feeling of walking into your root cellar on a cold winter day and selecting fresh, homegrown vegetables for your family's meal. The taste of a perfectly preserved potato, roasted to perfection, is a testament to your hard work and dedication to sustainable living. It's a reminder that you can take control of your food supply and enjoy the fruits (and vegetables!) of your labor year-round.
Building a root cellar is a challenging but incredibly rewarding project that will transform your approach to food preservation and homesteading. It's a tangible step towards a more self-sufficient and fulfilling lifestyle. So, are you ready to unearth the secrets of a cool, sustainable summer?
What are your favorite vegetables to store in a root cellar, and what challenges have you faced with food preservation? Share your experiences in the comments below! We'd love to hear from you!
You might also find our article on vegetable gardening helpful: [link to related Better Homes and Harvests article on vegetable gardening].
And if you are considering raising chickens as well for a more self-sufficient homestead, take a look at our guide to building a chicken coop: [link to related Better Homes and Harvests article on building a chicken coop].
