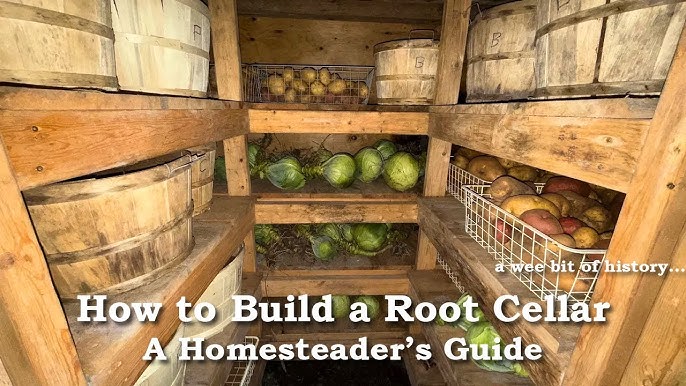
Unearth the Secrets of Year-Round Freshness: Your Step-by-Step Guide to Building a Low-Cost Root Cellar for Better Homes and Harvests
Imagine biting into a crisp, sweet carrot in the dead of winter, its earthy flavor a vibrant reminder of summer's bounty. It’s not just a fantasy; it’s the reality of root cellaring. For those of us striving for self-sufficiency and a deeper connection with our food, a root cellar is more than just a storage space – it's a pantry that connects us to the land and reduces our reliance on grocery store produce, especially during the colder months. I remember one particularly harsh winter when our family was snowed in for weeks. Without our root cellar stocked with potatoes, onions, and apples, we would have been relying solely on expensive, shipped-in produce. That experience cemented the value of a well-built root cellar in my mind.
This guide is designed to empower even beginner homesteaders to build their own affordable, partially underground root cellar using readily available materials. Let's dive in!
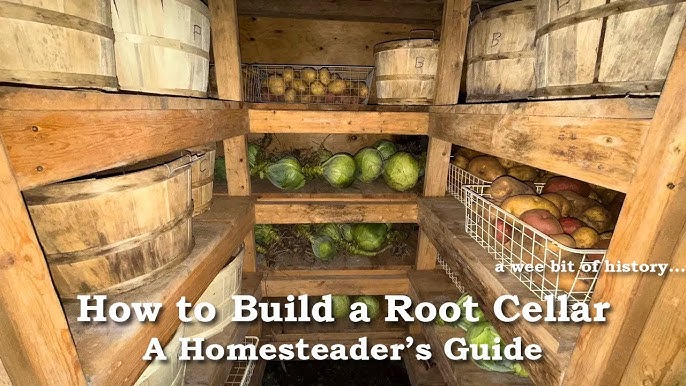
Why a Root Cellar Matters for the Modern Homesteader
Root cellaring offers a multitude of benefits, aligning perfectly with the values of self-sufficiency and sustainable living.
- Preserves your harvest: Extends the shelf life of fruits and vegetables, reducing food waste.
- Saves money: Reduces the need to buy produce during the off-season.
- Promotes self-sufficiency: Increases your independence from the commercial food system.
- Enhances flavor: Some vegetables, like potatoes, actually taste better after being stored in a root cellar!
- Reduces your carbon footprint: Less reliance on transportation of produce.
Planning & Preparation: Laying the Groundwork for Success
Before you start digging, careful planning is crucial.
1. Site Selection:
- Drainage: The most important factor! Choose a location with good drainage to prevent flooding. A slight slope is ideal. Avoid low-lying areas where water tends to accumulate.
- Sunlight: Opt for a shady location, ideally on the north side of a building or under trees, to minimize temperature fluctuations. Direct sunlight can heat the cellar too much.
- Accessibility: Consider how easily you can access the cellar, especially during winter when snow and ice may be present. A location close to your house is convenient.
- Soil Type: Well-draining soil (sandy loam) is best. If you have heavy clay soil, you'll need to improve drainage with gravel or drainage tiles.
2. Size Determination:
Estimate the amount of produce you typically harvest and plan accordingly. A small root cellar (4ft x 6ft) may be sufficient for a small family, while a larger one (8ft x 12ft) is better for larger families or more extensive gardens. Consider vertical space as well by using shelving to maximize storage.
3. Material Sourcing:
The key to an affordable root cellar is using readily available and repurposed materials. Here are some options:
- Walls: Repurposed concrete blocks, reclaimed lumber, straw bales (with proper protection from moisture).
- Roof: Reclaimed lumber, corrugated metal roofing, heavy-duty plastic sheeting (covered with soil for insulation).
- Door: Reclaimed wood door or a simple, insulated wooden frame covered with plywood.
- Insulation: Straw, hay, leaves, or rigid foam insulation (if budget allows).
- Gravel: For drainage around the foundation.
4. Obtain Necessary Permits:
Check with your local building department to determine if any permits are required before you begin construction.
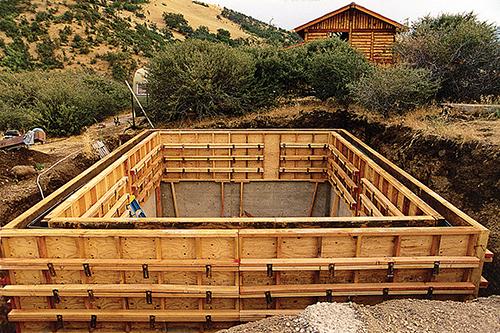
Step-by-Step Instructions: Building Your Affordable Root Cellar
This guide focuses on a partially underground root cellar with concrete block walls and a simple wooden roof.
Step 1: Excavation (The Dirty Work!)
- Dig a hole to the desired dimensions and depth (typically 3-4 feet deep). Make sure the walls are straight and the bottom is level.
- Allow for extra space around the perimeter for drainage and wall construction.
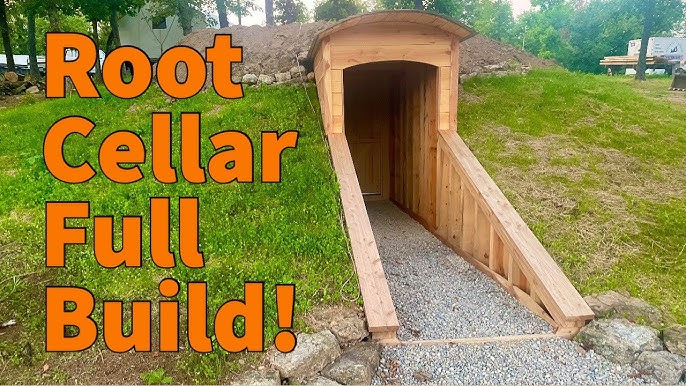
Step 2: Foundation and Drainage
- Add a layer of gravel (4-6 inches) to the bottom of the excavation for drainage.
- Level the gravel and compact it. This provides a stable base for the walls and helps prevent water from seeping into the cellar.
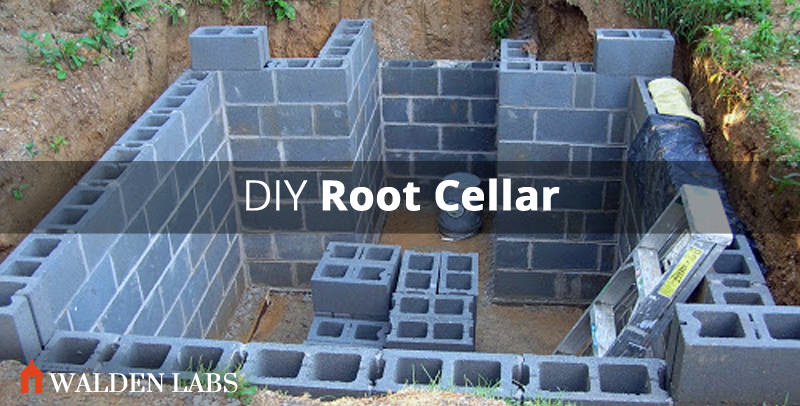
Step 3: Wall Construction
- Lay the first course of concrete blocks on the gravel foundation, ensuring they are level.
- Stagger the joints between each course of blocks for added strength.
- Use mortar to bind the blocks together. If using straw bales, stack them tightly and secure them with stakes.
- Build the walls to the desired height, leaving an opening for the door.
Step 4: Roofing
- Construct a simple wooden frame for the roof using reclaimed lumber. Ensure the frame is strong enough to support the weight of the soil covering.
- Cover the frame with corrugated metal roofing or heavy-duty plastic sheeting.
- Add a layer of insulation (straw, hay, or rigid foam) over the roofing material.
- Cover the insulation with a layer of soil (6-12 inches) for added insulation and to help maintain a stable temperature.
Step 5: Door Installation
- Build or install a door in the opening. Ensure the door fits snugly to prevent drafts and rodent entry.
- Insulate the door with foam or weather stripping.
Step 6: Ventilation
- Install a ventilation pipe (4-inch PVC pipe works well) to allow for air circulation. The pipe should extend from near the floor to above ground level.
- Cover the opening of the pipe with mesh to prevent rodent entry. You can also add a damper to control airflow.
Step 7: Interior Finishing
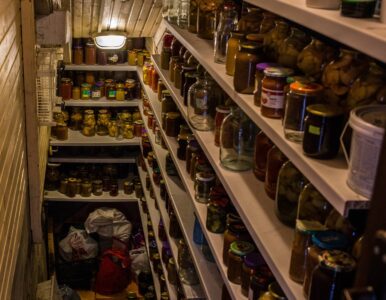
- Add shelving to maximize storage space. Use untreated wood to avoid contaminating your produce.
- Consider adding a dirt floor for optimal humidity. If you prefer a cleaner surface, you can use gravel or concrete pavers.
Materials List (with Budget Estimates):
- Concrete blocks (repurposed): $50 - $150
- Reclaimed lumber: $50 - $100
- Corrugated metal roofing/Plastic sheeting: $30 - $70
- Mortar: $20
- Gravel: $30
- Insulation (straw/hay): $20 - $40
- Door (reclaimed): $0 - $50
- Ventilation pipe: $10
- Mesh: $5
- Total Estimated Cost: $215 - $475
Note: These are estimates, and costs will vary depending on location and availability of repurposed materials.
Troubleshooting & Maintenance: Keeping Your Root Cellar in Tip-Top Shape
- Excess Moisture: Improve drainage around the cellar. Add more ventilation. Consider using a dehumidifier in extreme cases.
- Insufficient Ventilation: Enlarge the ventilation pipe or add another one.
- Temperature Fluctuations: Add more insulation to the roof and walls. Ensure the door is well-sealed.
- Rodents: Seal any cracks or openings in the walls. Use wire mesh to cover ventilation openings. Consider using traps.
- Mold: Improve ventilation and reduce humidity. Clean affected areas with a bleach solution.
Storage Tips: Maximizing Shelf Life
- Potatoes: Store in a dark, cool, and humid environment (38-42°F, 90% humidity). Avoid storing with apples, as they emit ethylene gas, which can cause potatoes to sprout.
- Carrots: Store in damp sand or sawdust to maintain moisture.
- Apples: Store in a cool, slightly humid environment (32-40°F, 85-90% humidity). Handle carefully to avoid bruising.
- Onions: Store in a cool, dry, and well-ventilated environment (32-36°F, 65-70% humidity). Hang them in mesh bags or crates.
- Cabbage: Store in a cool, humid environment (32-40°F, 85-95% humidity). Wrap heads in newspaper to prevent drying.
Ready to Dig In?
Building a root cellar is a rewarding project that can significantly enhance your homesteading lifestyle. While it requires some effort, the payoff of having fresh, homegrown produce available throughout the winter is well worth it. We encourage you to share your own root cellaring experiences and ask any questions you may have in the comments section below. Let's build a community of thriving homesteaders, one root cellar at a time!
As a bonus, sign up for our newsletter and receive a downloadable checklist of materials and tools needed for your weekend root cellar project! (Email address collection form here – optional).