Unearth the Rainbow: Natural Dyes from Your Fall Harvest
As the leaves transform into a breathtaking tapestry of reds, oranges, and yellows, and pumpkins and gourds adorn our porches, we can't help but feel inspired by the vibrant colors of fall. It’s a season of rich hues and cozy comforts, and what better way to bring those colors into our homes and wardrobes than with natural dyes made from our very own fall harvest? Natural dyeing is a sustainable, rewarding, and deeply connected homestead project that allows us to transform garden and kitchen waste into unique, beautiful, and eco-friendly colors. Let's explore how to unearth a rainbow of colors from your fall garden!

Gathering Your Fall Dye Materials
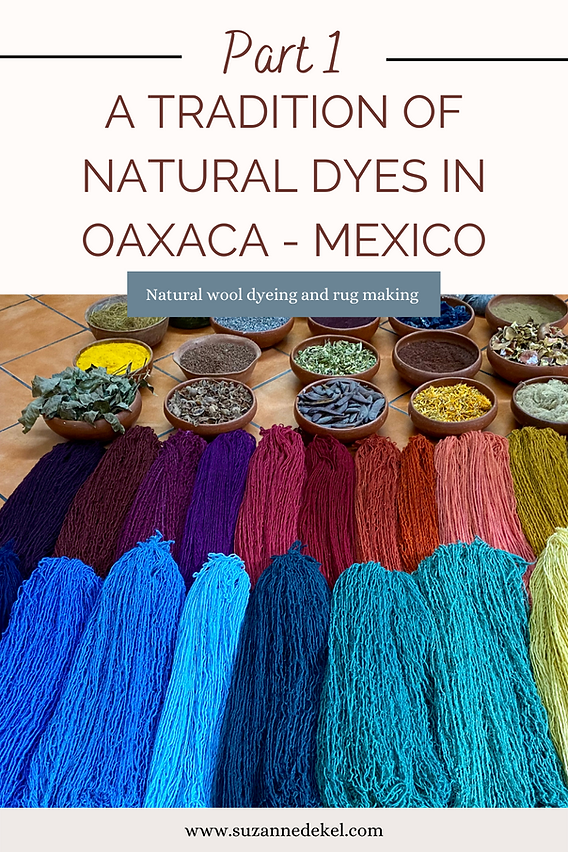
One of the most exciting aspects of natural dyeing is discovering the hidden potential within everyday items. Your fall garden and kitchen are treasure troves of dye materials waiting to be unlocked. Here's a guide to some readily available dye sources:
- Onion Skins: Don't toss those onion skins! They yield beautiful yellows and oranges, perfect for adding warmth to your textiles. Collect both yellow and red onion skins for a range of shades.
- Black Walnuts: These nuts provide rich, earthy browns that are ideal for creating a rustic, homestead aesthetic. Be mindful when handling them, as they can stain your hands!
- Marigolds: These cheerful flowers offer vibrant yellows and oranges, adding a pop of sunshine to your dyed goods. The more marigolds you use, the more intense the color will be.
- Beets: The deep crimson of beets translates into gorgeous pinks and purples. Remember that beet-dyed colors can be somewhat fugitive (prone to fading), so consider using a mordant and careful washing.
- Red Cabbage: Surprisingly, red cabbage can create beautiful blues and purples, depending on the pH of your dye bath. Experimenting with additives like vinegar or baking soda can shift the color.
- Pomegranate Rinds: These often-discarded rinds produce lovely yellows and tans, offering a subtle, earthy palette.
- Avocado Pits and Skins: While technically available year-round, avocados are often more prevalent during the fall. The pits and skins create surprisingly beautiful pinks and peaches. The key here is cleaning them and then simmering for optimal color extraction.
When collecting dye materials, keep in mind the weight-to-fabric ratio. A general rule of thumb is to use at least an equal weight of dye material to the weight of the fabric you're dyeing. For deeper, more saturated colors, you may need to use even more dye material.
If you're foraging for dye materials from wild sources, remember to practice ethical harvesting. Avoid over-harvesting and only take what you need, leaving plenty for the plants to regenerate and for wildlife.
Before you can dye, you'll also need a mordant, which helps the dye bond to the fabric. Common mordants include alum (potassium aluminum sulfate) and iron (ferrous sulfate).
![Variety autumn vegetables and fruits colorful display]
Preparing Your Fabric and Dye Bath
Before you even think about immersing your fabric in the dye bath, proper preparation is key. This involves scouring and mordanting.
Scouring: Scouring is essentially a thorough pre-wash to remove any sizing, oils, or impurities from the fabric. These impurities can prevent the dye from properly bonding to the fibers, resulting in uneven or faded colors. To scour your fabric, wash it in hot water with a pH-neutral detergent. Rinse thoroughly until the water runs clear.
Mordanting: Mordanting is the process of treating the fabric with a mordant, a substance that helps the dye molecules bind to the fabric fibers. Without a mordant, the dye may wash out easily, resulting in a less vibrant and less permanent color.
A simple recipe for mordanting with alum is as follows:
- Weigh your fabric.
- Use alum at a rate of 15-20% of the weight of the fabric (WOF). For example, if your fabric weighs 100 grams, you'll need 15-20 grams of alum.
- Dissolve the alum in hot water in a large pot.
- Add the scoured fabric to the pot, ensuring it's fully submerged.
- Simmer for at least one hour, stirring occasionally.
- Let the fabric cool in the mordant bath.
- Remove the fabric and rinse it gently.
Now it's time to prepare your dye bath. The process will vary slightly depending on the dye material you're using, but here's a general guideline:
- Chop or crush your dye materials to help release their color.
- Place the dye materials in a large pot and cover them with water.
- Simmer over low heat for at least one hour, or longer for deeper colors. The longer you simmer, the more color you'll extract.
- Strain the dye bath through a fine-mesh sieve or cheesecloth to remove any solid particles.
![Untreated and treated fabric showing subtle differences in color]
The Dyeing Process: A Step-by-Step Guide
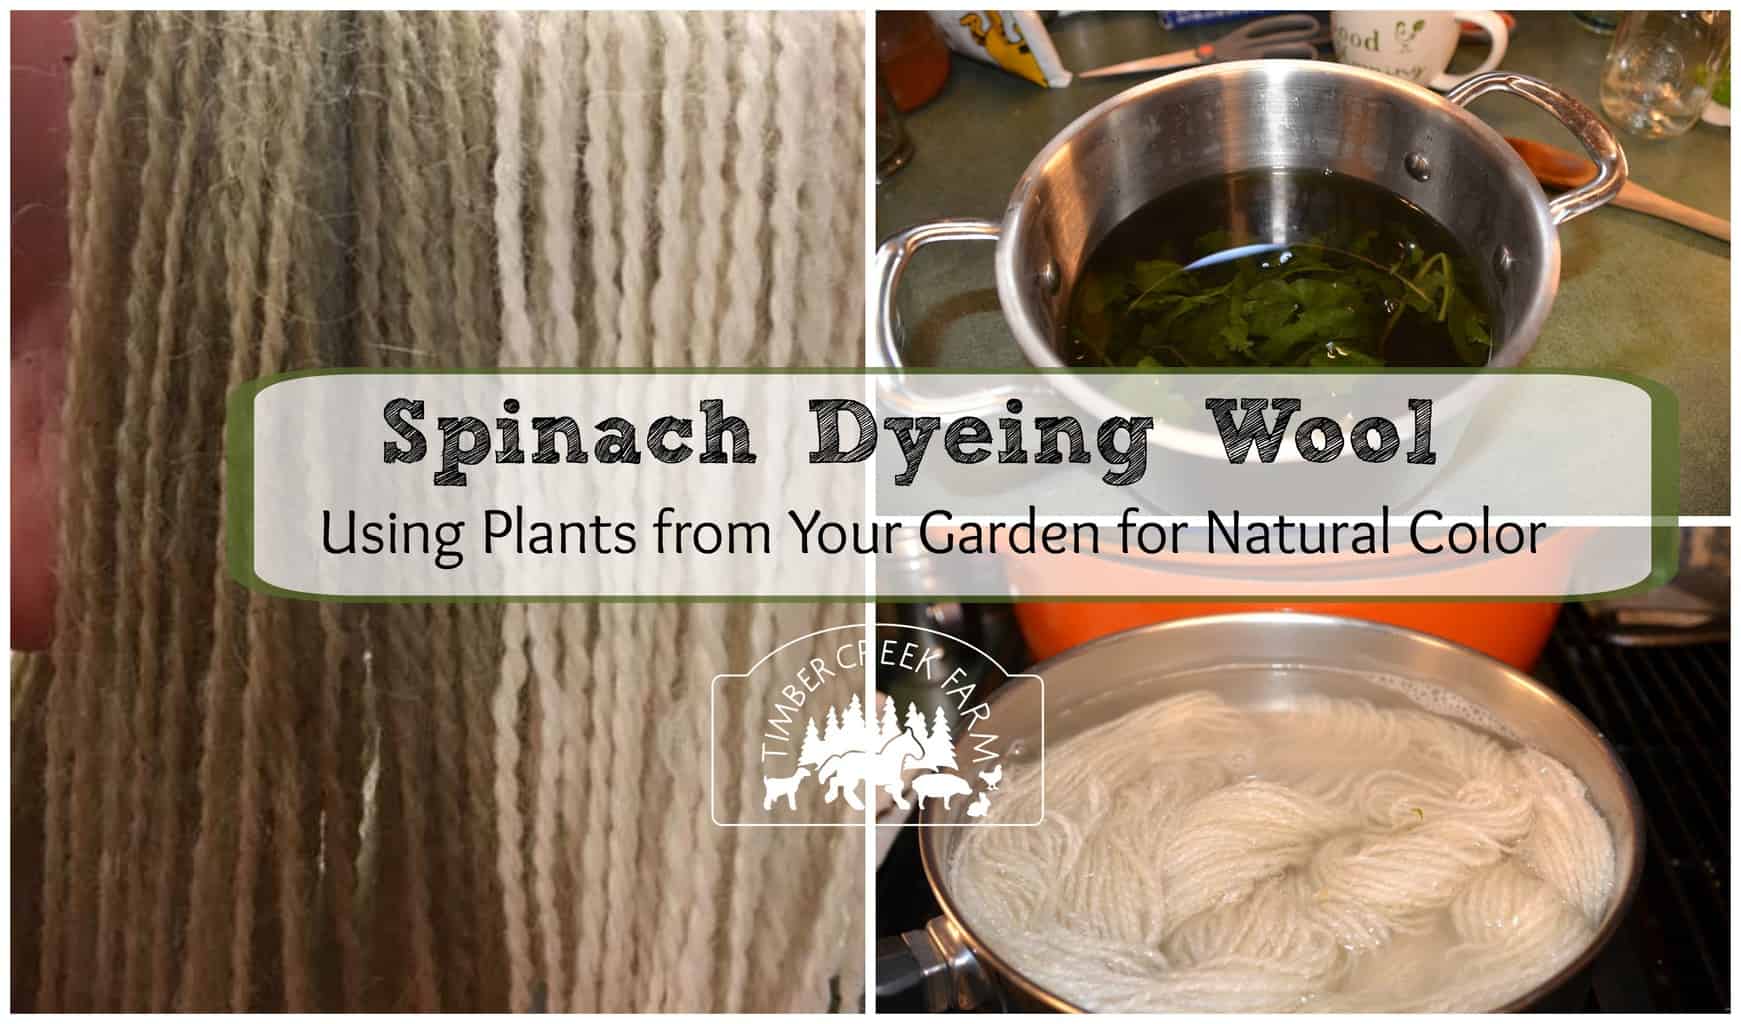
Now for the main event: the dyeing process! Here's a step-by-step guide to achieving beautiful, naturally dyed results:
- Soak your mordanted fabric in water for at least 30 minutes before dyeing. This helps the fabric absorb the dye more evenly.
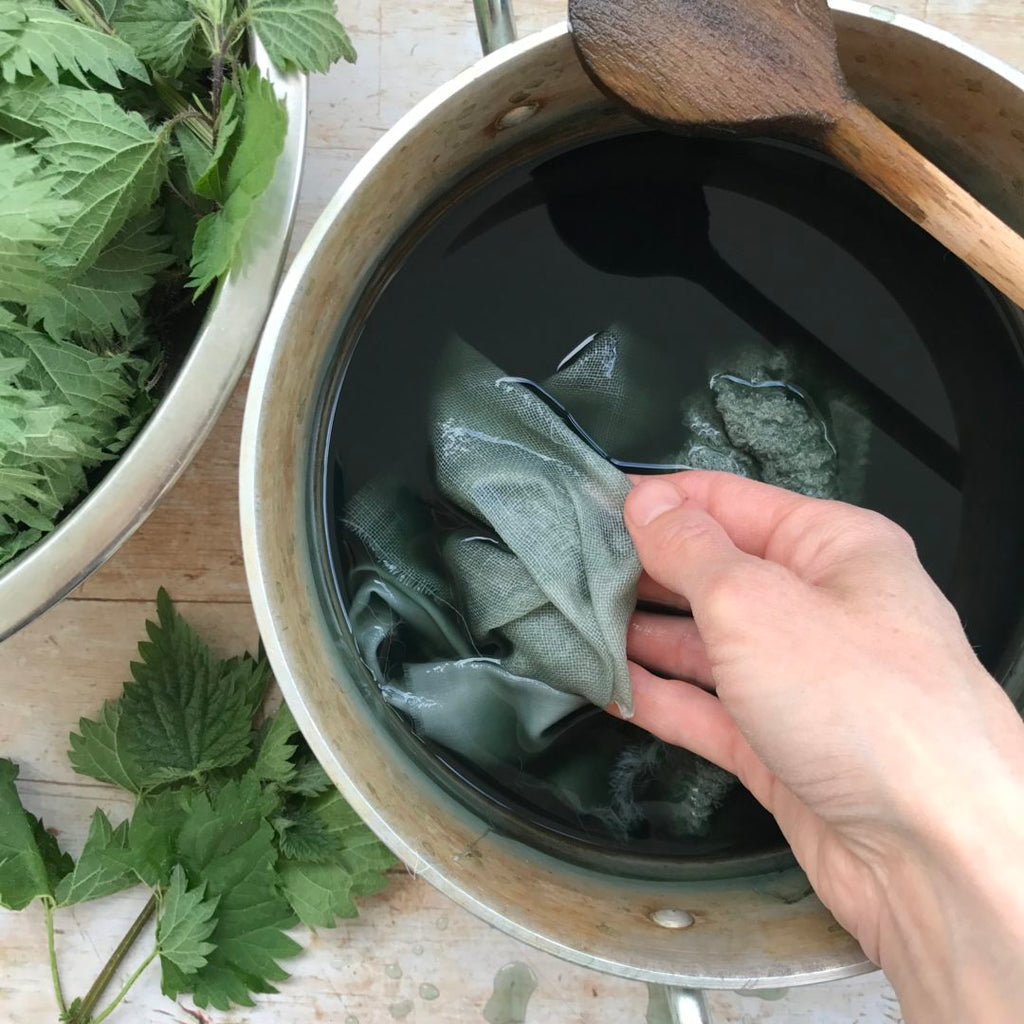
- Gently add the wet fabric to the dye bath, ensuring it's fully submerged.
- Simmer over low heat for 1-2 hours, or longer for deeper colors. The longer you dye, the more intense the color will be.
- Stir the fabric frequently to ensure even dyeing.
- After the desired dyeing time, turn off the heat and let the fabric cool completely in the dye bath. This allows the dye to fully penetrate the fibers.
Troubleshooting Tips:
- Uneven dyeing: Make sure the fabric is fully submerged in the dye bath and stirred regularly. You can also try using a larger pot to allow for more even distribution of the dye.
- Light color: Increase the dyeing time or use a higher concentration of dye material.
- Modifying Color with pH: Experiment with adding small amounts of vinegar (acid) or baking soda (alkaline) to the dye bath to shift the color. For example, adding vinegar to a red cabbage dye bath can intensify the purple color, while adding baking soda can shift it towards blue.

Aftercare: Rinsing and Setting the Dye
Proper aftercare is essential for preserving the color and longevity of your naturally dyed creations.
- Thoroughly rinse the dyed fabric in cool water, gradually increasing to lukewarm. Rinse until the water runs clear.
- Wash the fabric with a gentle, pH-neutral soap. Avoid harsh detergents, which can strip the color.
- To further set the dye, you can soak the fabric in a vinegar solution (1/4 cup vinegar per gallon of water) for 30 minutes.
- Dry the fabric in the shade or indoors, away from direct sunlight, which can fade the color.
![Dyed fabric hanging drying outdoors gentle breeze]
Creative Projects with Your Naturally Dyed Fabric
Now that you have your beautifully dyed fabric, it's time to get creative! Here are a few project ideas to inspire you:
- Dye scarves, bandanas, or tote bags to add a personal touch to your accessories.
- Create unique quilt squares for a one-of-a-kind heirloom.
- Upcycle old clothing by dyeing it with natural colors to give it a new lease on life.
- Make handmade gifts for friends and family, imbued with the colors of your garden.
- Dye yarn for knitting or crocheting, creating unique and sustainable fiber art.
Embrace the unique and unpredictable nature of natural dyeing. Each batch of dye will be slightly different, resulting in one-of-a-kind creations. The imperfections are part of the charm and tell the story of your connection to nature.

As the air turns crisp and the leaves fall, we hope you’re feeling inspired to experiment with the vibrant colors nature provides. The process of creating something beautiful from what would otherwise be discarded fosters a deeper connection to our environment and our creativity. Don’t be afraid to get your hands dirty, embrace the unexpected, and unearth the rainbow that awaits you in your fall harvest! Now it's your turn. What fall bounty will you transform into a vibrant dye? Share your natural dyeing experiments in the comments below! We would love to hear from you.