Turning Raindrops into Resources: A DIY Rainwater Harvesting Guide for the Sustainable Homesteader
For years, I watched precious rainwater sheet off my roof and disappear into the ground, a fleeting resource lost to the whims of gravity. It felt like a betrayal of the land, especially during the dry summer months when my garden begged for a drink. That’s when I decided enough was enough. I needed a system to capture this liquid gold and put it to good use. My journey into rainwater harvesting began, driven by a desire for self-sufficiency and a deeper connection to the natural cycles of my homestead. It wasn't as daunting as I initially thought, and the rewards – a thriving garden and a lighter conscience – have been immeasurable. Join me as I walk you through building your own simple, budget-friendly rainwater harvesting system, using readily available repurposed materials. Let's turn those raindrops into resources!
The Practical Guide to DIY Rainwater Harvesting
This project focuses on collecting rainwater for non-potable uses such as watering your garden or providing water for livestock. While rainwater can be treated for drinking, that requires more complex filtration and purification systems, which are beyond the scope of this beginner-friendly guide. We'll be focusing on a simple, gravity-fed system.
Step 1: Gathering Your Materials
The beauty of this project lies in its affordability. We're focusing on repurposed materials to keep costs down and give new life to items that might otherwise end up in a landfill. Here’s what you'll need:
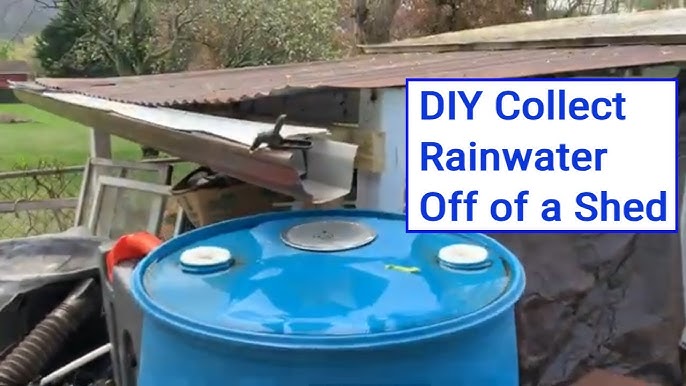
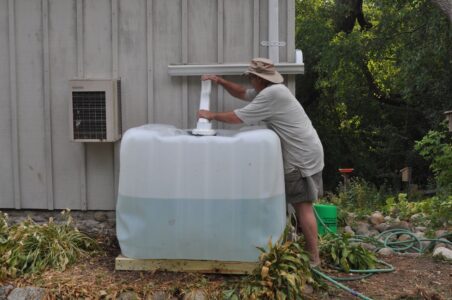
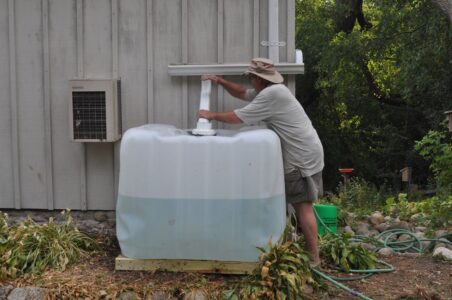
- Collection Container: An IBC tote (Intermediate Bulk Container) or a food-grade barrel (55-gallon). Look for these on online marketplaces like Craigslist or Facebook Marketplace. Ensure the container is clean and free of any harmful chemicals. Why this is important: Contamination can harm your plants and animals.
- Guttering and Downspout: If you don't already have these, you'll need to acquire them. Salvaged gutters from construction sites or online classifieds are great options. Ensure they are clean and in good condition.
- Downspout Diverter: This redirects the water from your downspout into your collection container. You can purchase one at a hardware store or even craft your own from PVC pipe (search online for DIY tutorials). Why this is important: Prevents overflow and directs water efficiently.
- Spigot/Tap: For easy access to the collected water. Choose a durable, weather-resistant spigot that can be easily attached to your collection container.
- Hose Connection (Optional): For connecting a garden hose to your system for easier watering.
- Screen or Mesh Filter: To prevent leaves, debris, and insects from entering your container. You can use window screening or a specialized rainwater filter. Why this is important: Keeps your water clean and prevents clogs.
- PVC Pipe and Fittings: For connecting the downspout diverter to the collection container. The size and length will depend on your specific setup.
- Drill with Hole Saw Attachment: For creating holes for the spigot and hose connection (if applicable).
- Silicone Sealant: To seal any connections and prevent leaks. Why this is important: Prevents water loss and ensures structural integrity.
- Level: To ensure proper placement of the container.
Step 2: Preparing Your Collection Container
Thoroughly clean your IBC tote or food-grade barrel with soap and water. Rinse it several times to remove any residue. If you are using an IBC tote that previously contained non-toxic materials (verify this!), you may want to line it with a food-grade liner for added safety.
Step 3: Installing the Spigot and Hose Connection (Optional)
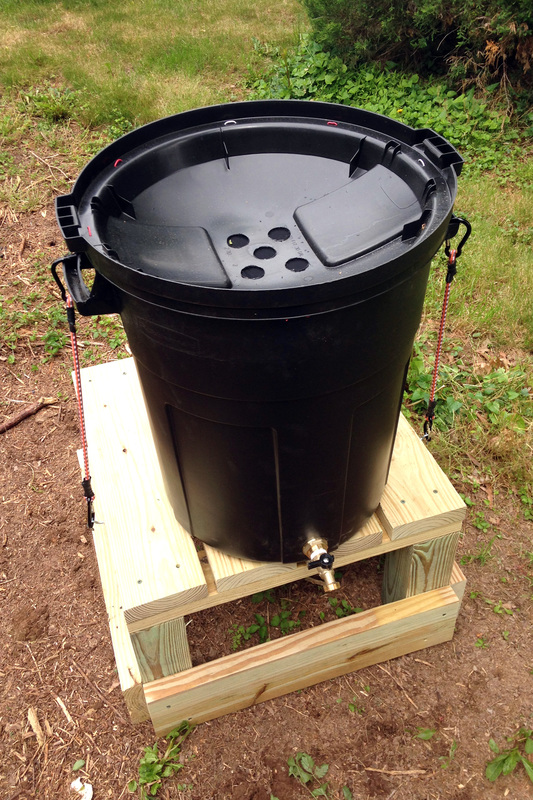
Using your drill and hole saw attachment, create a hole near the bottom of your collection container for the spigot. The size of the hole will depend on the size of your spigot. Insert the spigot and secure it tightly. Apply silicone sealant around the connection to prevent leaks. Repeat this process for the hose connection, if desired.
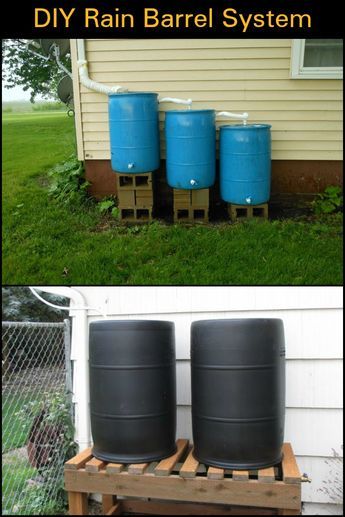
Step 4: Setting Up the Downspout Diverter
Cut your downspout to the appropriate height for installing the downspout diverter. Attach the diverter to the downspout according to the manufacturer's instructions. This usually involves clamping or screwing the diverter in place.
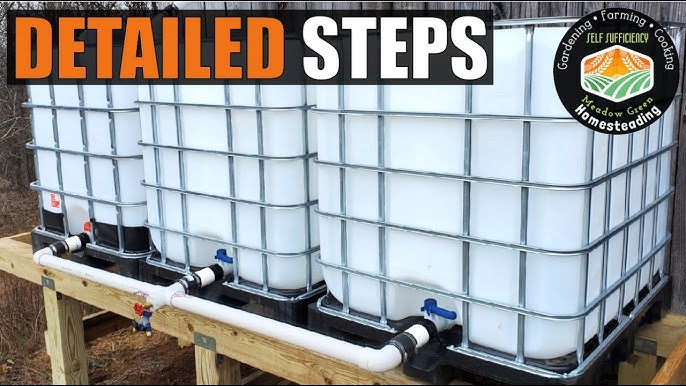
Step 5: Connecting the Downspout to the Collection Container
Use PVC pipe and fittings to connect the downspout diverter to the top of your collection container. Ensure the pipe is angled slightly downward to allow water to flow freely. Secure the pipe to the container using clamps or screws.
Step 6: Installing the Filter
Place the screen or mesh filter over the opening of your collection container to prevent debris from entering. Secure the filter with a rubber band or zip ties. You can also create a more permanent filter by attaching screen to a PVC pipe fitting that fits snugly into the container opening.
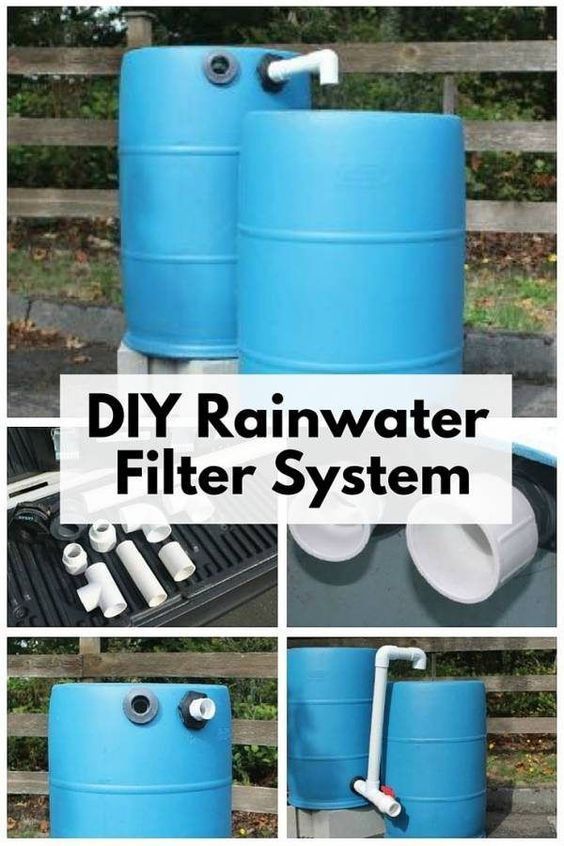
Step 7: Positioning Your Collection Container
Choose a level location near your garden or livestock area for your collection container. Elevate the container slightly on concrete blocks or a platform to increase water pressure and make it easier to fill watering cans or attach a hose. Use a level to ensure the container is perfectly level to prevent uneven water distribution. Why this is important: A stable, level base prevents tipping and ensures optimal water flow.
Step 8: First Flush Diverter (Optional, but Recommended)
Consider adding a "first flush" diverter. This simple device diverts the first few gallons of rainwater away from your tank. This initial runoff often contains the most pollutants and debris from your roof. There are many DIY plans available online using PVC pipe.
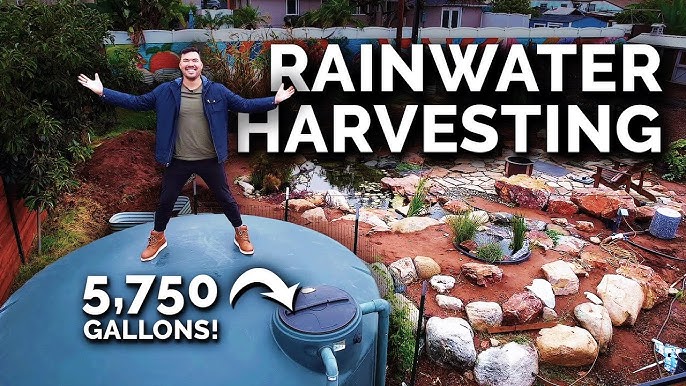
Troubleshooting & Tips for Rainwater Harvesting Success
- Finding Materials: Don't be afraid to get creative! Scour online marketplaces, local businesses, and construction sites for repurposed materials.
- Adapting the Design: Your homestead is unique, so feel free to adapt the design to fit your specific needs and resources. You might need longer PVC pipes, different fittings, or a different type of filter.
- Overflow: Plan for overflow! Connect an overflow pipe to your container to direct excess water away from your foundation.
- Mosquitoes: To prevent mosquitoes from breeding in your container, ensure the screen is securely in place and consider adding mosquito dunks (Bacillus thuringiensis israelensis or Bti) to the water. Bti is safe for plants, animals, and humans.
- Algae: Algae growth can occur in rainwater harvesting systems. Use an opaque container to block sunlight and prevent algae growth. You can also add a small amount of copper sulfate to the water to kill algae, but use caution and research safe levels for your specific needs.
- Winterizing: In colder climates, disconnect your downspout diverter and drain your collection container before freezing temperatures arrive to prevent damage.
Safety Checklist:
- Wear safety glasses when drilling or cutting materials.
- Use caution when lifting heavy objects.
- Ensure the collection container is stable and secure to prevent tipping.
- Do not use rainwater for drinking without proper filtration and purification.
- Check with your local authorities regarding any regulations or permits required for rainwater harvesting.
Harvest the Knowledge: A Call to Action
Congratulations! You've taken the first step towards a more sustainable future by building your own rainwater harvesting system. Now it's time to put it to use! Observe how much water you collect, track how it benefits your garden or livestock, and share your experiences in the comments below. What challenges did you encounter? What modifications did you make to the design? What other water-saving projects are you interested in exploring? Let's learn from each other and build a community of resourceful homesteaders!
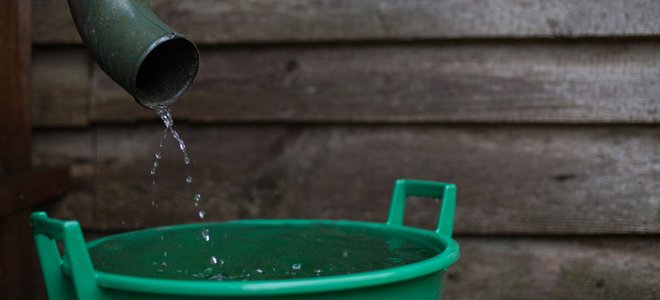
Your journey towards a more self-sufficient lifestyle starts with small steps. Building a rainwater harvesting system is a fantastic way to conserve water, reduce your reliance on municipal water sources, and connect with the natural world. Embrace the challenge, get creative, and enjoy the rewards of your hard work. Now, let's get harvesting!
