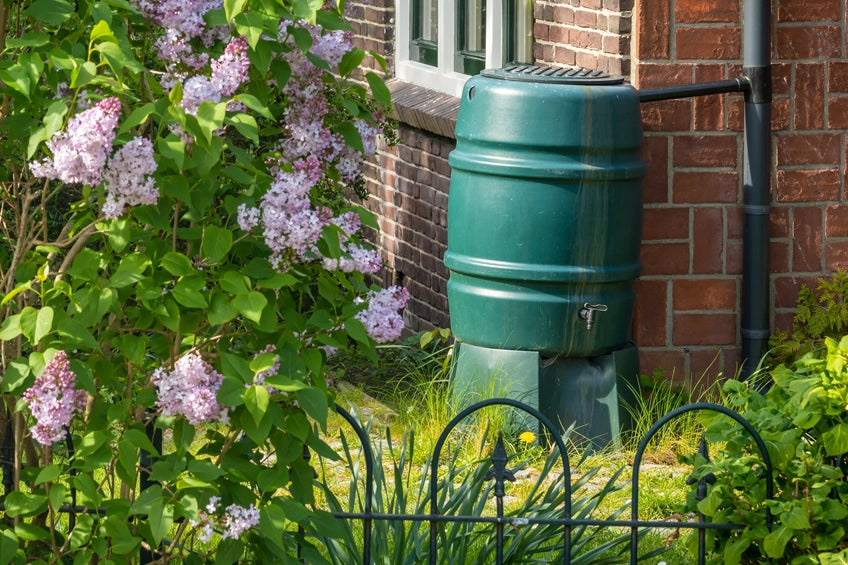
Turning Laundry into Liquid Gold: A DIY Gray Water System for Your Homestead
Ever watch the rinse cycle of your washing machine and cringe at the thought of all that perfectly good water going down the drain? I know I have. In the dry summer months, when the garden is begging for a drink, it feels almost criminal to waste so much water. We're always looking for ways to reduce our reliance on municipal water, and that's why we decided to tackle a project to recycle laundry water – also known as gray water – and put it to good use. It's a surprisingly straightforward project that can make a real difference in your water bill and your garden's health.
This DIY gray water system is designed for beginner homesteaders on a budget. It uses readily available materials, requires only basic plumbing skills, and can be completed in a weekend. Ready to turn your laundry waste into liquid gold? Let's dive in!
Project Overview
This system diverts the wastewater from your washing machine (excluding water from heavily soiled loads or loads washed with harsh chemicals) and directs it to your garden for irrigation. It’s a simple, gravity-fed system, meaning it relies on the natural elevation difference between your washing machine and your garden to distribute the water. We'll be focusing on direct subsurface irrigation, meaning the water goes directly into the soil rather than being sprayed onto the plants, minimizing evaporation and reducing the risk of foliar diseases.
Materials & Tools List
Here's a detailed list of everything you'll need. Prices are approximate and may vary depending on your location and supplier.
- 3/4" PVC Pipe: About 20 feet. ($15)
- 3/4" PVC Fittings:
- 4 x 90-degree elbows ($4)
- 2 x T-fittings ($2)
- 1 x Ball Valve ($5)
- 1 x PVC Coupling ($1)
- Flexible Hose (Washing Machine Drain Hose Replacement): Heavy duty, kink-resistant, length depends on distance to garden. ($20)
- Gravel or Crushed Rock: For drainage around the irrigation outlet. (One 5-gallon bucket - $5)
- Mulch: To cover the irrigation area and prevent evaporation. ($0 - use what you have on hand)
- In-line Filter (Optional, but recommended): To remove lint and debris. ($15-$30) Example: https://www.amazon.com/dp/B07J32W74C
- Biodegradable, Phosphate-Free Laundry Detergent: Essential for safe gray water use. ($10)
- PVC Cement and Primer: ($10)
- Tools:
- PVC Pipe Cutter or Hacksaw
- Measuring Tape
- Drill with various sized bits
- Shovel
- Gloves
- Safety Glasses
Total Estimated Cost: $77 - $92 (depending on filter choice)
Step-by-Step Instructions
Safety First! Always wear safety glasses when cutting or drilling. Work in a well-ventilated area when using PVC cement. Disconnect the power to your washing machine before working with plumbing. Always check local regulations regarding gray water systems before starting this project.
Step 1: Planning and Preparation
- Assess Your Laundry Setup: Determine where your washing machine drain currently empties. Ideally, you want a direct route to your garden with minimal obstacles.
- Choose Your Garden Area: Select an area that needs watering. Fruit trees, shrubs, or flower beds are good choices. Avoid using gray water on edible plants that come into direct contact with the soil (like lettuce or strawberries).
- Plan Your Route: Map out the path for your flexible hose and PVC piping from the washing machine to the garden. Consider burying the pipe for frost protection and aesthetics.
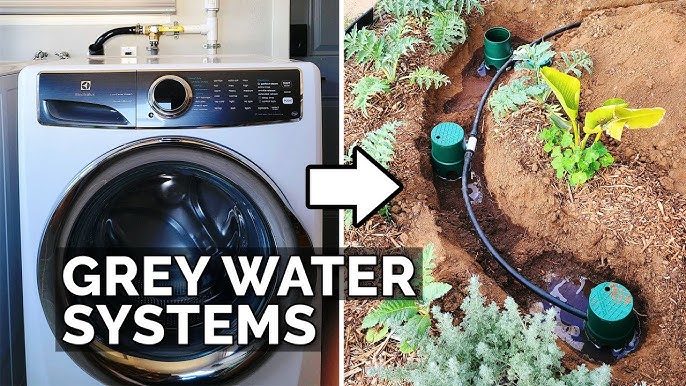
Caption: Mapping out the gray water system route from the washing machine to the garden.
Step 2: Disconnecting the Existing Drain
- Turn off the water supply to your washing machine.
- Unplug the washing machine from the electrical outlet.
- Carefully disconnect the existing drain hose from the washing machine's drain outlet. Have a bucket ready to catch any residual water.
Step 3: Installing the Diverter Valve
- Connect a PVC coupling to the washing machine's drain outlet, if necessary, to adapt it to 3/4" PVC pipe. Use PVC primer and cement to ensure a watertight seal.
- Attach the ball valve to the PVC coupling. This valve will allow you to switch between sending water to the gray water system and sending it to the original drain.
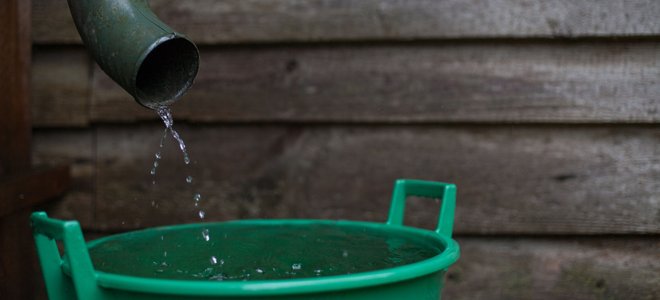
Caption: Installing the ball valve that switches between the gray water system and the original drain.
Step 4: Plumbing the PVC Pipe
- Measure and cut the PVC pipe to the required lengths to reach the flexible hose connection.
- Use PVC primer and cement to connect the 90-degree elbows and T-fitting to create a sturdy and leak-proof connection.
- Install the in-line filter (if using) into the PVC piping.
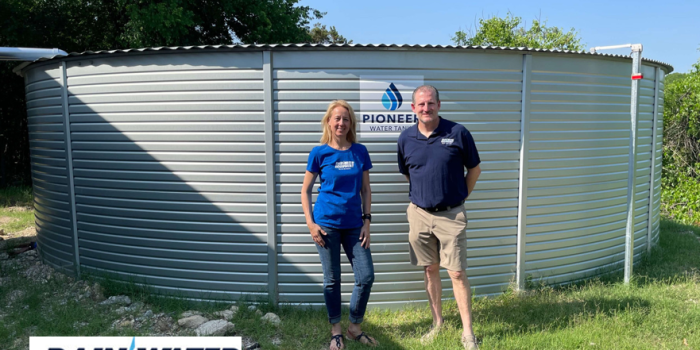
Caption: Joining PVC pipes and fittings.
Step 5: Connecting the Flexible Hose
- Attach the flexible hose to the PVC piping, ensuring a secure connection with a hose clamp if needed.
- Route the flexible hose to your garden area, burying it if desired.
Step 6: Creating the Irrigation Outlet
- Dig a small pit (about 1 foot deep) in your chosen garden area.
- Attach the remaining 90-degree elbow to the end of the flexible hose. This will direct the water downwards into the pit.
- Drill holes (approximately 1/4" diameter) in the elbow, facing downwards, to allow water to seep into the soil.
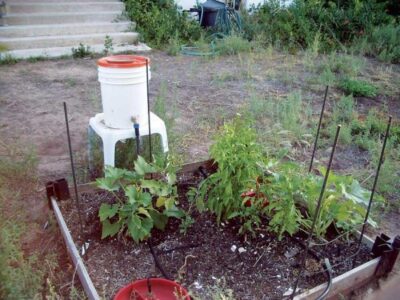
Caption: Creating the irrigation outlet in the garden.
Step 7: Installing the Drainage
- Fill the pit with gravel or crushed rock to provide drainage and prevent soil compaction.
- Cover the gravel with a layer of mulch to prevent evaporation and discourage weed growth.
Step 8: Testing the System
- Turn on the water supply to your washing machine.
- Plug in the washing machine to the electrical outlet.
- Run a test load of laundry using biodegradable, phosphate-free detergent.
- Observe the system for leaks and ensure the water is flowing to the garden as intended.
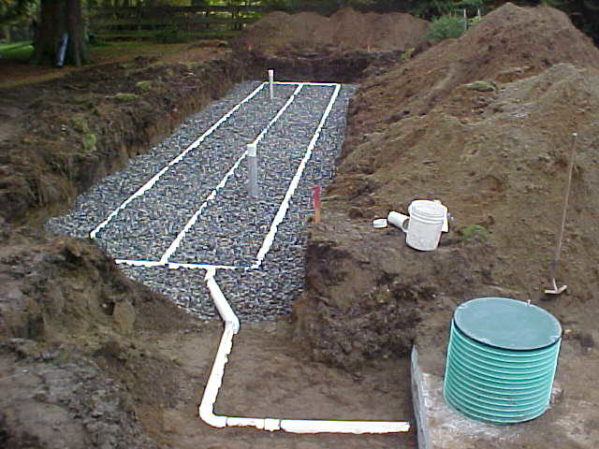
Caption: The completed gray water system in action.
Troubleshooting Tips
- Leaks: Check all connections and tighten if necessary. Use additional PVC cement or Teflon tape to seal any persistent leaks.
- Clogging: Regularly clean the in-line filter (if using) to remove lint and debris.
- Slow Drainage: Ensure the drain hose is not kinked or blocked. Consider increasing the slope of the hose to improve gravity flow.
- Odor: Use only biodegradable, phosphate-free laundry detergent. Avoid using gray water on edible plants or in areas where people might come into contact with it.
Maintenance & Best Practices
- Use biodegradable, phosphate-free laundry detergent. This is crucial for the health of your soil and plants.
- Avoid washing heavily soiled items (e.g., diapers, greasy work clothes) with the gray water system. Divert this water to the sewer.
- Regularly inspect the system for leaks, clogs, and damage.
- Clean the in-line filter (if using) regularly.
- Rotate the irrigation area to prevent salt buildup in the soil.
- Do not store gray water for more than 24 hours, as it can become unsanitary.
- Check local regulations regarding gray water systems to ensure compliance.
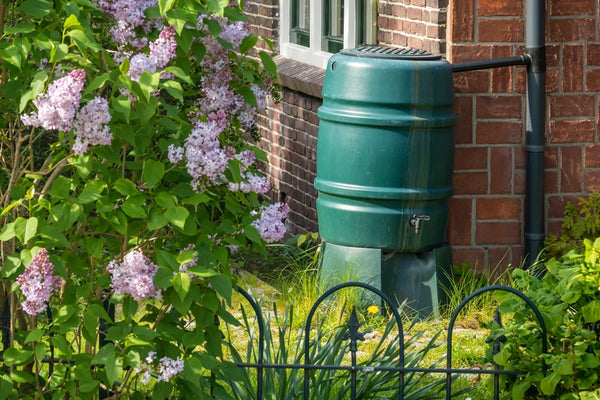
Caption: Make sure to clean your water filter.
Personal Reflection
Building this gray water system was a rewarding experience. It felt good to take a small step towards greater self-sufficiency and environmental responsibility. One thing I learned is the importance of using the right detergent. Initially, we used a regular detergent and noticed a slight odor. Switching to a biodegradable, phosphate-free option completely eliminated the problem. If I were to do it again, I would definitely invest in a higher-quality in-line filter to reduce the frequency of cleaning.
Call to Action
Ready to turn your laundry waste into a valuable resource? Give this DIY gray water system a try and let us know how it goes in the comments below! What other water-saving projects would you like to see covered on Better Homes and Harvests?
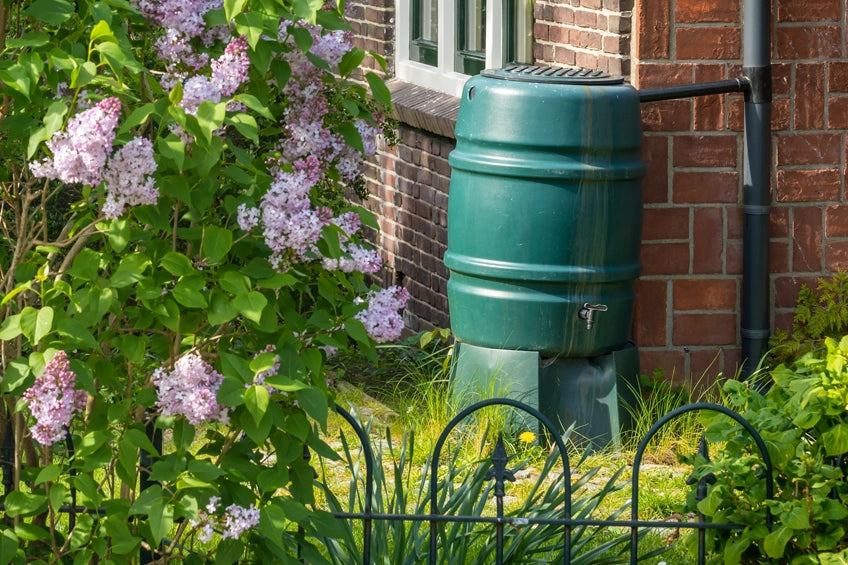
Caption: You can now water your garden with grey water!