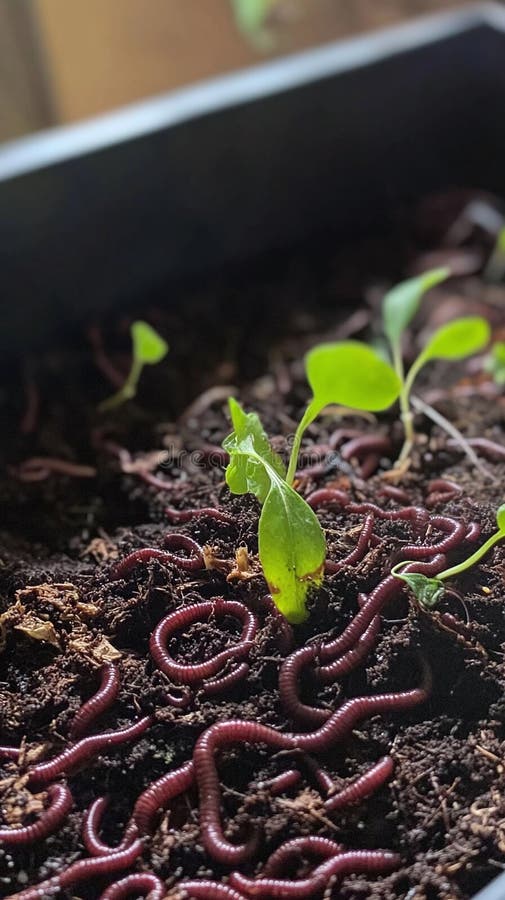
Turning Food Waste into Garden Gold: A Beginner's Guide to Vermicomposting
Are you tired of tossing banana peels, coffee grounds, and vegetable scraps into the trash, knowing they could be put to better use? Did you know that almost a third of our food ends up in landfills? As homesteaders and gardeners, we strive for resourcefulness and sustainability, seeking ways to minimize waste and maximize the bounty around us. What if I told you there's a simple, effective, and even charming way to transform those kitchen scraps into nutrient-rich "black gold" for your garden? Want to reduce your household waste and create amazing garden compost? Vermicomposting is the answer!

Image: An overflowing trash bin, showcasing discarded produce. The alt text highlights the amount of food wasted in many households, setting the stage for the vermicomposting solution.
Let's dive into the wonderful world of vermicomposting – a method of composting using worms – and unlock the secrets to creating a thriving garden while minimizing your environmental footprint.
What is Vermicomposting? The Basics.
Vermicomposting, simply put, is using worms (typically red wigglers) to break down organic matter into a rich compost called "worm castings." Think of it as a tiny, wriggling ecosystem working tirelessly to transform your food waste into garden gold. But how does it differ from traditional composting?
While traditional composting relies on a combination of heat, microorganisms, and manual turning, vermicomposting takes a more gentle approach. Red wigglers (Eisenia fetida) consume the organic matter, breaking it down more efficiently and producing a finer, more nutrient-rich compost. Unlike traditional composting, vermicomposting generates minimal odor and can be done indoors, making it ideal for apartment dwellers or those with limited outdoor space.
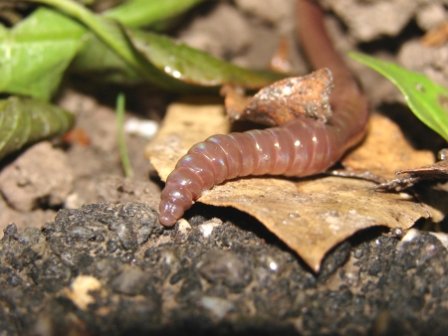
Image: A close-up view inside a vermicomposting bin, showcasing red wigglers actively working within the compost. The alt text highlights the worms' role in breaking down organic matter and producing worm castings.
Let's debunk some common myths about vermicomposting. Firstly, a well-maintained vermicomposting bin shouldn't smell bad. In fact, it should have a pleasant, earthy aroma. Secondly, it doesn't attract pests any more than a regular compost pile would, and careful feeding practices can minimize the risk.
Now, let's talk about the benefits. Worm castings are a powerhouse of nutrients for your soil. They improve soil structure, enhance water retention, and provide essential nutrients for plant growth. Think of them as a natural, slow-release fertilizer that will give your plants a boost.
Key Takeaway: Understand the basic principles and benefits of vermicomposting.
Building Your Vermicomposting Bin: DIY or Buy?
Now that you're excited about vermicomposting, it's time to set up your bin. You have two main options: build your own or purchase a commercially available system. Let's explore both.
DIY Vermicomposting Bin:
If you're a DIY enthusiast on a budget, building your own vermicomposting bin is a great option. You can easily create a functional bin from recycled plastic bins.
Here's a simple method:
- Gather your materials: Two plastic bins (one nesting inside the other), a drill, bedding material (shredded newspaper, coconut coir, or peat moss), and red wigglers.
- Drill drainage holes: In the bottom of the inner bin, drill several drainage holes to allow excess moisture to escape.
- Drill ventilation holes: Drill ventilation holes in the lid and sides of the upper bin to ensure proper airflow.
- Assemble the bin: Place the inner bin inside the outer bin. The outer bin will catch any drainage.
- Prepare the bedding: Moisten the bedding material until it's damp but not soaking wet. Add it to the inner bin.
- Introduce the worms: Gently add your red wigglers to the bin.
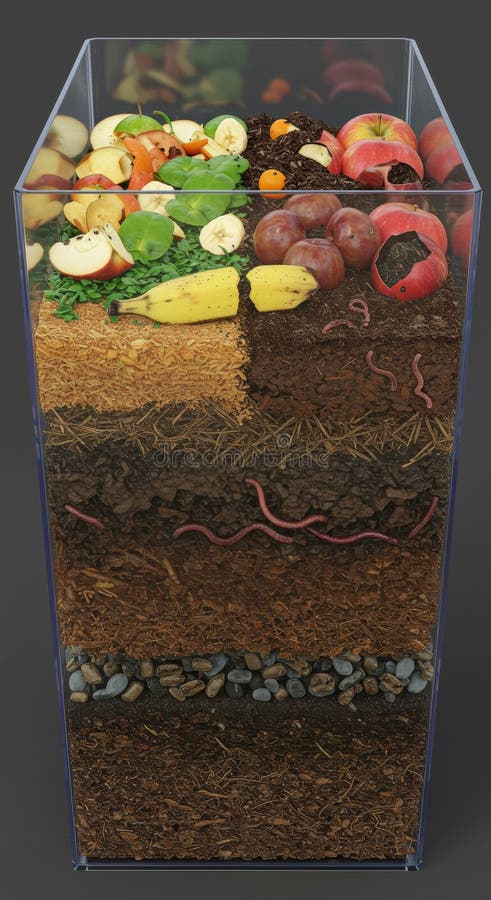
Image: A layered vermicomposting bin, illustrating the breakdown of food waste by worms. The alt text depicts a visual tutorial showing the composting process within a DIY vermicomposting setup.
Commercial Vermicomposting Bins:
For those seeking convenience and a more aesthetically pleasing option, commercially available vermicomposting bins are a great choice. These bins often feature stackable trays or flow-through systems that make harvesting castings easier.
- Stackable Systems: These systems consist of multiple trays stacked on top of each other. As the worms finish composting the material in one tray, they migrate upwards to the next tray with fresh food scraps.
- Flow-Through Systems: These bins have a mesh bottom that allows you to harvest the castings from the bottom as the worms work their way upwards.
Ultimately, the best bin for you depends on your space, budget, and DIY skills. Remember to consider the humidity in your region. Drier climates may require more frequent watering of the bedding to keep the worms happy.
Key Takeaway: Choose a vermicomposting bin that suits your space, budget, and DIY skills.
Feeding Your Worms: What to Feed and What to Avoid.
Now comes the fun part: feeding your worms! Understanding what your worms can and cannot eat is crucial for a healthy and productive vermicomposting system.
The "Worm Diet":
Red wigglers are voracious eaters, but they have specific dietary preferences. Here's a list of foods they love:
- Fruit and vegetable scraps (avoid citrus in large quantities).
- Coffee grounds (a great source of nitrogen).
- Tea bags (remove staples).
- Crushed eggshells (provide calcium and grit).
Foods to Avoid:
Certain foods can be harmful or attract pests. Avoid feeding your worms:
- Meat
- Dairy
- Oily foods
- Processed foods
These foods can create unpleasant odors, attract unwanted pests, and even harm your worms.
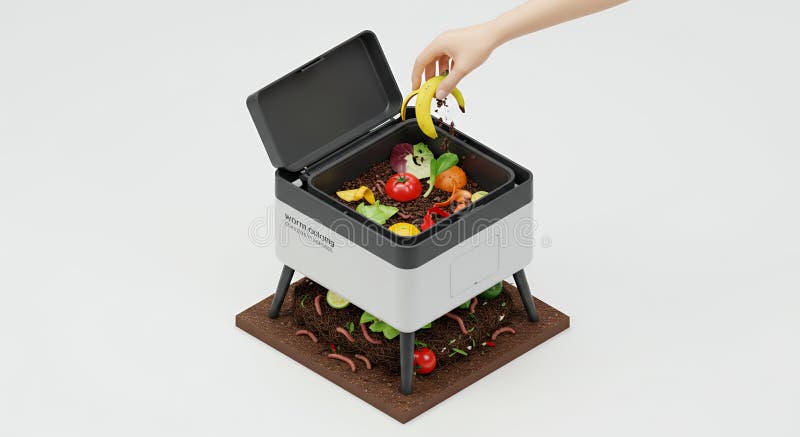
Image: An overhead shot of a vermicomposting bin containing various food scraps such as apple cores, vegetable scraps, and coffee grounds. The alt text displays the ideal type of food for worms, depicting acceptable and nutritious additions to the compost system.
Feeding Frequency and Amount:
It's important not to overfeed your worms. A good rule of thumb is to feed them every 2-3 days, providing only as much food as they can consume in that time. Chopping food scraps into smaller pieces will speed up the decomposition process.
If you notice fruit flies, bury the food scraps under a layer of bedding or reduce the amount of food you're providing. Maintaining proper moisture levels is also key. The bedding should be damp but not soaking wet.
Key Takeaway: Learn what to feed your worms and how to maintain a healthy feeding schedule.
Harvesting Your Worm Castings: Garden Gold!
After a few months of diligent feeding, your worms will have transformed your food waste into a rich, dark, and crumbly compost: worm castings! It's time to reap the rewards of your vermicomposting efforts.
When to Harvest:
The castings are ready when they have a dark, crumbly texture and an earthy smell. There should be little to no visible food scraps remaining.
Harvesting Methods:
There are several methods for harvesting worm castings:
- The "Dump and Sort" Method: Dump the contents of the bin onto a tarp and manually separate the worms from the castings. This is the simplest but most labor-intensive method.
- The "Migration Method": Stop feeding the worms for a week or two, then place fresh food scraps on one side of the bin. The worms will migrate to that side, leaving the castings behind.
- The "Stacking Bin" Method: If you're using a stackable bin system, simply remove the bottom tray containing the finished castings.
Using Your Worm Castings:
Worm castings are a fantastic soil amendment and fertilizer. Here's how to use them in your garden:
- Soil Amendment: Mix castings with your garden soil to improve its structure, water retention, and nutrient content.
- Top Dressing: Sprinkle castings around the base of your plants for a slow-release fertilizer boost.
- Fertilizer Tea: Soak castings in water for a few days to create a nutrient-rich fertilizer tea.
Using worm castings reduces the need for synthetic fertilizers and promotes a healthier, more sustainable garden.
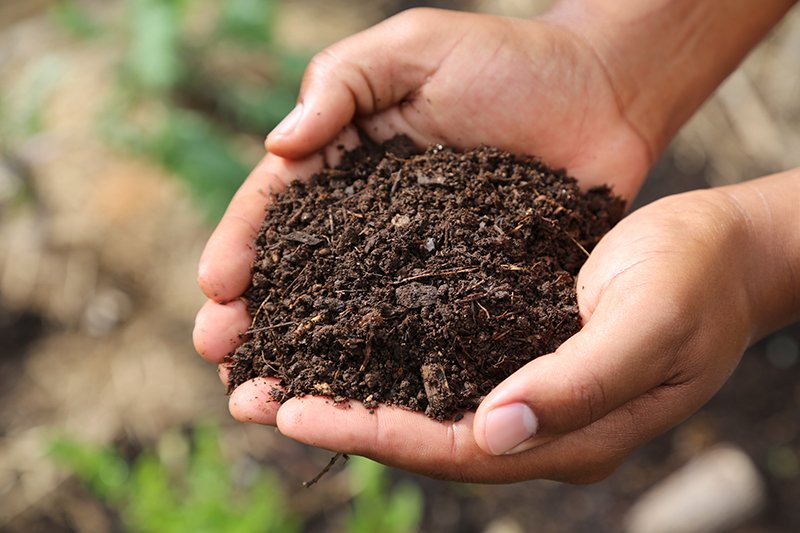
Image: Hands holding worm castings, showcasing sifted soil rich with "black gold." The alt text captures the moment of harvest, displaying the end result of the vermicomposting process and its value as a soil amendment.
Key Takeaway: Learn how to harvest your worm castings and use them to enrich your garden soil.
Embrace the Wormy Way to a Greener Garden
Vermicomposting is more than just a way to dispose of food waste. It's a sustainable practice that connects us to the natural world and provides valuable resources for our gardens. And, it can be done indoors year-round, making it a great winter homesteading project! By embracing this "wormy" method, you're not only reducing your environmental footprint but also creating a richer, more vibrant garden. It's a deeply satisfying feeling to transform waste into something so beneficial, aligning perfectly with the values of resourcefulness and simplicity that we cherish here at Better Homes and Harvests.

Image: A thriving garden, showcasing plants, flowers, and the overall beauty of a well-nourished ecosystem. The alt text represents the end result of using worm compost, highlighting healthy plant growth and the fulfillment of a sustainable lifestyle.
Have you tried vermicomposting? Share your tips and tricks in the comments below! What are your biggest challenges with composting? We're here to help! Tag us in your vermicomposting photos using #BetterHomesHarvestCompost! We'd love to see your setups and your beautiful gardens. Happy composting!