Turning Chicken Poop into Garden Gold: A DIY Backyard Composting System
Homesteading, for me, isn't just about idyllic farm scenes and fresh eggs. It's about resourcefulness, resilience, and a deep connection to the land. It's about closing the loop – using what we have to create what we need. And let's be honest, sometimes what we have is a whole lot of chicken poop! That's why I'm so excited to share my DIY chicken manure composting system, a game-changer for my small backyard homestead.

The Chicken Manure Conundrum
Anyone who keeps chickens knows the struggle. They're amazing creatures, providing us with delicious eggs and endless entertainment. But they also produce a lot of waste. Raw chicken manure is too "hot" to use directly on plants; its high nitrogen content can burn roots. Plus, let's be honest, it doesn't smell great, and it can attract flies. So, what's a homesteader to do?
The answer, of course, is composting! Composting chicken manure transforms it into a valuable soil amendment, packed with nutrients that our gardens crave. It's a win-win: we reduce waste, improve our soil, and save money on fertilizer. This project directly addresses the challenge of managing chicken waste effectively and sustainably, boosting our homestead's self-sufficiency.
Why This Compost System? Small Backyard, Big Impact
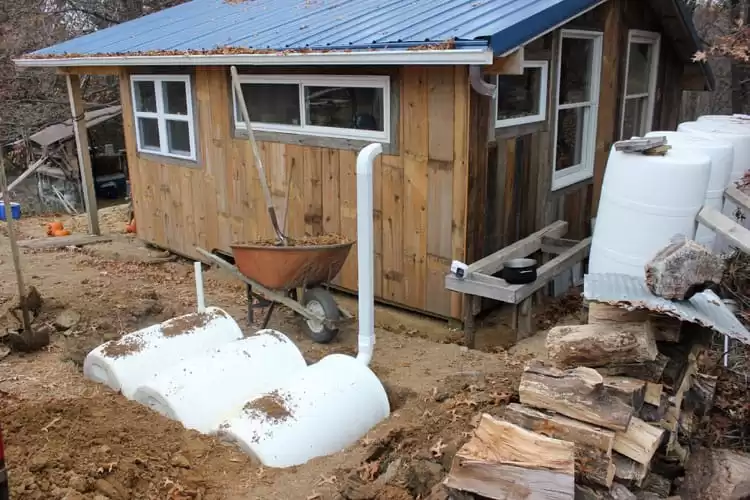
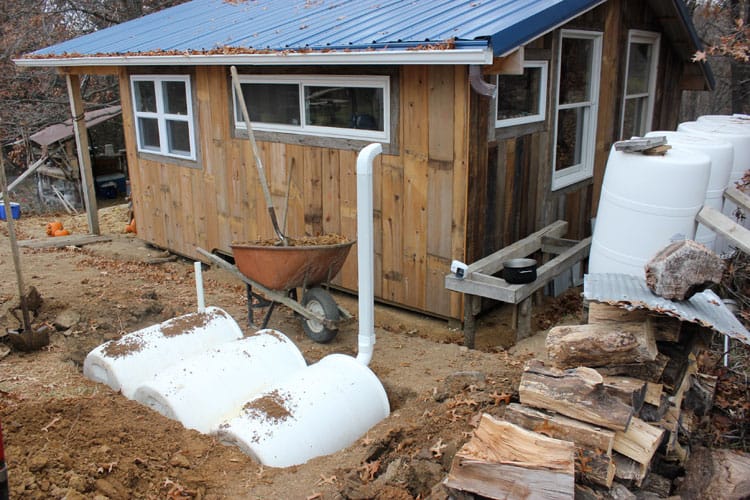
I live on a relatively small suburban lot, so space is a premium. That meant a large, sprawling compost pile was out of the question. I needed a compact, efficient, and relatively odor-free system. After researching various methods, I settled on a dual-bin system using repurposed plastic bins. This allows for batch composting: one bin actively composting while the other "cooks" to completion.
Building Your DIY Chicken Manure Compost System: A Step-by-Step Guide
Here's how you can build your own chicken manure composting system, tailored for small backyards:
Materials & Tools:
- Two sturdy plastic bins with lids (approx. 30-50 gallons each)
- Drill with various sized drill bits
- Measuring tape
- Gloves
- Safety glasses
- Shovel or pitchfork
- Chicken manure and bedding (straw, wood shavings, etc.)
- "Brown" materials (dried leaves, shredded paper, cardboard)
- Watering can or hose
- Optional: Compost thermometer
Step 1: Preparing the Bins
First, we need to ensure proper aeration. Using a drill, create ventilation holes all around the bins – sides, bottom, and lid. I used a smaller drill bit (1/4 inch) for the sides and bottom and a slightly larger bit (1/2 inch) for the lid to allow for more airflow. The more holes, the better, but don’t compromise the structural integrity of the bin.
Step 2: Establishing the Carbon-to-Nitrogen Ratio
This is crucial for successful composting. Chicken manure is high in nitrogen (the "green" material), while dried leaves, shredded paper, and cardboard are high in carbon (the "brown" material). A good ratio is around 25:1 to 30:1 (carbon to nitrogen). It doesn't need to be exact, but aiming for this range will help the composting process.

Step 3: Layering the Compost
Start with a thick layer of "brown" materials at the bottom of the first bin. This helps with drainage and aeration. Then, add a layer of chicken manure and bedding. Follow with another layer of "brown" materials. Continue layering, alternating between "green" and "brown" materials, until the bin is nearly full. I aim for about a 4-inch layer of browns then a 1-2 inch layer of the chicken manure mixture.
Step 4: Maintaining Moisture
The compost pile should be moist, but not soggy. Think of a wrung-out sponge. Use a watering can or hose to add water as you layer the materials. Continue adding water as needed to maintain the correct moisture level.
Step 5: Turning the Compost
Turning the compost regularly is essential for aeration and even decomposition. Use a shovel or pitchfork to turn the compost every few days, moving materials from the outside to the inside and vice versa. This introduces oxygen and helps the compost break down more quickly.

Step 6: Monitoring Temperature (Optional)
A compost thermometer can help you monitor the temperature of the pile. Ideally, you want the compost to reach temperatures between 130°F and 160°F (54°C and 71°C) to kill harmful pathogens and weed seeds (this is called hot composting). If the temperature is too low, add more "green" materials. If it's too high, add more "brown" materials or water.
Step 7: The "Cooking" Phase
Once the first bin is full, stop adding materials and let it "cook" for several weeks or months, depending on the conditions. Continue turning it occasionally. Start filling the second bin with fresh materials, following the same layering process.
Step 8: Harvesting Your Compost
The compost is ready when it's dark brown, crumbly, and smells earthy. It should no longer resemble the original materials. Sift the compost to remove any large, undecomposed pieces. These can be added back to the next compost batch.
Troubleshooting Tips (Based on My Experience!)
- Smell: If your compost pile smells bad (ammonia smell), it's likely too wet or has too much nitrogen. Add more "brown" materials and turn the pile more frequently.
- Flies: Flies can be a nuisance, especially in warmer months. Make sure to bury fresh chicken manure under a layer of "brown" materials. You can also add a layer of diatomaceous earth to the top of the pile.
- Slow Decomposition: If the compost isn't breaking down quickly enough, it may be too dry or lacking in nitrogen. Add water and more "green" materials. Turning more frequently will also help.
- Too Dry: If the compost pile is too dry, wet it with a hose.

Tangible Benefits & Why I'm Passionate
Since implementing this composting system, my garden has flourished. The soil is richer, more fertile, and retains moisture better. I've noticed a significant increase in the health and productivity of my plants. Plus, I'm reducing waste and contributing to a more sustainable lifestyle. Knowing that I'm transforming something considered "waste" into something so valuable is incredibly rewarding.
Homesteading, for me, is about more than just growing food. It's about understanding the interconnectedness of nature and working in harmony with it. This simple composting system embodies that philosophy perfectly.
More Than Just Poop: Composting and Connection

Beyond the tangible benefits, this project has deepened my connection to the land. I'm more aware of the natural cycles at play and the importance of soil health. It's also a project I can involve my family in, teaching them about sustainability and resourcefulness. And that, to me, is priceless.
Your Turn!
What are your experiences with composting chicken manure? Do you have any tips or tricks to share? I'd love to hear from you in the comments below! Let's learn from each other and build a more sustainable future, one compost pile at a time.
Share your thoughts and photos of your own composting setups using #BetterHomesandHarvestsDIY and tag @BetterHomesandHarvests! I can't wait to see what you're working on.