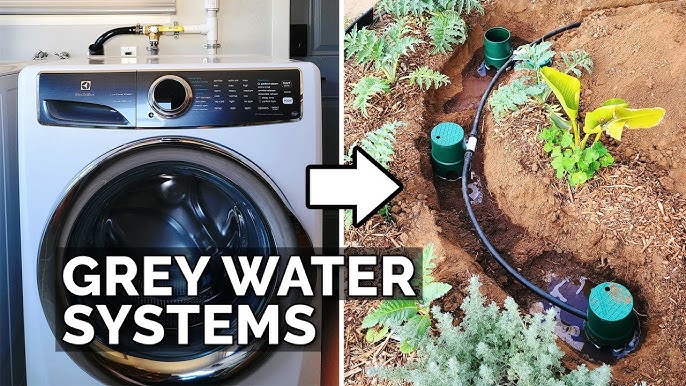
Turn Your Homestead's Wasted Water into a Resource with a Simple DIY Gray Water System
Imagine your fruit trees thriving, your water bill shrinking, and your homestead becoming even more sustainable. Sound like a dream? It doesn't have to be! This month, the Better Homes and Harvests community is diving into the world of DIY gray water systems, and we're thrilled to share a simple, low-cost project that can transform your homestead. We'll show you how to reclaim water from your laundry or shower and put it to good use irrigating your fruit trees or non-edible landscaping. If you're new to this, don't worry! We'll guide you through each step, making it easy to implement, even if you're not a seasoned plumber. Let's turn that "wasted" water into a valuable asset!
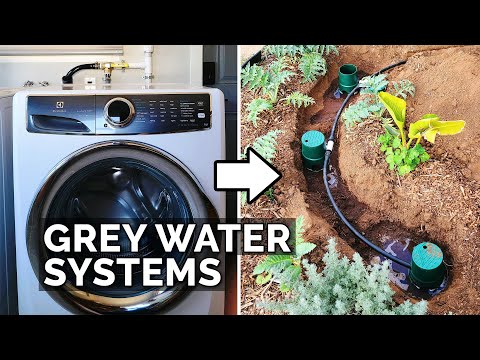
What is a Gray Water System and Why Should You Care?
Simply put, a DIY gray water system allows you to reuse relatively clean wastewater from sources like your laundry machine, shower, or bathroom sink. This "gray water" is distinct from "black water," which comes from toilets and contains harmful pathogens. Instead of sending this usable water down the drain and into the sewer system, we can redirect it to irrigate our gardens and reduce our reliance on municipal water sources or well water. This is a fantastic way to practice homestead water conservation and create a more self-sufficient lifestyle.
Think about it: the average household uses a significant amount of water daily. Much of that water can be reclaimed and reused with a simple gray water system, significantly reducing your water footprint and saving you money. And on a homestead, where water conservation is key, this can be a game-changer.
Our DIY Laundry-to-Landscape Gray Water System: Step-by-Step
This project focuses on a laundry-to-landscape system, which is one of the easiest and most accessible gray water options for existing homes. It's relatively inexpensive and requires minimal plumbing modifications. We'll be diverting water from the washing machine to irrigate non-edible plants, such as fruit trees.
Important Safety Note: *Gray water may contain bacteria and chemicals. Always handle it with caution. Wear gloves when working with the system and avoid direct contact with the water. * Never use gray water on edible plants or allow it to pool on the surface, where it could attract pests or create unsanitary conditions. Also, be sure to check your local regulations regarding gray water systems, as some areas have specific requirements or restrictions.
Step 1: Gather Your Materials
Here's a comprehensive list of everything you'll need, along with approximate costs (prices may vary):
- Laundry Machine Discharge Hose: (Existing)
- 3/4" or 1" PVC Pipe: (Approximately 20-50 feet, depending on the distance to your irrigation area) ($10-$30)
- PVC Fittings: (Elbows, T-joints, couplings, as needed for your layout) ($5-$15)
- 3-Way Diverter Valve: This allows you to switch between sending water to the gray water system or the sewer line. ($15-$30) [Example: Search "3 way PVC diverter valve" on Amazon]
- Mulch Basins/Distribution Manifold: A series of strategically placed basins, or one larger manifold, to evenly distribute the water around your plants. ($20-$50)
- Drill and PVC Cement: (If you don't already own them) ($10-$20)
- Shovel: For digging mulch basins. (Existing)
- Gloves and Eye Protection: (Essential for safety) (Existing or $5-$10)
- Optional: Inline Filter: A simple filter to remove lint and debris. ($10-$20) [Example: Search "inline water filter" on Amazon]
Step 2: Planning Your System Layout
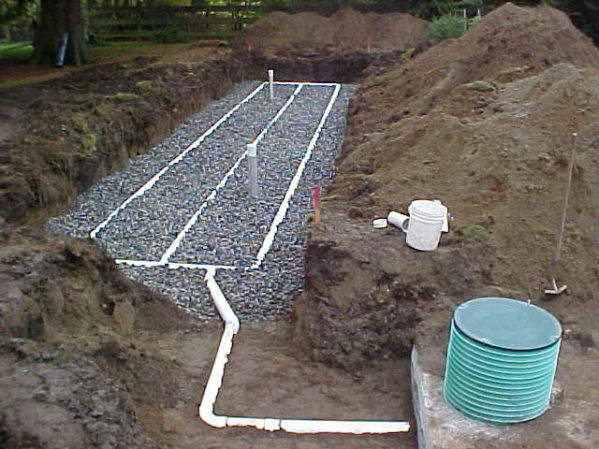
Before you start cutting pipes, carefully plan your system layout. Consider the following:
- Location of your washing machine drain: This is your starting point.
- Location of your fruit trees (or other non-edible plants): Determine the distance and elevation changes between your washing machine and your plants. Gravity is your friend!
- Slope: Ideally, you want a slight downward slope from the washing machine to your irrigation area to facilitate gravity-fed flow.
- Mulch Basins: Plan to create mulch basins around your trees to help the water soak into the ground. Each tree should have its own basin. A distribution manifold can be used to split the flow to each basin evenly.
Step 3: Installing the Diverter Valve
This is the heart of your system, allowing you to choose where your laundry water goes.
- Locate the drainpipe where your washing machine discharges its water.
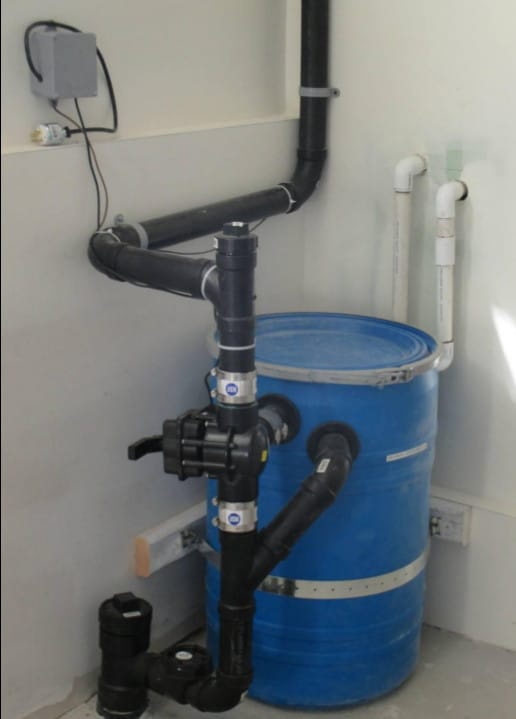
- Cut the drainpipe and install the 3-way diverter valve using PVC cement. Make sure the valve is oriented correctly, with one outlet leading to the existing sewer line and the other leading to your gray water system.
Step 4: Laying the PVC Pipe
- Measure the distance from the diverter valve to your irrigation area.
- Cut the PVC pipe to the required length, using PVC cement to connect sections as needed.
- Ensure a slight downward slope for gravity-fed flow. You may need to dig a shallow trench to bury the pipe if you're concerned about it being a tripping hazard or exposed to the elements.
Step 5: Creating Mulch Basins
- Dig shallow, circular basins around the base of each tree (or other plants). The size of the basin will depend on the size of the tree and the amount of water you anticipate using.
- Line the basins with mulch to help retain moisture and prevent soil erosion.
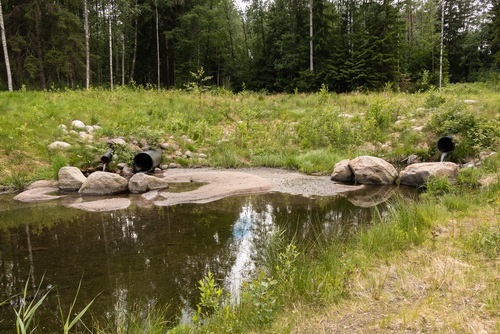
Step 6: Connecting to the Mulch Basins
- Connect the end of the PVC pipe to the distribution manifold.
- Run smaller sections of PVC pipe from the manifold to each mulch basin, ensuring that the water is distributed evenly.
Step 7: Testing Your System
- Turn the diverter valve to direct water to the gray water system.
- Run a load of laundry and observe how the system performs.
- Check for leaks and make any necessary adjustments.
Step 8: Refining Your System
- Inline Filter: Install an inline filter near the diverter valve to catch lint and debris. Clean the filter regularly to prevent clogging.
- Flow Rate: Observe the water flow and adjust the number and size of mulch basins as needed to prevent waterlogging.
- Water Usage: Monitor your water bill to track your savings!
Troubleshooting Tips
- Clogging: Clogging is a common issue. Regularly clean the inline filter and flush the system with clean water to remove any buildup.
- Leaks: Check all connections for leaks and repair them with PVC cement.
- Odor: If you notice an unpleasant odor, it could be due to stagnant water. Ensure proper drainage and consider adding a small amount of bleach to the washing machine occasionally (use sparingly!). Important: Bleach can harm plants, so only do this if you are diverting the water to the sewer line and NOT using it for irrigation.
- Uneven Distribution: If some plants are getting more water than others, adjust the distribution manifold to balance the flow.
Real-World Benefits: My Homesteading Experience
I started using a similar gray water system on my homestead last year, and the results have been amazing. I estimate that I'm saving approximately 500 gallons of water per month, which has significantly reduced my water bill. My fruit trees are healthier and more productive, and I feel good about reducing my environmental impact. It's a win-win! Plus, knowing I'm practicing sustainable homesteading water techniques brings a great sense of accomplishment. I also discovered that using plant-based laundry detergents further enhances the benefits and plant health.
Call to Action
Ready to take the plunge and build your own DIY gray water system? We encourage you to share your experiences, variations on this project, or any questions you have in the comments below. Let's learn from each other and build a more sustainable homesteading community together! And don't forget to share this post on social media using #BHHDIGrayWater. Let's spread the word about homestead water conservation!
This simple gray water irrigation project is a fantastic way to save water on your homestead, reduce your environmental impact, and nurture your garden. With a little planning and effort, you can transform "wasted" water into a valuable resource. Give it a try, and let us know how it goes! Remember to always prioritize safety and check your local regulations. Happy homesteading!
About the Author:
[Optional: Image of author here]
Hi, I'm Sarah, and I've been homesteading for the past 10 years. I'm passionate about sustainable living and finding creative ways to reduce our environmental impact. I'm excited to share my experiences and knowledge with the Better Homes and Harvests community!