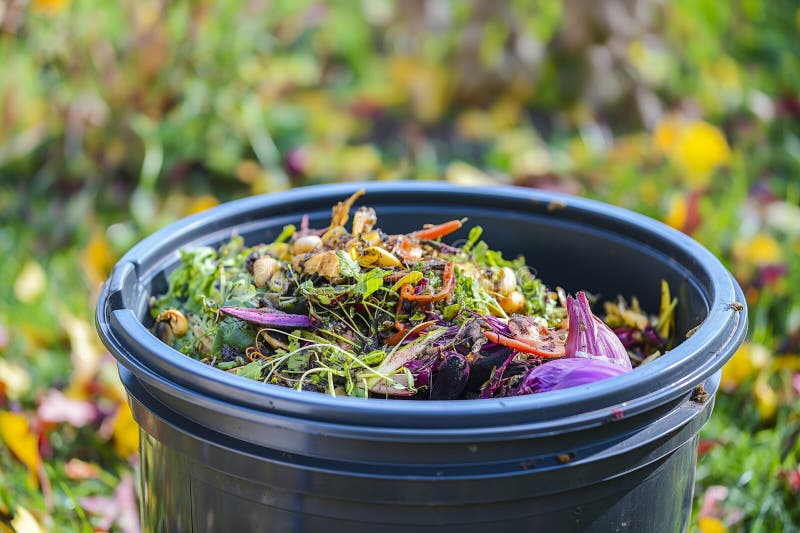
Turn Trash to Treasure: The Ultimate Guide to Fall Composting
Remember that post-Thanksgiving feeling? The delicious meal is over, but you're staring at a mountain of pumpkin guts, potato peelings, and apple cores. It can feel wasteful to simply toss it all in the trash. What if I told you there was a way to transform those seasonal kitchen scraps into garden gold?
Composting, especially in the fall, is the secret to healthier soil, reduced fertilizer costs, and a more vibrant garden next spring. And the best part? It's easier than you think! In this guide, we'll cover both outdoor and indoor composting techniques, explaining what to compost and what not to compost, so you can have a nutrient-rich garden next season!

Image: A bountiful harvest displayed, highlighting the potential for composting what's left.
The Basics of Fall Composting (Outdoor)
Fall is a fantastic time to start or maintain a compost pile. The cooler temperatures are perfect for the slow decomposition process, allowing you to build a substantial pile that will be ready to nourish your garden when spring arrives. Think of it as preparing a cozy bed for your future plants!
Why Fall Composting is Essential
As the leaves begin to fall and the garden starts to wind down, composting becomes even more valuable. Fallen leaves, spent vegetable plants, and other organic matter are abundant during this season. By composting these materials, you're not only reducing waste but also creating a nutrient-rich soil amendment that will improve your garden's health and productivity. Plus, you are creating a more sustainable home.
Choosing the Right Composting Method
There are several outdoor composting methods to choose from, each with its own advantages. Here's a brief overview:
Traditional Compost Pile: This is the simplest method, involving a heap of organic materials layered in a designated area. It's ideal for those with ample space.
Compost Tumbler: A rotating bin that makes turning the compost easier and faster. Perfect for those who want a more efficient composting process.
Three-Bin System: This system allows you to have composting in different stages. A fresh pile, a pile decomposing, and a ready to use pile.
Consider your space and time commitment when selecting a composting method. For farmhouse life, a simple compost pile might be the most natural choice.
Building the Pile
The key to successful composting is maintaining a balance of "green" (nitrogen-rich) and "brown" (carbon-rich) materials. Green materials include kitchen scraps, grass clippings, and coffee grounds, while brown materials consist of fallen leaves, shredded paper, and straw.
Aim for a 2:1 ratio of brown to green materials. This balance ensures proper decomposition and prevents unpleasant odors. Add materials in layers, alternating between green and brown materials. A good pile size is at least 3x3x3 feet. This keeps the pile warm for efficient decomposition.
Location, Location, Location
The location of your compost pile is also crucial. Choose a well-drained spot that's easily accessible and receives some sunlight. Proximity to a water source is helpful for keeping the pile moist, which is essential for decomposition.
Actionable Tip:
Follow these steps to build a basic compost pile:
- Choose a well-drained location in your yard.
- Start with a layer of brown materials, such as fallen leaves or straw.
- Add a layer of green materials, such as kitchen scraps or grass clippings.
- Moisten the pile with water, ensuring it's damp but not soggy.
- Turn the pile regularly to aerate it and speed up decomposition.
By following these steps, you'll be well on your way to creating a nutrient-rich compost that will nourish your garden next season.
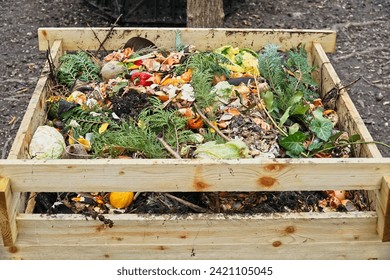
Image: Close-up of layering brown (leaves) and green (kitchen scraps) in a compost bin.
Indoor Composting with Worms: Vermicomposting
Don't have a lot of outdoor space? Vermicomposting, or composting with worms, is an excellent option for indoor composting. It's a compact, efficient method that produces high-quality compost right in your kitchen or basement.
Introduction to Vermicomposting
Vermicomposting uses red wiggler worms to break down organic waste, creating a nutrient-rich compost called "worm castings." This method requires less space than traditional composting and can be done year-round, making it ideal for urban dwellers and those with limited outdoor access. Plus, your cozy living space will thrive!
Setting Up a Worm Bin
You can purchase a pre-made worm bin or build your own. A simple worm bin consists of a plastic container with drainage holes, bedding (such as shredded newspaper or coconut coir), and red wiggler worms.
Necessary materials:
- Plastic bin
- Bedding (shredded newspaper, coconut coir)
- Red wiggler worms
- Food scraps
Choosing the Right Worms
Red wiggler worms (Eisenia fetida) are the best choice for vermicomposting. They are voracious eaters and thrive in the confined environment of a worm bin. You can purchase red wiggler worms online or from a local composting supplier.
Feeding the Worms
Worms can eat a variety of food scraps, including vegetable peels, fruit scraps, coffee grounds, and tea bags. Avoid feeding them meat, dairy, or oily foods, as these can attract pests and create unpleasant odors. Bury the food scraps under the bedding to prevent fruit flies.
Maintaining the Worm Bin
Keep the worm bin moist but not soggy. The bedding should feel like a wrung-out sponge. Maintain a temperature between 55°F and 77°F (13°C and 25°C). Harvest the worm castings every few months. The castings can be used as a soil amendment or to make compost tea.
Actionable Tip: Vermicomposting Do's and Don'ts
- Do: Keep the bin moist, but not soggy.
- Don't: Add meat, dairy, or oily foods.
- Do: Bury food scraps under bedding.
- Don't: Overfeed the worms.
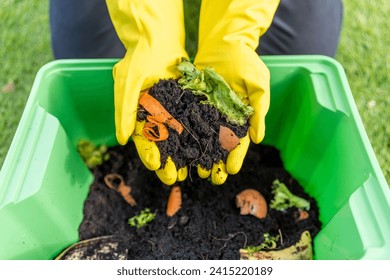
Image: Red Wiggler worms working in a home vermicomposting system.
What to Compost (and What to Avoid!) This Fall
Knowing what to compost and what to avoid is essential for creating healthy, usable compost. Here's a guide to fall-specific composting materials.
Fall Harvest Gold
The best fall-specific materials for composting include fallen leaves, pumpkin innards, apple cores, and spent vegetable plants (e.g., tomato vines, pepper plants). These materials are rich in nutrients and will decompose readily in your compost pile.
Kitchen Scrap Checklist
Here's a detailed list of "Yes" and "No" items for the compost pile and worm bin:
- Yes:
- Vegetable peels
- Coffee grounds
- Tea bags
- Fruit scraps
- Eggshells
- No:
- Meat
- Dairy
- Oily foods
- Diseased plants
- Pet waste
Why it Matters
Certain items shouldn't be composted because they can attract pests, create unpleasant odors, or spread disease. For example, meat and dairy products can attract rodents and insects, while diseased plants can contaminate your compost and spread diseases to your garden.
Handling Leaves Properly
Before composting fallen leaves, shred them to speed up decomposition. You can use a lawnmower or leaf shredder to break down the leaves into smaller pieces. Shredded leaves decompose faster and create a more consistent compost.
Actionable Tip:
Create a printable "Compost Cheat Sheet" that readers can hang in their kitchen or garden shed. This cheat sheet can list the items you can and cannot compost, making it easier to sort your waste.
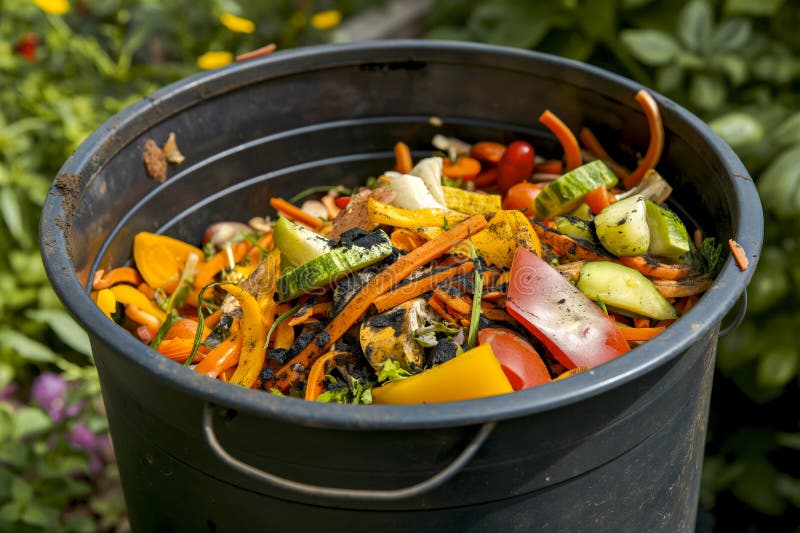
Image: Seasonal vegetable scraps ready for the compost bin.
Using Your Compost: From Fall Planting to Spring Revival
The compost you create this fall will be a valuable resource for your garden next spring. Here's how to use it to improve soil health and boost plant growth.
Fall Application
In the fall, you can use compost to amend garden beds and prepare them for winter. Spreading a layer of compost over your garden beds will improve soil structure, drainage, and nutrient content. It also helps protect the soil from erosion and compaction during the winter months. This is crucial for organic gardening.
Spring Planting Boost
In the spring, you can use compost to enrich soil for new plantings. Mixing compost into planting holes will give seedlings a healthy start by providing essential nutrients and improving soil drainage. Compost also helps retain moisture, which is crucial for plant growth.
Making Compost Tea
Compost tea is a liquid fertilizer made by steeping compost in water. It's a great way to deliver nutrients directly to plant roots and foliage.
Potting Mix Magic
Compost can also be used as an ingredient in homemade potting mixes. Mixing compost with other ingredients, such as peat moss and perlite, will create a nutrient-rich potting mix that will support healthy plant growth.
Actionable Tip:
Create a simple compost tea by steeping a bag of compost in water for 24-48 hours. Dilute the tea and use it to water your plants.
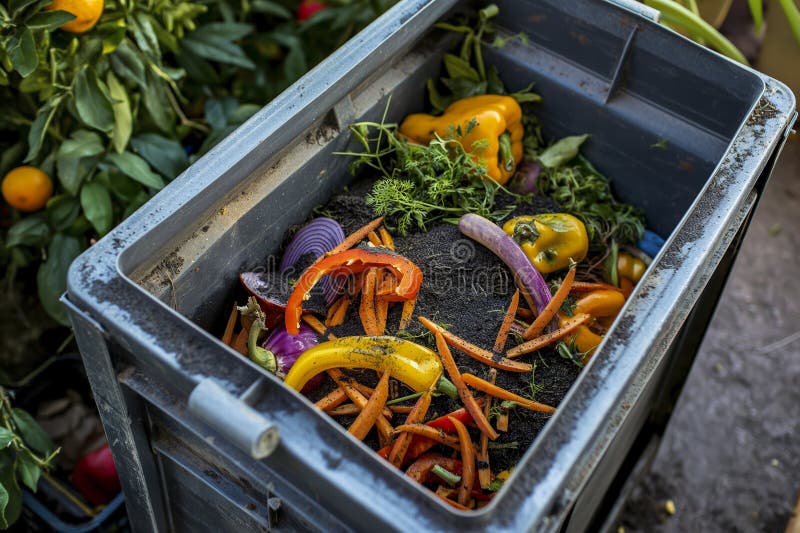
Image: Amending soil by mixing compost to planting seedlings in Spring.
Reap the Rewards of Composting
Composting is a simple and rewarding way to turn waste into a valuable resource. By composting your fall kitchen scraps and garden waste, you're not only reducing your environmental impact but also creating a nutrient-rich soil amendment that will nourish your garden and improve your seasonal harvest for years to come. Start your fall composting efforts now to enjoy the benefits next spring!
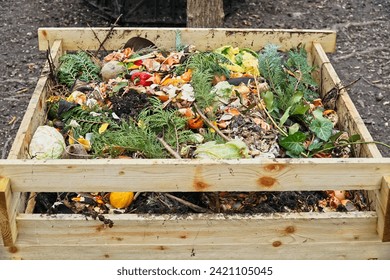
Image: Demonstrating flourishing garden by improving soil with compost.
What are your favorite fall composting tips? Share them in the comments below! We'd love to hear about your composting progress.