Turn Shower Water into Garden Gold: A DIY Homestead Gray Water System
Better Homes and Harvests readers are increasingly interested in practical DIY projects that empower them to create more self-sufficient and resilient homesteads. We're facing droughts, rising water costs, and a growing desire to lessen our impact on the environment. What if I told you that the water you use every day in your shower could be a valuable resource for your homestead, nourishing your plants and reducing your water bill? This post will walk you through a specific project focused on reducing water usage for homesteaders in the arid Southwest: building a simple gray water system to irrigate a non-edible section of your landscape.
Gray water is gently used water from your bathroom sinks, showers, tubs, and washing machines. It is not water from toilets, kitchen sinks (due to food waste), or dishwashers. Using gray water is a fantastic way to conserve water, reduce your water bills, and even provide your plants with beneficial nutrients. It also promotes homestead resilience in dry climates, lessening your dependence on municipal water sources.
Let's be clear: we're talking about a simple, gravity-fed system for irrigating non-edible plants only – shrubs, trees, ornamental gardens. This is not drinking water! It's a great entry point to understanding and utilizing gray water, and the principles can be scaled up as you gain experience.
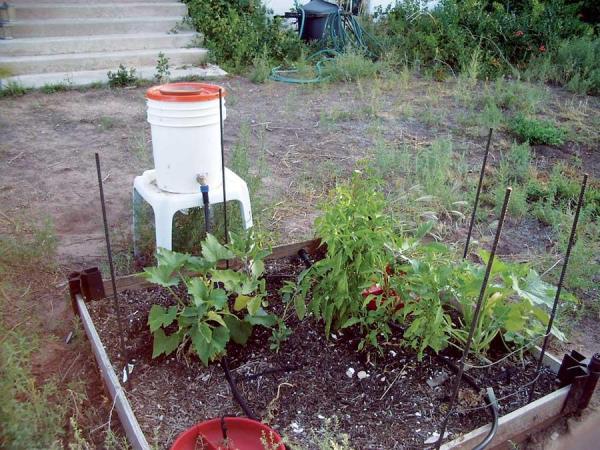
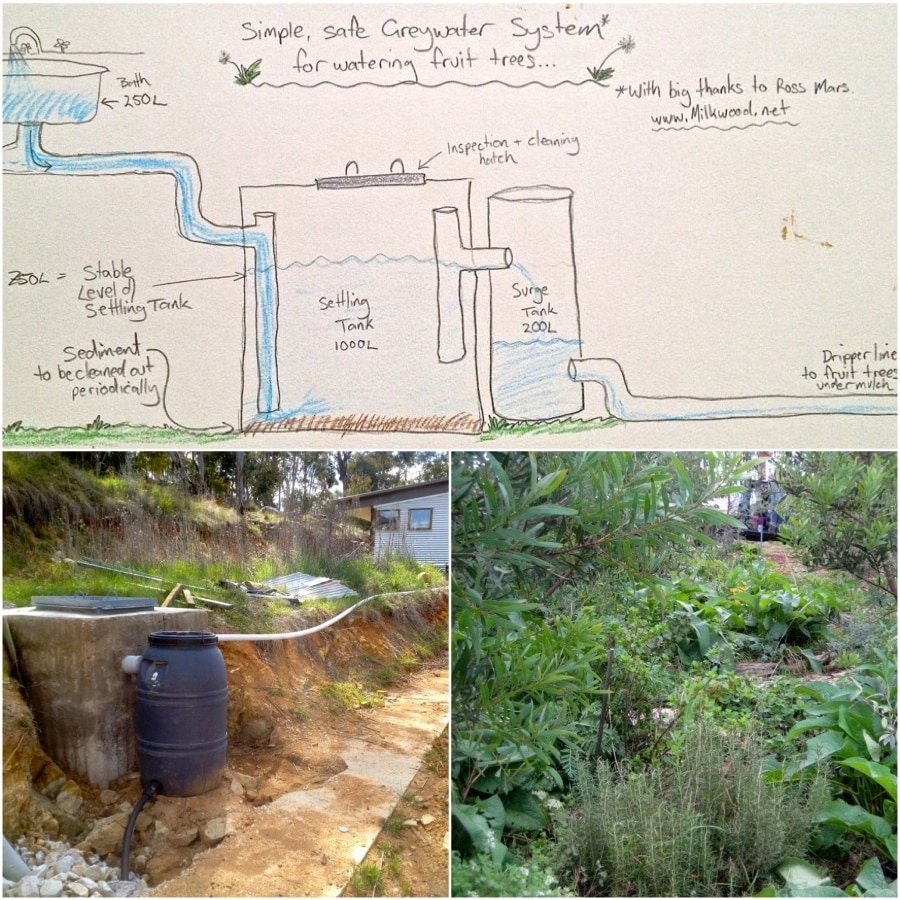
The vibrant growth of these shrubs shows what your homestead could achieve with a properly implemented gray water system. The water savings are significant, and the plants benefit from the nutrients in the used water.
Section 1: Planning Your Gray Water System: Assessing Needs and Regulations
Before you start digging, a little planning goes a long way. Implementing a gray water system might seem daunting, but with some careful consideration and a little research, you can design a system that works for your homestead.
Assess Your Gray Water Source: The first step is to figure out how much gray water you're generating. A simple estimate is fine: track how many showers you take each week and roughly how long they are. A typical shower uses 2-5 gallons per minute. Knowing your water usage will help you determine the appropriate size for your irrigation zone. Think about the location of the water source, is it close to the location that you want to irrigate?
Identify the Irrigation Area: Now, choose an area of your yard dedicated to non-edible plants (ornamental flowers, shrubs, trees) that could benefit from regular watering. Measure the area. This will help determine the dispersal area/drip lines that you will need.
Check Local Regulations: This is crucial! Gray water regulations vary widely from state to state and even county to county. Some areas may allow simple gray water systems without permits, while others require extensive permitting and inspections. Check with your local building department or health department to understand the regulations in your area. Search "[Your County/City] Gray Water Regulations" online to get started. It’s best to err on the side of caution and ensure compliance.
Choose the Right Plants: Certain plants thrive on gray water, while others are more sensitive to the soaps and chemicals it may contain. Generally, plants that are salt-tolerant and not particularly fussy are good candidates. Avoid using gray water on acid-loving plants, as the water tends to be slightly alkaline.
Safety Precautions: Never use gray water on edible plants. Install a clearly labeled divert valve (more on that later). Regularly inspect and maintain your system to prevent clogs and contamination.
Section 2: Gathering Your Supplies: Budget-Friendly Materials for a Sustainable Solution
Once you've planned your system, it's time to gather your materials. You don't need to break the bank to build an effective gray water system. Repurposing and using reclaimed materials can save you money and reduce your environmental impact.
Here's a list of essential components:
PVC Pipes and Fittings: You'll need PVC pipes of various diameters (typically 1.5" or 2") to connect your gray water source to the irrigation area. Also, you'll need fittings like elbows, T-joints, and reducers to navigate corners and connect different pipe sizes.
In-line Filter: A filter is crucial for removing lint, hair, and other debris from the gray water before it enters your irrigation system. Choose a filter that is easily removable and cleanable.
Divert Valve: A divert valve allows you to switch between directing gray water to your irrigation system or to the sewer/septic system. This is essential for times when you're using harsh chemicals in your cleaning products or when the weather is too wet for irrigation.
Gravel/Mulch: Use gravel and mulch to create a filtration basin around the irrigation area, helping to distribute the gray water evenly and filter out any remaining impurities.
Tools: You'll need basic tools like a saw, drill, PVC cutter, level, measuring tape, and shovel.
Cost Breakdown:
*PVC Pipes and Fittings: $20-$50
*In-line Filter: $15-$30
*Divert Valve: $10-$25
*Gravel/Mulch: $10-$30
*Tools: (Assuming you have most of these already) $0-$20
Total Estimated Cost: $55-$155
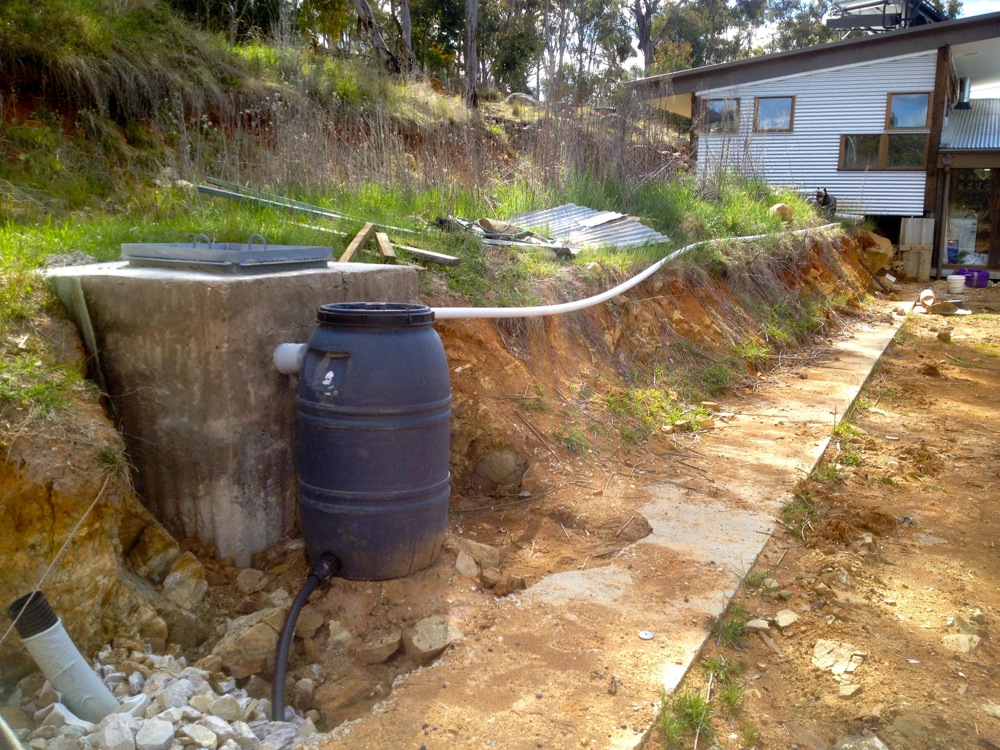
A well-organized collection of PVC pipes, fittings, and other essential materials is key to a smooth gray water system installation. Proper preparation will save time and minimize frustration during the project.
Sustainable Sourcing:* Check local salvage yards, construction sites, or online marketplaces for recycled PVC pipes or other materials. You can often find these materials at a fraction of the cost of new ones.
Filter Selection: Consider the mesh size and flow rate of the filter. A finer mesh will capture more debris, but it may also require more frequent cleaning.
Divert Valve: It’s your safety net! A manual valve is the simplest and most affordable option, while an automatic valve can be programmed to divert gray water based on weather conditions or other factors.
Section 3: Step-by-Step Installation: Building Your Gravity-Fed Gray Water System
Now for the fun part: putting everything together! With a little patience and some basic plumbing skills, you can install your gray water system in a weekend.
Step 1: Install the Divert Valve: The divert valve is installed on the drain line from your shower, sink, or laundry machine. Cut the drain line and install the valve, ensuring watertight connections using PVC primer and cement. The valve should have three positions: one that directs water to the sewer/septic system, one that directs water to the gray water system, and ideally, a "closed" position for maintenance.
Step 2: Connect the Filter: Connect the filter to the outlet of the divert valve using PVC pipes and fittings. Position the filter in an accessible location for easy cleaning. Make sure the filter is installed in the correct direction, as indicated by the manufacturer.
Step 3: Lay the PVC Pipe: Run PVC pipe from the filter to the irrigation area. Maintain a slight downward slope (about 1/4 inch per foot) to ensure gravity flow. Bury the pipe a few inches underground to protect it from the elements and prevent tripping hazards. Use elbows to navigate corners and T-joints to branch off to multiple irrigation points.
Step 4: Create the Irrigation Zone: Dig shallow trenches or basins in the garden bed where you want to distribute the gray water. Fill the trenches with gravel and cover them with mulch. This will help to filter the water and distribute it evenly. You can also use a French drain system for more efficient water dispersal.
Step 5: Test the System: Turn on the water source and check for leaks at all connections. Adjust the divert valve to direct gray water to the irrigation system. Observe the water flow and make sure it's distributing evenly throughout the irrigation zone.
Troubleshooting:*
Clogs: If the system clogs, check the filter first. If the clog is further down the line, you may need to use a plumbing snake or pressurized water to clear it.
Leaks: Tighten any loose connections. If a connection is leaking despite being tight, you may need to re-glue it.
Uneven Water Distribution: Adjust the slope of the pipes or add additional irrigation points to ensure even water distribution.
Section 4: Maintaining Your Gray Water System: Ensuring Long-Term Efficiency and Safety
Once your gray water system is up and running, regular maintenance is essential to keep it functioning properly and safely.
Filter Cleaning: Clean the filter regularly, depending on your water usage and the amount of debris in the water. Typically, cleaning the filter every month or two is sufficient. Remove the filter cartridge, rinse it thoroughly with water, and replace it.
Inspect for Leaks: Regularly inspect all connections for leaks. Address any leaks promptly to prevent water waste and potential contamination.
Prevent Clogs: Use lint traps in your washing machine to prevent lint from entering the gray water system. Avoid using soaps or detergents that contain excessive amounts of sodium or boron, as these can be harmful to plants.
Monitor Plant Health: Observe your plants for signs of stress or nutrient imbalances. Adjust the watering frequency as needed. If you notice any yellowing or browning of leaves, it could be a sign of overwatering or a nutrient deficiency.
Dealing with Winter: In colder climates, you'll need to winterize your gray water system to prevent freezing. Disconnect the system and drain all the pipes. Insulate any exposed pipes to protect them from the cold.
Regular filter maintenance is crucial for a well-functioning gray water system. Cleaning the filter ensures optimal water flow and prevents clogging.
Conclusion: Reaping the Rewards: A Sustainable and Flourishing Homestead
Installing a gray water system is a rewarding project that can save you money, conserve water, and improve the health of your plants. By following the steps outlined in this guide, you can build a simple and effective system that works for your homestead.
Remember to always follow local regulations and safety precautions. With a little planning and effort, you can harness the power of gray water to create a more sustainable and resilient homestead.
I remember the day I finished my gray water system. I was amazed at how much water I was able to divert from the sewer and put to good use in my garden. My shrubs are now thriving, and my water bill has decreased significantly. It's a small change that has made a big difference in my homestead's sustainability.
Ready to build your own gray water system? Download our free planning checklist!
Got questions about gray water systems? Leave a comment below, and we'll do our best to answer them!