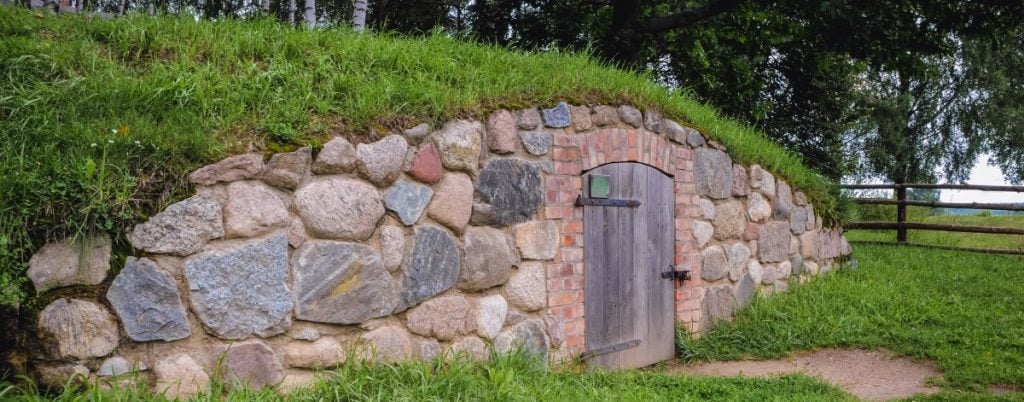
Turn Scraps into Savings: Building a DIY Root Cellar on a Budget (and Keeping Your Veggies Fresh All Winter!)
For those of us drawn to the land, the dream of self-sufficiency often dances in our heads. And what better symbol of homestead independence than a root cellar overflowing with the fruits (and vegetables!) of our labor? Imagine pulling crisp carrots, firm potatoes, and juicy apples from your own storage, even when the snow is piling high outside. While professionally built root cellars can cost thousands, achieving this dream doesn't have to break the bank. Let's ditch the debt and embrace resourceful resilience! This post is your step-by-step guide to building a simple, effective, and budget-friendly root cellar using reclaimed materials and good old-fashioned sweat equity. We're talking old tires, salvaged lumber, and a whole lot of homesteading ingenuity!
We'll focus on an above-ground root cellar, ideal for homesteaders with limited space, unfavorable soil conditions (like high water tables), or who simply want a quicker and easier project. This type of cellar is faster to build than underground options, and still provides excellent storage for root vegetables, apples, and other cool-season crops throughout the winter.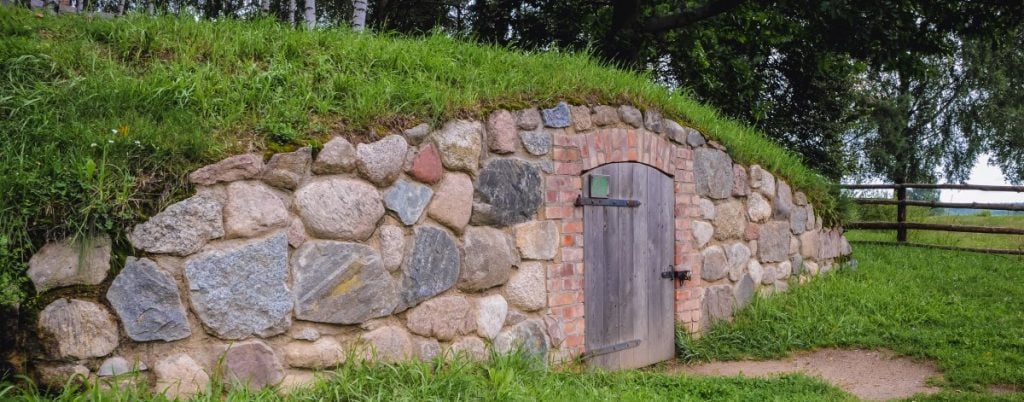
An above-ground root cellar is a manageable project for any homesteader looking to extend the harvest.
1. Planning & Materials Gathering: The Foundation of Your Project
Before you start swinging a hammer, careful planning is crucial. Think about what you want to store, how much of it you anticipate needing to store, and where you'll put your root cellar.
- Sizing It Up: Estimate your storage needs. A family of four might need a cellar that's 6ft x 8ft, while a smaller household could get away with 4ft x 6ft. Consider the volume of potatoes, carrots, apples, and other crops you plan to store. Draw a sketch with dimensions.
- Planning Considerations: Consider the long-term implications. Will your needs grow in the future? Is the area subject to extreme weather? Make sure to comply with local building codes (if any).
- Printable Planning Worksheet: (Unfortunately, I can't create a printable worksheet, but consider these questions: What vegetables do I want to store? How much space does each vegetable require? What is the ideal temperature and humidity for each vegetable? What materials do I have available? What is my budget?)
Here's a sample list of reclaimed/affordable materials with approximate costs (remember, these can vary wildly depending on what you can scavenge!):
- Used Tires: (Free - $5 each) - For walls (depending on size; estimate 20-40).
- Salvaged Lumber: (Free - $1/board foot) - For framing, door, and shelves (estimate 100-200 board feet).
- Metal Roofing/Tarps: (Free - $2/sq ft) - For roofing (estimate 50-100 sq ft).
- Straw Bales: ($5 - $10 each) - For insulation (estimate 10-20).
- Gravel: ($20 - $50 per cubic yard) - For foundation.
- Fasteners (nails, screws): ($20 - $50)
- Ventilation Pipe: ($10 - $20)
- Door hinges and latch: ($10 - $20)
Where to Score Free (or Almost Free) Materials:
- Craigslist and Facebook Marketplace: Keep an eye out for people giving away lumber, tires, or roofing materials.
- Construction Sites: Ask contractors if they have any scrap lumber they're willing to part with. Often, they are happy to give it away to avoid disposal fees.
- Local Landfills/Recycling Centers: Some facilities allow you to take reusable materials. Check their policies first.
- Friends and Neighbors: Spread the word that you're looking for materials – you might be surprised at what people are willing to donate!
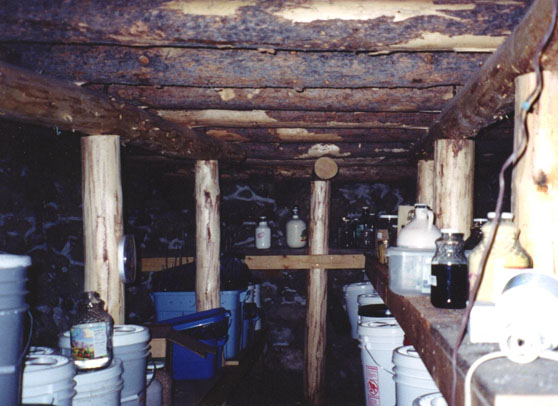
Scoring reclaimed lumber is a great way to save money and add character to your root cellar.
2. Site Preparation & Foundation: Laying the Groundwork for Success
Choosing the right location is paramount.
- Location, Location, Location: Look for a spot that's shaded, especially during the hottest part of the day. North-facing slopes are ideal. Good drainage is also essential to prevent moisture buildup. Proximity to your house is a bonus for easy access during the winter.
- Leveling the Playing Field: Use a shovel and level to create a level base for your root cellar. Remove any vegetation and large rocks.
- Foundation Options: A simple gravel foundation is often sufficient for an above-ground root cellar. Compact the soil, then spread a 4-6 inch layer of gravel. Alternatively, you can use packed earth. If you're using tires, burying the bottom row partially in the ground will add stability.
A simple gravel foundation provides a stable and well-draining base for your root cellar.
3. Wall Construction: Building the Bones
Here's where your vision starts to take shape.
- Tire Walls: Stack the tires in a circular or rectangular pattern, overlapping them for stability. Fill the tires with packed earth. This creates a very sturdy and well-insulated wall. You can use different tire sizes for a visually interesting design.
- Lumber Walls: Build a simple frame using your salvaged lumber. Ensure the frame is square and sturdy. You can then clad the frame with more lumber.
- Insulation is Key: Whether you're using tires or lumber, insulation is vital for maintaining a consistent temperature. Straw bales are an excellent natural insulator. Pack them tightly between the walls and the exterior cladding. You can also use packed earth.
- Safety First: Always wear gloves when handling tires or lumber. Use proper tools and safety gear, and ask for help when lifting heavy objects.
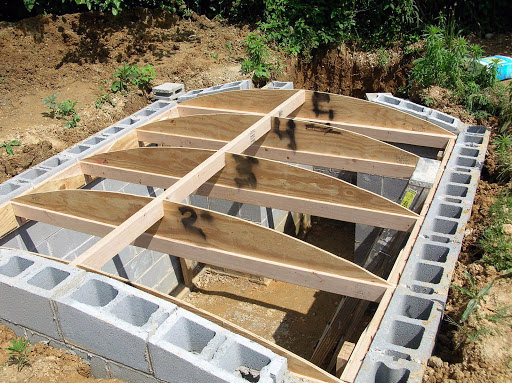
Whether you choose tires or lumber, sturdy wall construction is essential.
4. Roofing & Ventilation: Keeping it Dry and Airy
A well-built roof and proper ventilation are crucial for preserving your harvest.
- Repurposed Roofing: Old metal roofing is a fantastic option for a durable and weatherproof roof. Overlap the sheets properly to prevent leaks. Tarps can be used as a temporary or budget-friendly option, but they may not last as long. Ensure the roof has a slight slope to allow water to run off.
- The Importance of Ventilation: Ventilation is essential to prevent mold and mildew. Install a ventilation pipe near the top of the root cellar to allow warm, moist air to escape. You can also install a vent near the floor to allow cool air to enter. A simple pipe with a screen to keep out pests will suffice. Adjust the vents as needed to maintain the ideal temperature and humidity.
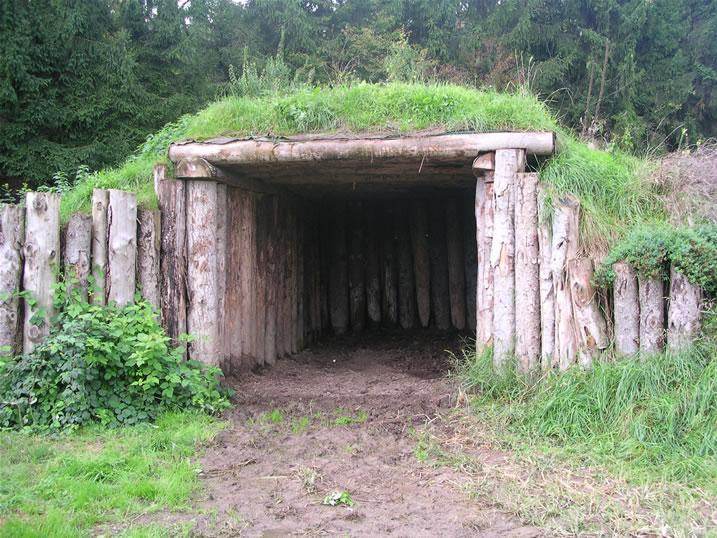
Proper ventilation is critical to prevent moisture buildup and spoilage.
5. Finishing Touches & Interior Design: Making it Functional and Beautiful
The interior is where the magic happens!
- Shelving Solutions: Build simple shelves using your salvaged lumber. Leave space between shelves for air circulation. You can also use old crates or bins for storage.
- Temperature and Humidity Control: Aim for a temperature between 32-40°F (0-4°C) and a humidity level of 80-90%. Use a thermometer and hygrometer to monitor conditions. Adjust ventilation as needed to maintain these levels. A pan of water can help increase humidity if it's too dry.
- Personalize Your Space: Add decorative touches to make your root cellar your own. Paint the walls, add some fairy lights, or create a chalkboard to keep track of your inventory.
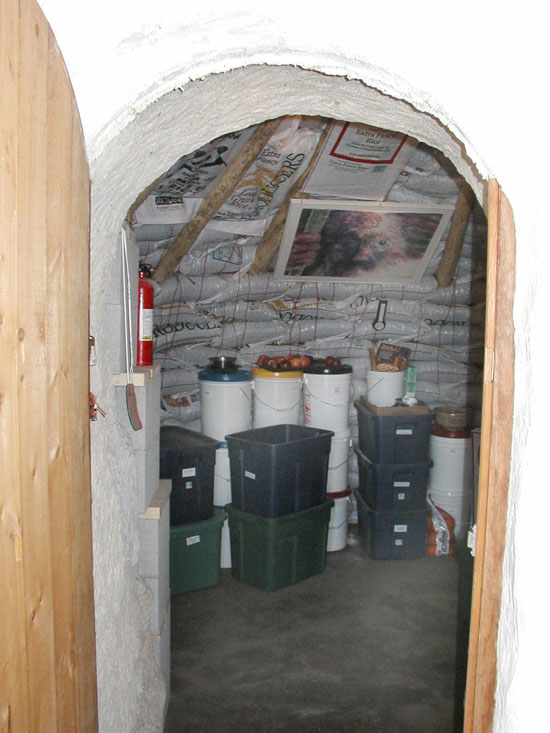
Well-organized shelves and proper temperature control will keep your produce fresh all winter.
Before & After:
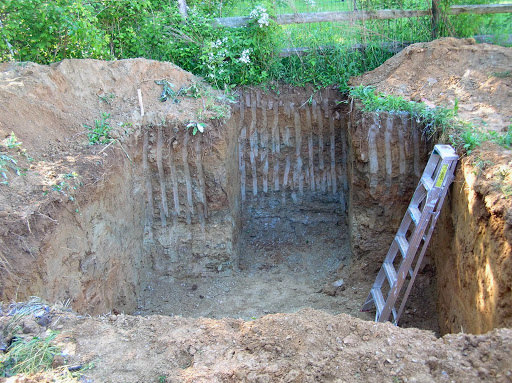
The project begins with a cleared site and a vision for the future.
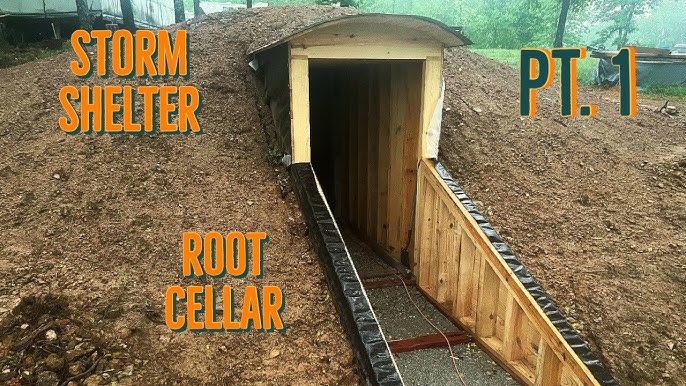
The completed root cellar provides a haven for your harvested goods.
Now It's Your Turn!
Building a DIY root cellar is a rewarding project that can significantly increase your food security and self-reliance. It takes time, effort, and a bit of ingenuity, but the results are well worth it.
Share photos of your DIY root cellar progress in the comments below. What materials are you using? What challenges have you faced? Let's learn from each other and build a more resilient homesteading community!
What's your favorite vegetable to store in the root cellar?
[Share on Facebook](insert Facebook share link here - requires actual link)
[Share on Twitter](insert Twitter share link here - requires actual link)
[Share on Pinterest](insert Pinterest share link here - requires actual link)
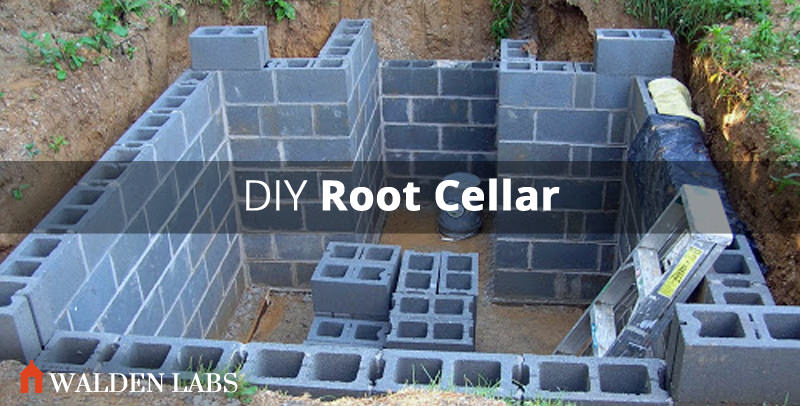
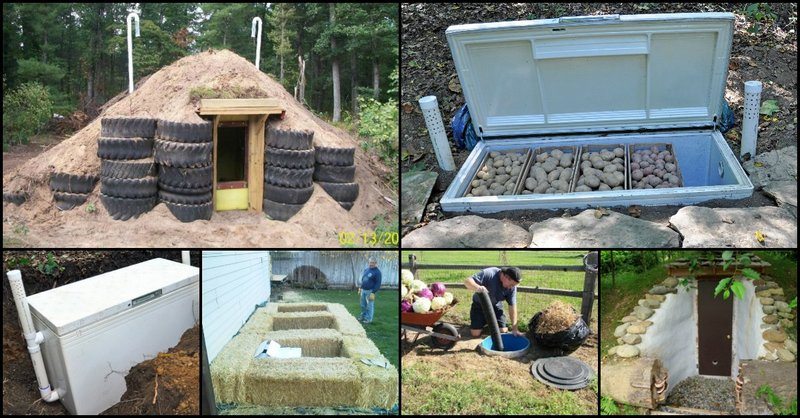
Turning reclaimed materials into a functional root cellar is a testament to homesteading ingenuity.
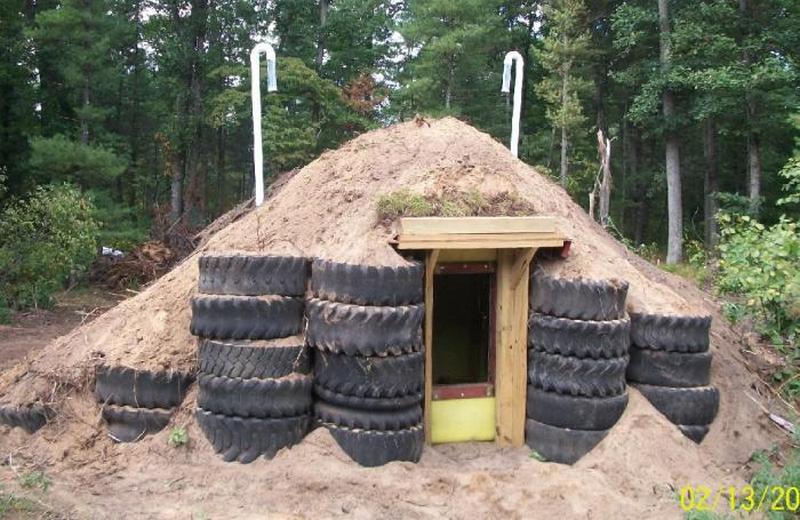
Think outside the box when it comes to materials—repurposed tanks can make excellent root cellars.
This isn't just about storing vegetables; it's about taking control of your food supply and embracing a more sustainable way of life. So, gather your materials, roll up your sleeves, and get building! The satisfaction of pulling fresh, homegrown produce from your own root cellar in the dead of winter is an experience you won't soon forget.