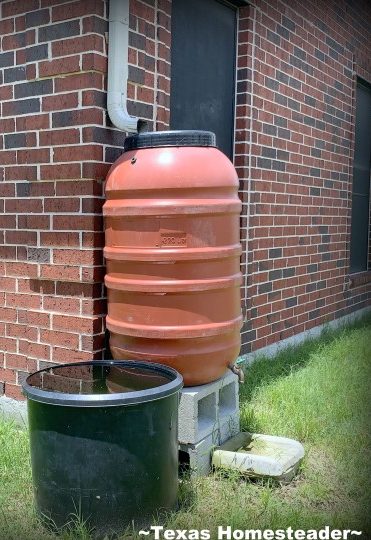
Turn Rainfall into Riches: Build a Beginner-Friendly Rain Barrel for Your Homestead!
Are you dreaming of lush gardens, lower water bills, and a more sustainable lifestyle? Here at Better Homes and Harvests, we believe self-sufficiency starts with simple steps, and there's no better way to dip your toes into the world of homestead water efficiency than by building your very own rain barrel! It’s an easy and rewarding DIY project that lets you harness the power of nature to nourish your plants and conserve precious water resources. Get ready to say goodbye to excessive watering costs and hello to happy, hydrated veggies!
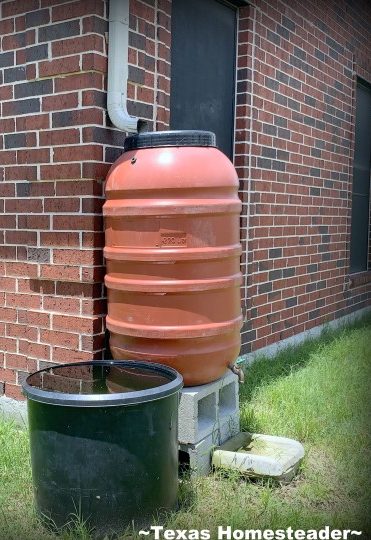
Why Rain Barrels? The Benefits are Overflowing!
Before we dive into the nitty-gritty, let's talk about why rainwater harvesting is a game-changer for any small homestead:
- Save Money: Reduce your water bill by using collected rainwater for irrigation.
- Eco-Friendly Watering: Rainwater is naturally soft and free of chemicals like chlorine, making it ideal for plants. No more harsh tap water stressing your precious tomatoes!
- Water Conservation: Reduce your reliance on municipal water sources, especially during dry spells. Drought resistance starts here!
- Emergency Water Supply: In a pinch, you'll have a reserve of water for non-potable uses.
- Boost Plant Health: Many gardeners swear that plants thrive on rainwater. It's like giving them a spa day, every day! (Check out our article on companion planting for enhanced garden health)
My Rain Barrel Revelation: From Skeptic to Believer
Now, I'll be honest, I wasn't always a rain barrel enthusiast. The idea seemed a bit…involved. But last summer, facing a particularly dry spell and a skyrocketing water bill, I decided to take the plunge.
The biggest challenge? Drilling the holes for the spigot and overflow. I was so worried about cracking the plastic barrel! My solution? I started with a very small drill bit and gradually increased the size. Patience was key. What surprised me most was how much water I collected, even with relatively small rainfall. It was incredibly satisfying to water my thirsty plants with "free" water, knowing I was doing my part to conserve this precious resource. I learned that even a small effort can make a big difference.
Your Step-by-Step Guide to Building a Rain Barrel
Ready to create your own rainwater harvesting system? This guide is designed for beginners, using readily available and budget-friendly materials. We'll focus on building one rain barrel connected to your downspout.
What You'll Need (Materials & Tools):
- A Food-Grade Plastic Barrel (55-gallon is a good starting size): Repurposed barrels are fantastic! Look for them at local farms, food processing plants, or online marketplaces like Craigslist or Facebook Marketplace. Be sure the barrel previously contained something food-safe. Cost: $20-$50 (repurposed)
- Downspout Diverter Kit: This is essential for directing water into the barrel and preventing overflow. Cost: $20-$40
- Spigot (Hose Bib): For easy access to your collected rainwater. Choose a brass or plastic spigot with threads that fit your barrel. Cost: $10-$20
- Hole Saw: The size will depend on the diameter of your spigot and overflow fittings. Cost: $15-$30 (if you don't already own one)
- Drill: To create the necessary holes.
- Thread Seal Tape (Teflon Tape): To prevent leaks around the spigot. Cost: $2
- Screening or Mesh: To cover the top of the barrel and prevent mosquitoes. Old window screens work great! Cost: Free (repurposed)
- Clamps or Zip Ties: To secure the screening.
- Overflow Hose: A short length of garden hose to direct excess water away from your foundation. Cost: $5-$10
- Concrete Blocks or Bricks: To elevate the barrel. This creates gravity flow and makes it easier to fill watering cans. Cost: Free (repurposed) to $20
- Safety Glasses and Gloves: Protect yourself!
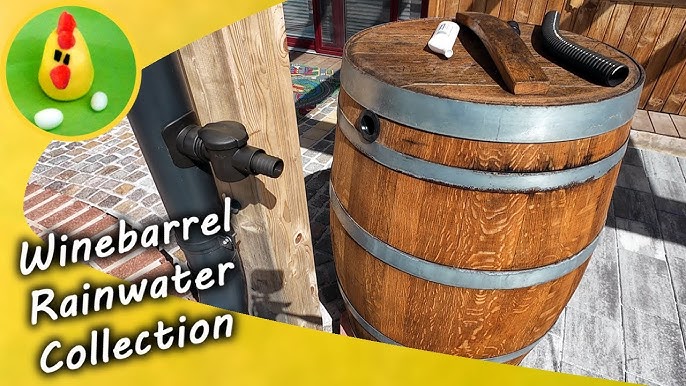
Step 1: Prepare the Barrel
Thoroughly clean the inside of your barrel with soap and water. Rinse it several times to remove any residue. This is crucial, especially if it was previously used for food storage.
Step 2: Drill the Spigot Hole
Choose a location near the bottom of the barrel for your spigot. Use your hole saw to drill a hole that's the correct size for your spigot's threads. Remember my tip: start with a smaller bit and gradually increase the size!
Step 3: Install the Spigot
Wrap the threads of your spigot with thread seal tape. This will create a watertight seal. Insert the spigot into the hole and tighten securely. Be careful not to overtighten and crack the plastic.
Step 4: Drill the Overflow Hole
Drill another hole near the top of the barrel for the overflow. The size of the hole will depend on the size of your overflow fitting or hose.
Step 5: Attach the Overflow Hose
Connect your overflow hose to the overflow opening. Secure it with a clamp if necessary. This will direct excess water away from your house and prevent flooding.
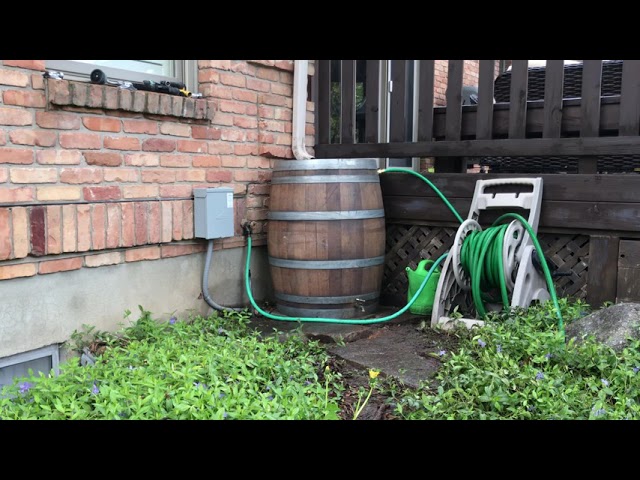
Step 6: Install the Downspout Diverter
Cut your downspout according to the instructions provided with your downspout diverter kit. Install the diverter, ensuring it's securely attached to both the downspout and the barrel.
Step 7: Elevate the Barrel
Place your concrete blocks or bricks in your desired location. Position the rain barrel on top of the blocks, ensuring it's stable and level.
Step 8: Cover the Top with Screening
Cover the top of the barrel with your screening or mesh. Secure it with clamps or zip ties. This will prevent mosquitoes from breeding in the water and keep debris out. Mosquito control is essential; consider adding mosquito dunks for extra protection.
Step 9: Test Your System!
Wait for the next rainfall and watch your rain barrel fill up! Check for leaks and make any necessary adjustments.
Tips for Rain Barrel Success:
- Placement is Key: Position your rain barrel on a level surface near a downspout.
- Regular Maintenance: Clean out your rain barrel a couple of times a year to remove any sediment or debris.
- Winterize Your Barrel: In colder climates, disconnect your rain barrel and drain it before the first freeze to prevent damage.
- Water Wisely: Use the collected rainwater to water your garden, lawn, and houseplants. Avoid using it for drinking or cooking unless it's properly filtered.
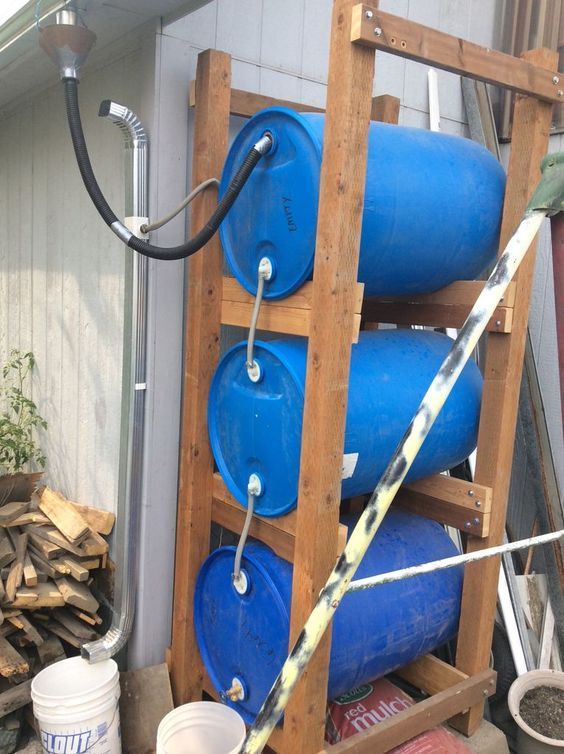
- Consider a Multi-Barrel System: Once you see the benefits, you might want to add more rain barrels to increase your water storage capacity! See our article on designing a permaculture garden for ideas on incorporating multiple water sources.
From Rain to Resources: A Sustainable Cycle
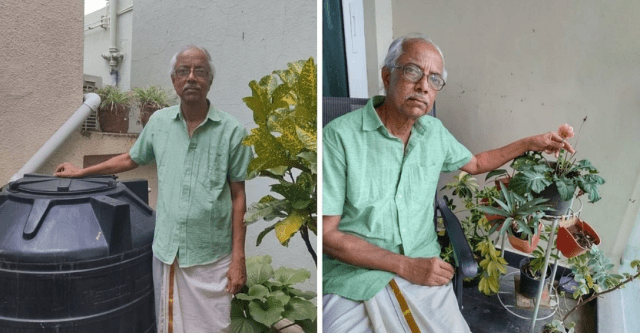
Building a rain barrel is more than just a DIY project; it's a commitment to a more sustainable lifestyle. By harnessing the power of rainwater, you're not only saving money and conserving water, but also connecting with nature in a meaningful way. The soft, chemical-free water is fantastic for your garden and reduces the need for fertilizers!
Share Your Rain Barrel Journey!
Ready to get started? We encourage you to build your own rain barrel and share your experiences in the comments below! What challenges did you face? What tips do you have for other beginners? Let's learn from each other and create a community of rainwater harvesting enthusiasts. And be sure to check out other water-saving tips for homesteads on Better Homes and Harvests! Let's build a more sustainable future, one rain barrel at a time. Thinking of other home renovations to add value? Check out our advice on landscaping your property.