Turn Rain into Gold: A DIY Rain Barrel System for Your Homestead
Remember last summer's dry spell? The way the creek dwindled to a trickle, the garden begging for water, and that nagging feeling of watching your precious well levels drop? I do. That's when I knew I had to take water conservation seriously on my homestead. High water bills and stressed plants are enough to get any homesteader moving!
That's why I'm excited to share this DIY water collection project with you: building your own rain barrel system. It's a simple, cost-effective way to capture rainwater, reduce your reliance on municipal water, and give your garden the natural, chlorine-free hydration it craves. Plus, it's incredibly satisfying to watch that barrel fill up during a downpour, knowing you're making a difference.
Ready to get started? Let's dive into this step-by-step guide to building your own rain barrel system for sustainable living.
Why Build a Rain Barrel? The Benefits of Water Conservation
Before we get our hands dirty, let's quickly cover why this project is so worthwhile.
- Reduced Water Bills: This is the most obvious benefit. By using rainwater for irrigation, you'll significantly decrease your water consumption from the municipal supply. Depending on your local rainfall and garden size, you could save hundreds of dollars a year.
- Conserving Water Resources: Rainwater is a renewable resource. Collecting it reduces the demand on groundwater and surface water supplies, especially crucial during droughts. Every drop counts toward homestead water conservation.
- Healthier Plants: Rainwater is naturally soft and free of chlorine and other chemicals found in treated water. Plants thrive on it!
- Emergency Water Source: In an emergency, your rain barrel can provide a valuable source of non-potable water for flushing toilets or other essential needs.
- Environmentally Friendly: It reduces your carbon footprint by minimizing the energy required to treat and deliver water.
- Increases Property Value: Implementing sustainable living solutions can make your home more attractive to eco-conscious buyers.
Step 1: Gathering Your Materials - Resourcefulness is Key!
Here's what you'll need to build your rain barrel system. Don't be afraid to get creative and source these materials affordably or for free!
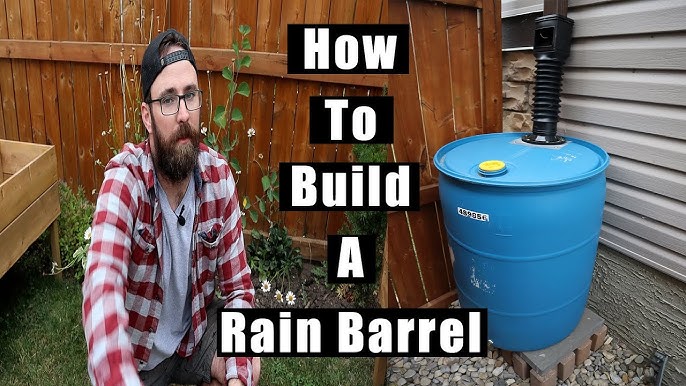
- Food-Grade Barrel (55-gallon or larger): This is the heart of your system. Look for used food-grade plastic barrels (often blue) from local food processing plants, breweries, or online marketplaces. Check Craigslist or Facebook Marketplace for deals. Important: Ensure the barrel previously contained food products to avoid contamination.
- Gutter Downspout Diverter: This will direct rainwater from your gutter into the barrel. You can purchase one online or at your local hardware store.
- Spigot: For easy access to the collected water. Choose a durable, outdoor-rated spigot.
- Bulkhead Fitting: To connect the spigot to the barrel. Make sure it's the correct size for your spigot and barrel.
- Drill and Hole Saw: For drilling holes in the barrel.
- Screen Mesh: To cover the inlet and prevent debris and mosquitoes from entering the barrel.
- PVC Pipe and Fittings (optional): For extending the downspout diverter or creating an overflow system.
- Teflon Tape: To seal threaded connections and prevent leaks.
- Bricks or Concrete Blocks: To elevate the barrel and provide gravity flow.
Creative Sourcing Tips:
- Check with local businesses: Food processing plants often discard used barrels.
- Salvage materials: Repurpose old downspout sections or PVC pipes.
- Use recycled screens: An old window screen can be cut and used as a filter.
Step 2: Preparing the Barrel
Before you start drilling, thoroughly clean the inside of the barrel with soap and water. Rinse it well to remove any residue.
- Drill the Spigot Hole: Determine where you want to place the spigot near the bottom of the barrel. Use a hole saw slightly larger than the bulkhead fitting to drill a hole.
- Install the Bulkhead Fitting: Insert the bulkhead fitting into the hole and tighten it securely. Use Teflon tape on the threads to prevent leaks.
- Attach the Spigot: Screw the spigot onto the bulkhead fitting, again using Teflon tape.
Step 3: Setting Up the Overflow
An overflow is crucial to prevent the barrel from overflowing and potentially damaging your foundation.
- Drill an Overflow Hole: Drill a hole near the top of the barrel, opposite the spigot. The size will depend on the PVC pipe you plan to use.
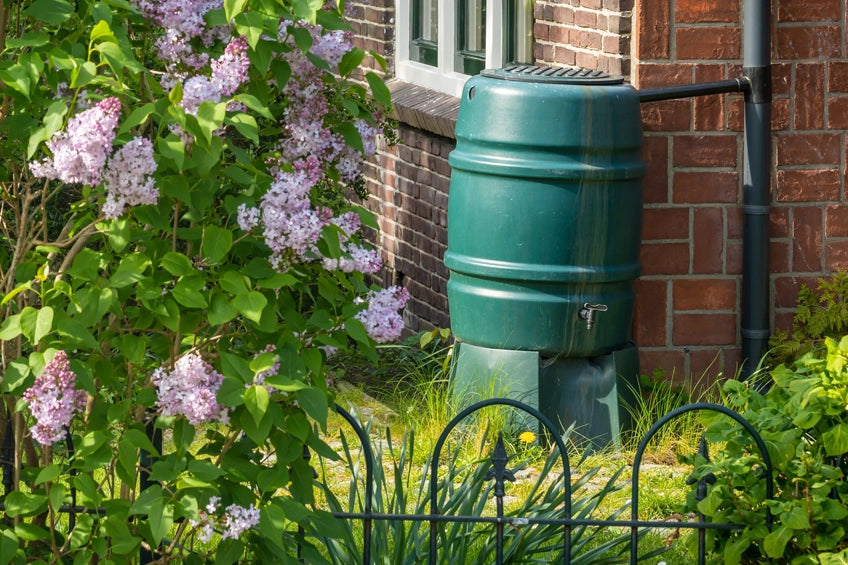
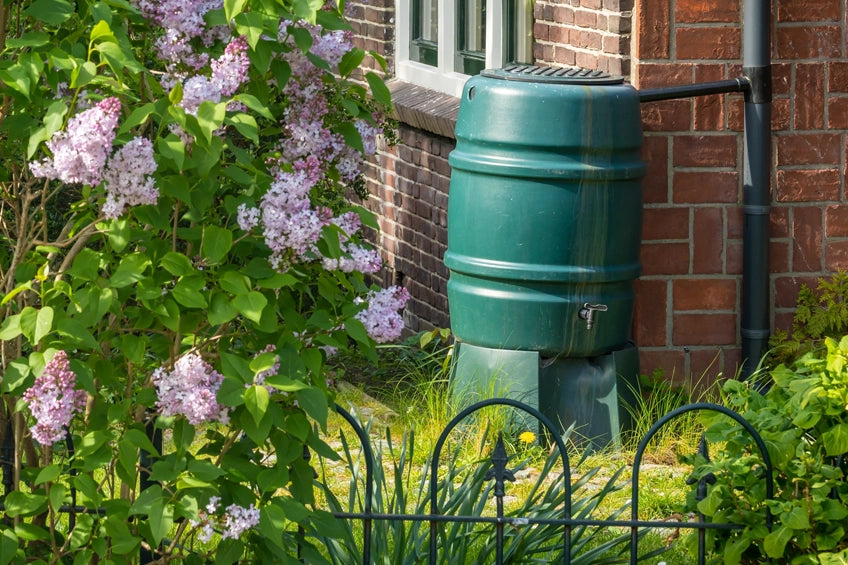
- Install the Overflow Pipe: Connect a short length of PVC pipe to the overflow hole using a PVC fitting. Angle the pipe away from your house.
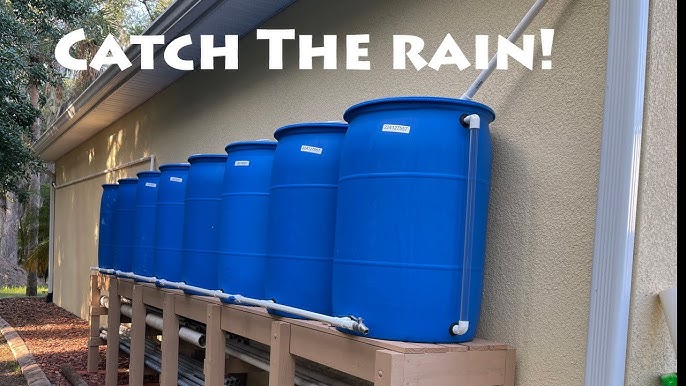
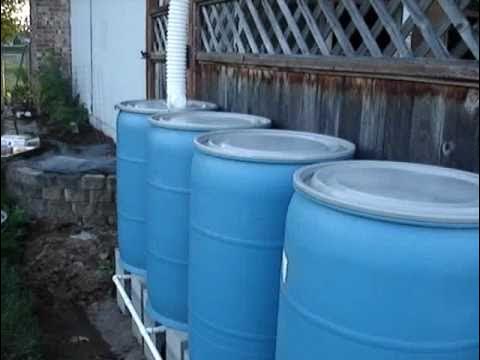
- Consider a Second Barrel: For added capacity, connect multiple barrels together using PVC pipe and fittings, placing the overflow on the last barrel in the series.
Step 4: Installing the Downspout Diverter
This is where the magic happens!
- Cut the Downspout: Measure and cut your existing gutter downspout a few inches above where you want the diverter to sit.
- Install the Diverter: Install the downspout diverter according to the manufacturer's instructions. Most diverters have a flexible hose that connects to the barrel inlet.
- Position the Barrel: Place the barrel on bricks or concrete blocks to elevate it, allowing for gravity flow when you use the spigot. Make sure the barrel is level.
- Connect the Diverter to the Barrel: Connect the diverter hose to the inlet on the top of the barrel. Secure the screen mesh over the inlet to filter out debris.
Step 5: Final Touches and Maintenance
Congratulations! Your rain barrel system is now complete. Here are a few final tips:
- Secure the Barrel: Especially in windy areas, secure the barrel to a wall or fence to prevent it from tipping over.
- Regularly Clean the Screen: Clean the screen mesh regularly to remove debris and ensure proper water flow.
- Inspect for Leaks: Check all connections for leaks and tighten as needed.
- Winterize Your Barrel: In freezing climates, disconnect the diverter and drain the barrel to prevent damage from ice expansion. You can store the barrel upside down or inside during the winter.
Calculating Your Savings: A Homesteading Math Lesson
Let's estimate how much water you can save with your new rain barrel. A one-inch rainfall on a 1,000-square-foot roof yields approximately 620 gallons of water. Even if you only capture a portion of that, you can quickly accumulate a significant amount of water over the year.
For example, if your area receives an average of 40 inches of rainfall annually, and you have a 1,000-square-foot roof, you could potentially collect around 24,800 gallons of water! Of course, only a portion of that water is usable. However, even if you only collect 10,000 gallons to use, that is a savings!
Consider the average cost of water in your area. If you pay $5 per 1,000 gallons, you could save $50 or more a year just by using your rain barrel. This is a major boost to your homesteading efforts and contributes to sustainable living.
Troubleshooting Common Issues
- Mosquitoes: Prevent mosquitoes by using a fine mesh screen over all openings. You can also add mosquito dunks (Bacillus thuringiensis israelensis, or Bti) to the water.
- Algae Growth: Algae can grow in rain barrels exposed to sunlight. Use an opaque barrel or paint it a dark color to reduce algae growth.
- Slow Water Flow: Ensure the spigot is fully open and the barrel is elevated sufficiently. Check for any obstructions in the spigot or overflow pipe.
Beyond the Barrel: Expanding Your Water Conservation Efforts
Building a rain barrel is a fantastic first step, but there are many other ways to conserve water on your homestead:
- Install low-flow showerheads and toilets.
- Water your garden deeply and less frequently.
- Use mulch to retain moisture in the soil.
- Collect greywater from showers and sinks to water non-edible plants.
- Plant drought-resistant native plants.
- Consider a more elaborate rainwater harvesting system with a larger storage tank.
A Final Thought
Building a rain barrel system is a simple yet powerful way to embrace water conservation and sustainable living on your homestead. It's a project that saves you money, benefits the environment, and connects you more deeply to the rhythms of nature. So, gather your materials, roll up your sleeves, and start turning rain into liquid gold!
Ready to take the plunge and boost your DIY water collection efforts? Your garden (and your wallet) will thank you!
Now, we want to hear from you! Have you built a rain barrel system on your homestead? What tips and tricks can you share? Leave a comment below and let's learn from each other!
And be sure to explore other water conservation techniques here on Better Homes and Harvests!