Turn Rain into Gold: A Beginner's Guide to Building a DIY Rain Barrel System
Are you tired of watching your hard-earned money flow down the drain with every sprinkler cycle? Do you dream of a lush, thriving garden without relying solely on municipal water? Then it's time to embrace the power of rainwater harvesting! This month, Better Homes and Harvests is diving into the wonderfully simple and surprisingly effective world of DIY rain barrels. Not only will you reduce your water bills and reliance on treated water, but you'll also be providing your plants with naturally soft, nutrient-rich rainwater they'll absolutely love. Plus, you'll be making a positive impact on the environment – a true win-win-win! Let's get started on building your own rain barrel system.
Why Harvest Rainwater? The Benefits are Overflowing!
Before we jump into the how-to, let's quickly recap why rainwater harvesting is such a fantastic addition to any homestead:
- Reduced Water Bills: This is the most obvious benefit. By collecting rainwater, you'll significantly reduce your reliance on municipal water, especially during peak gardening season.
- Healthier Plants: Rainwater is naturally soft and free of the chemicals often found in treated water. Plants thrive on it!
- Environmental Responsibility: Conserving water is crucial for protecting our planet's resources. Rainwater harvesting is a simple yet effective way to reduce your environmental footprint.
- Self-Sufficiency: Becoming more self-sufficient is at the heart of homesteading. Collecting your own water is a big step in that direction.
- Emergency Water Supply: While rainwater collected in a rain barrel is generally not potable without further filtration, in an emergency, it can be a valuable source of water for non-potable uses.
Gathering Your Materials: A Thrifty Approach
The beauty of this project is that it can be incredibly affordable, especially if you utilize recycled materials. Here's what you'll need:
- A Food-Grade Barrel (55-gallon is a good starting point): Look for used food-grade barrels. Pickle or olive barrels are ideal. Ensure they are thoroughly cleaned. Avoid barrels that previously contained chemicals. Check local classifieds, farms, or food processing plants.
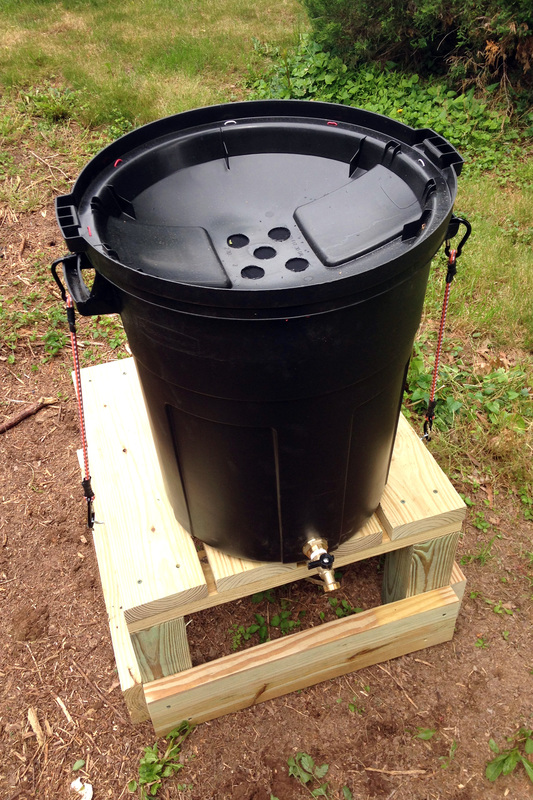
- Spigot/Faucet: A ¾-inch brass or plastic spigot will work perfectly.
- Bulkhead Fitting: To connect the spigot to the barrel. Ensure it matches the spigot size.
- Drill and Hole Saw: To create the necessary holes in the barrel.
- Screening: Fiberglass or aluminum mesh to prevent mosquitoes and debris from entering the barrel.
- Downspout Diverter: This directs rainwater from your gutter into the barrel. There are many types available; choose one that fits your downspout size.
- PVC Pipe and Fittings (optional): For extending the downspout or creating an overflow system.
- Sealant: Silicone sealant to ensure watertight connections.
- Gravel or Concrete Blocks: To elevate the barrel, providing gravity for water flow.
Step-by-Step Guide: Building Your Rain Barrel System
Prepare the Barrel: Thoroughly clean the barrel with soap and water. Rinse it several times to remove any residue.
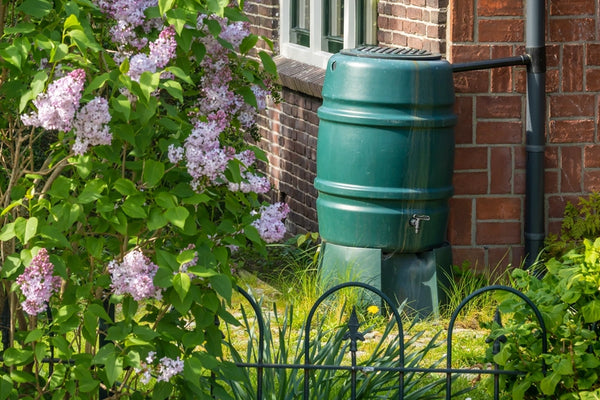
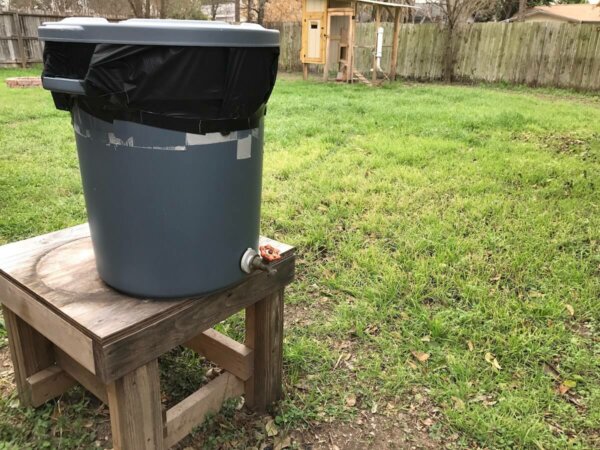
Drill the Spigot Hole: Using the hole saw, drill a hole near the bottom of the barrel for the spigot. Make sure the hole size matches the bulkhead fitting.
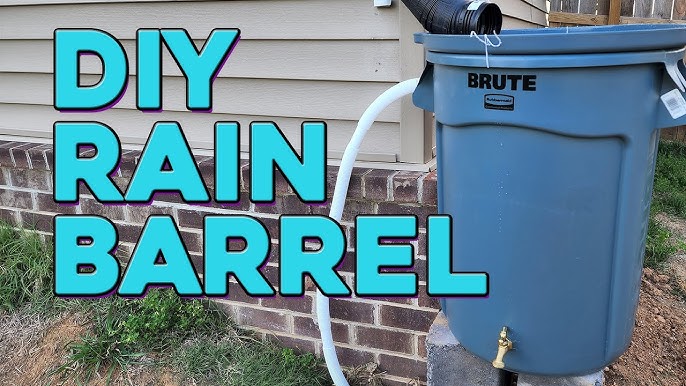
Install the Spigot and Bulkhead Fitting: Insert the bulkhead fitting into the hole and tighten it securely. Apply sealant around the fitting to ensure a watertight seal. Attach the spigot to the bulkhead fitting.
Drill the Overflow Hole (Optional): Drill a hole near the top of the barrel for an overflow. This will prevent the barrel from overfilling and potentially damaging your foundation. Attach a PVC pipe to direct the overflow away from your house.
Cut the Inlet Hole: Cut a large hole in the top of the barrel to accommodate the downspout diverter. The size will depend on the diverter you choose.
Install the Screening: Cover the inlet hole with screening to prevent mosquitoes and debris from entering the barrel. Secure the screening with screws or a tight-fitting rim.

Elevate the Barrel: Place the barrel on gravel or concrete blocks to elevate it. This will provide gravity for water flow and make it easier to fill watering cans.
Install the Downspout Diverter: Install the downspout diverter according to the manufacturer's instructions. Connect it to the inlet hole on the barrel.
Test Your System: Wait for the next rain and observe your system in action! Check for leaks and make any necessary adjustments.
Addressing Common Concerns: Tips and Tricks for Success
- Mosquito Control: Preventing mosquitoes is crucial. Ensure the screen is securely attached and regularly inspect it for any tears or gaps. You can also add mosquito dunks (Bacillus thuringiensis israelensis – Bti) to the barrel, which are safe for plants and humans but kill mosquito larvae.
- Debris Filtering: Use a pre-filter on your downspout to remove leaves and other large debris before they enter the barrel. Clean the screen regularly to prevent clogging.
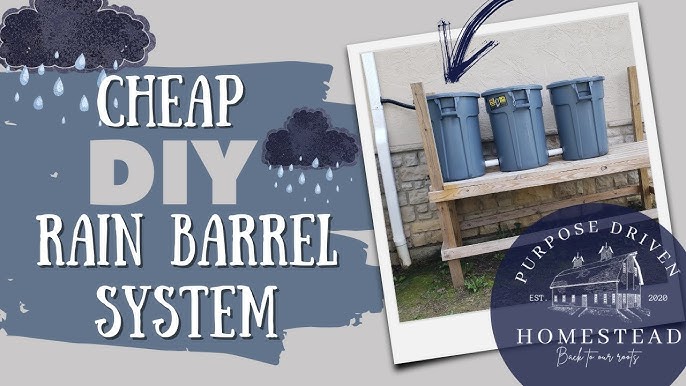
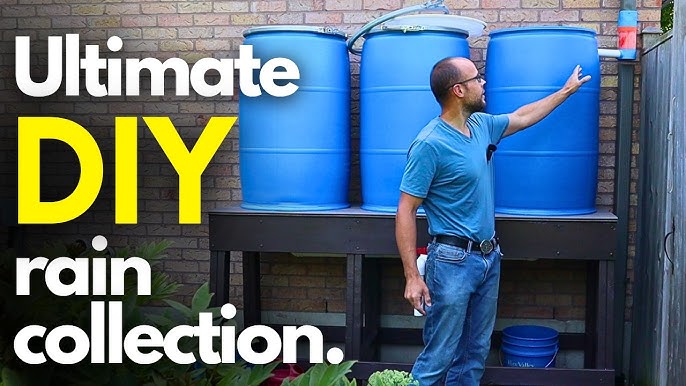
- Overflow Management: Ensure your overflow is directed away from your foundation to prevent water damage. Consider connecting multiple barrels together with PVC pipe to increase your water storage capacity.
- Winterizing: In colder climates, disconnect the downspout diverter in the winter to prevent the barrel from freezing and cracking. Empty the barrel completely.
Personalizing Your System: Make it Your Own!
Don't be afraid to get creative and personalize your rain barrel system! Here are a few ideas:
- Paint Your Barrel: Give your barrel a makeover with exterior paint to match your home or garden décor.
- Add a Decorative Planter: Create a planter on top of the barrel to add beauty and functionality.
- Connect Multiple Barrels: Increase your water storage capacity by connecting multiple barrels together with PVC pipe.
- Automated Irrigation: Connect your rain barrel to a soaker hose or drip irrigation system for automated watering.
My Rain Barrel Adventure: Lessons Learned
When I first installed my rain barrel system, I underestimated the amount of debris that could accumulate. The initial screen I used was too coarse, and I spent a lot of time cleaning out leaves and twigs. Upgrading to a finer mesh screen and adding a pre-filter to my downspout made a world of difference. I also learned the importance of having a well-placed overflow. During a particularly heavy rainstorm, my barrel overflowed, creating a small puddle near my foundation. Redirecting the overflow with a simple PVC pipe solved the problem. These small adjustments transformed my rain barrel system from a good idea into a truly effective and low-maintenance water conservation tool.
Embrace the Rain: Start Your Project Today!
Building a DIY rain barrel system is a simple, affordable, and rewarding project that can significantly reduce your water bills, benefit your plants, and promote a more sustainable lifestyle. Don't wait any longer – gather your materials and start building your own rain harvesting system today!
Now it’s your turn! Share photos of your rain barrel systems in the comments below. What challenges did you face, and how did you overcome them? Do you have any tips or tricks to share with the Better Homes and Harvests community? Let's learn from each other and create a more water-wise world, one rain barrel at a time.
